Collection size
Recommended format | Approx. window size

Choosing your first ita bag comes down to four questions: what are you displaying, how much of it, where are you wearing the bag, and what's your budget. Get those four right and the rest is style preference.
This guide walks through each question and maps the answer directly to the bag types and formats available.
Choosing your first ita bag comes down to four questions: what are you displaying, how much of it, where are you wearing the bag, and what's your budget. Get those four right and the rest is style preference. This guide walks through each question and maps the answer directly to the bag types and formats available.
Enamel pins Standard 58mm enamel pins are the most common display item. Any ita bag works. The main variable is window size — how many pins do you want visible at once? Photocards Photocards (K-pop standard: 5.5cm × 8.5cm) lay flat behind the insert. Look for bags with a deep enough window pocket to hold the insert flush against the window, and a PVC or rigid insert rather than foam (cards sit flatter on rigid surfaces). Plushies Plushies need window depth — the distance from the insert to the window glass. Small plushies (10–15cm) need at least 6cm depth. Large plushies (20–25cm) need 10cm+ and a dedicated plushie ita bag format. Check the window depth spec on every product page. Mixed build (pins + photocards + standees) Any medium-to-large format works. Prioritise window size over depth. Flat items (photocards, standees on flat mounts) and pins coexist well on the same insert.
Recommended format | Approx. window size
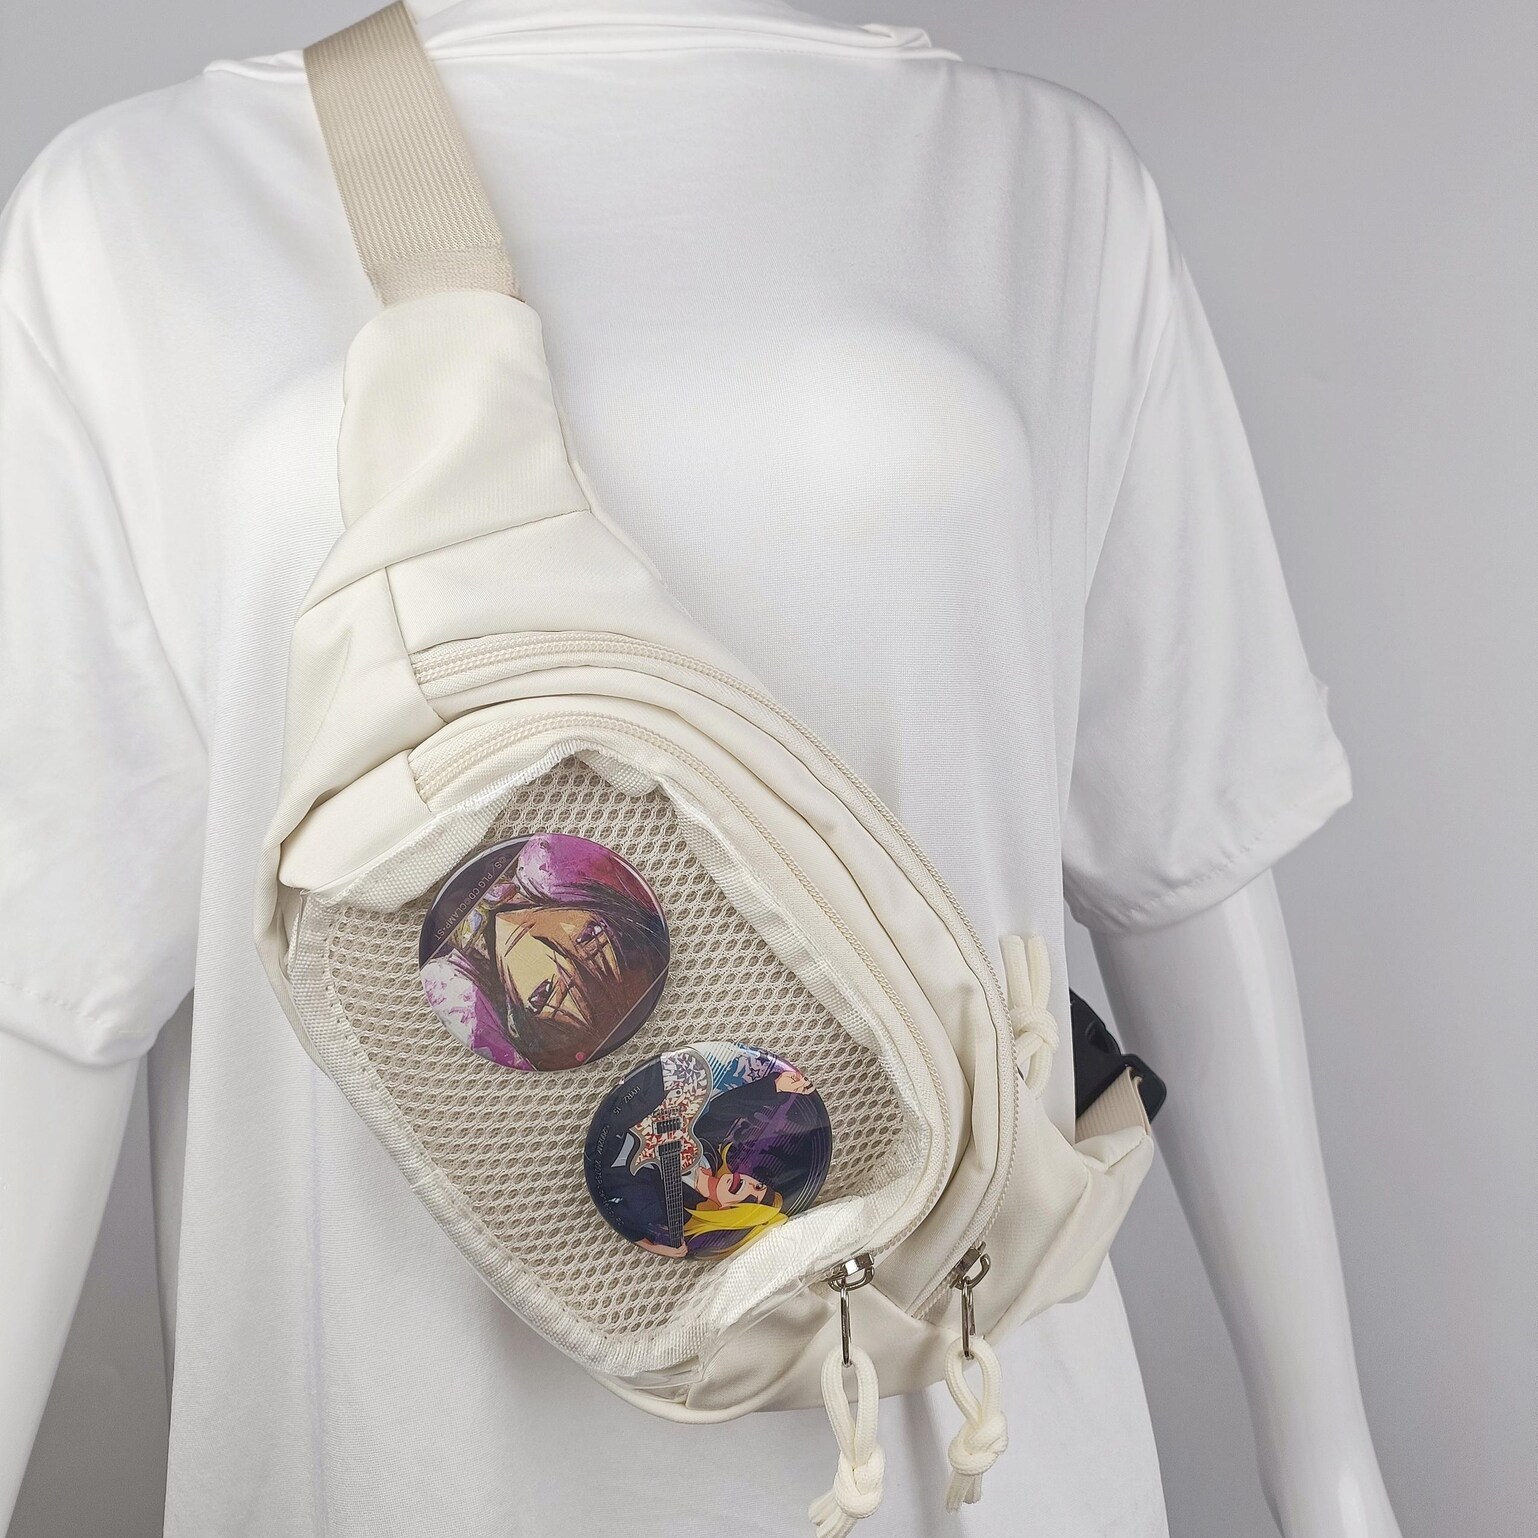
Mini or small crossbody | ~15×20cm
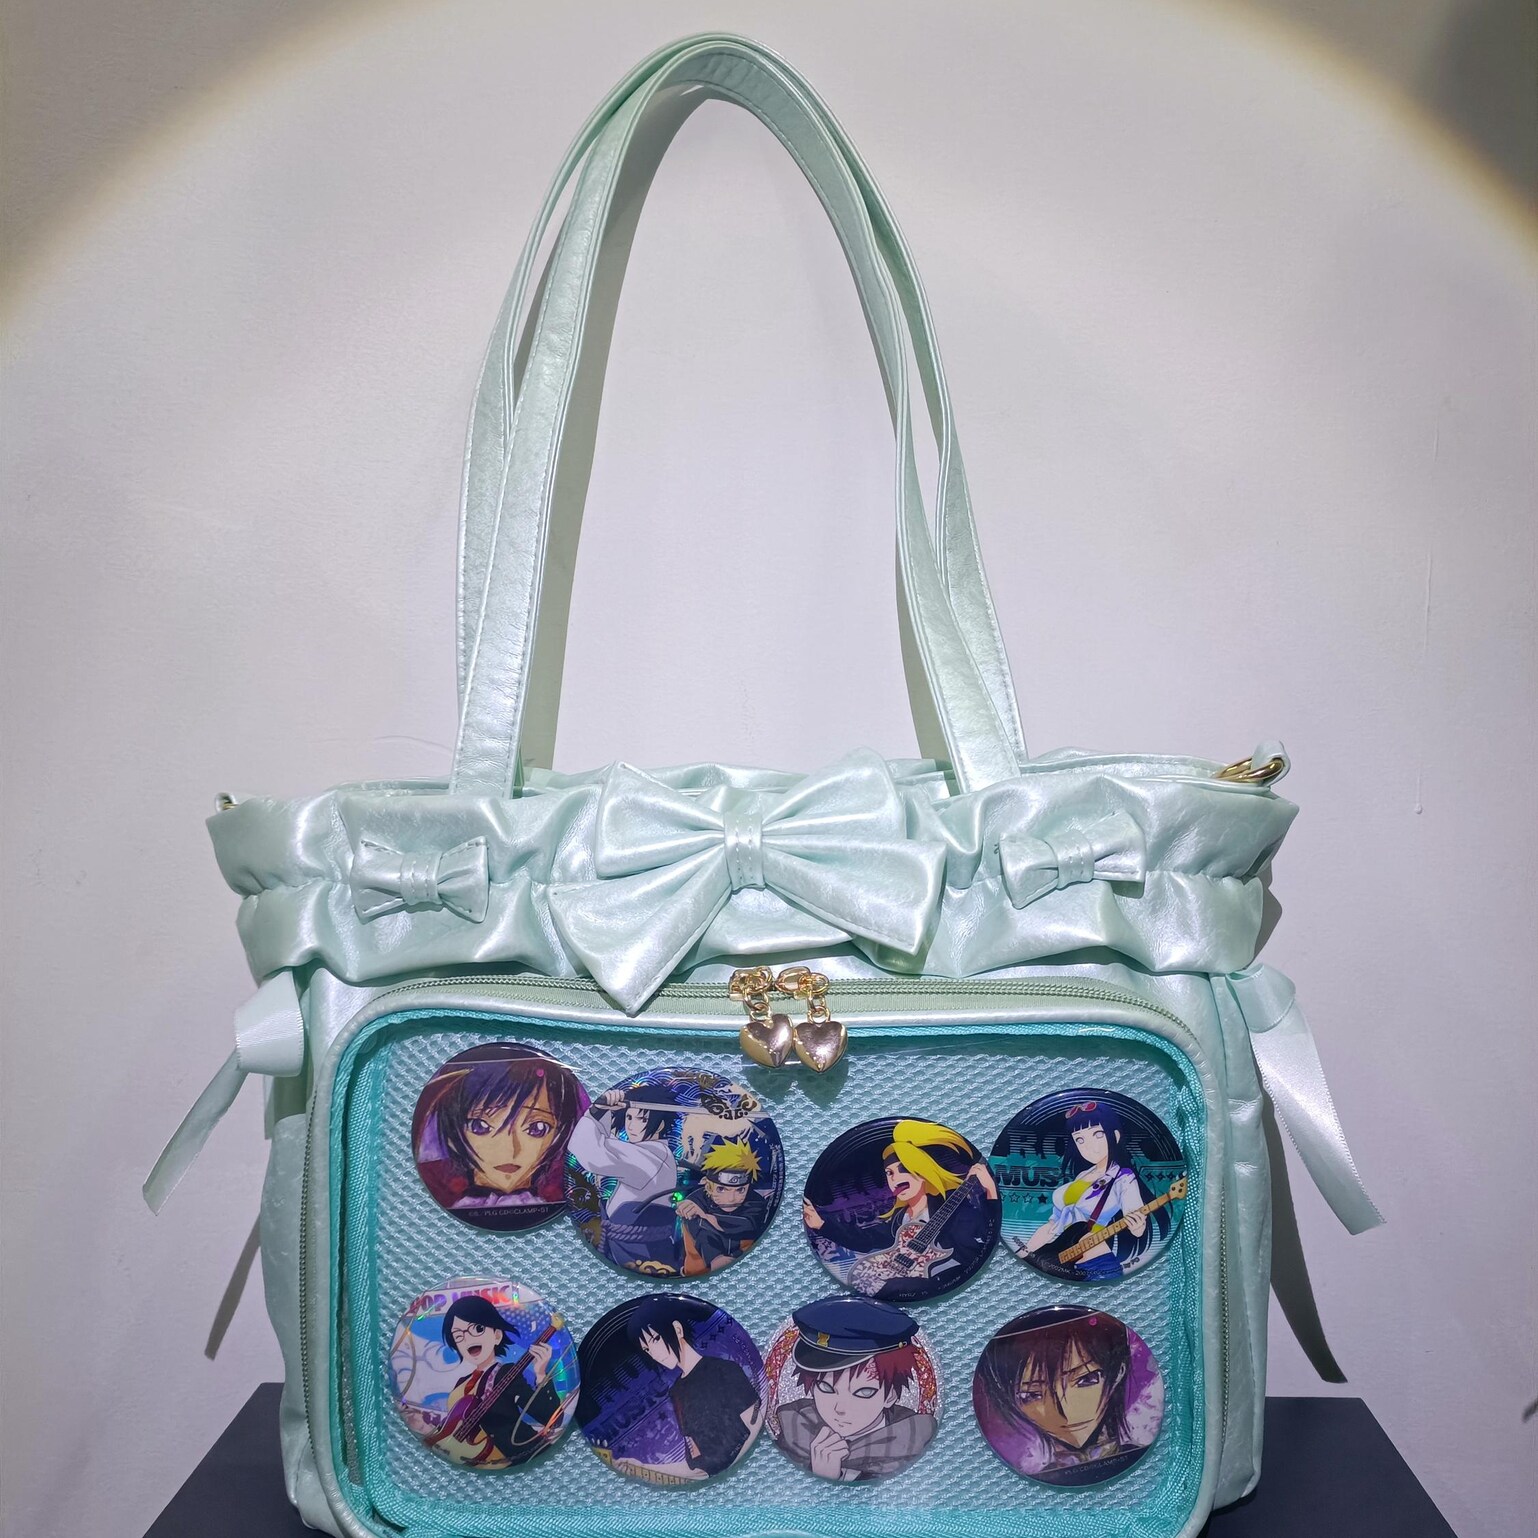
Medium crossbody or shoulder bag | ~18×24cm
Medium backpack | ~22×28cm
Large backpack | ~28×35cm+
Daily carry and commute Crossbody bags and shoulder bags are better for daily use. Lighter weight, easier to access, don't look out of place on public transport. Avoid very large backpacks if you're spending a lot of time sitting (the window faces the seat). School and campus Ita backpacks with a separate main compartment. Look for laptop sleeve, padded straps, and enough main compartment depth for books and supplies. The display window faces out while you carry everything you need inside. Conventions and fan events Backpacks for all-day comfort. Crossbody bags as secondary carry. Key feature: hands-free carry. At conventions, avoid bags where the display window faces backward when seated — you want visibility in crowds. Casual outings Any format. Mini bags work as statement accessories layered over a plain outfit. Tote ita bags work for café and shopping days.
What to expect
Basic format, simple hardware, limited window depth
Good construction, multiple compartments, solid display window
Better materials, larger window, adjustable straps, insert often included
Premium materials, structured shape, designer collabs
Best for | Weight | Daily carry? | Convention?
Small collections, accent carry | Very light | Yes | Secondary bag
Mid-size collections, everyday | Light | Yes | Yes
Casual, flexible wear | Light–medium | Yes | Yes
School, all-day cons | Medium | Yes | Yes (primary)
Large collections | Heavier | Casual use | Yes (primary)
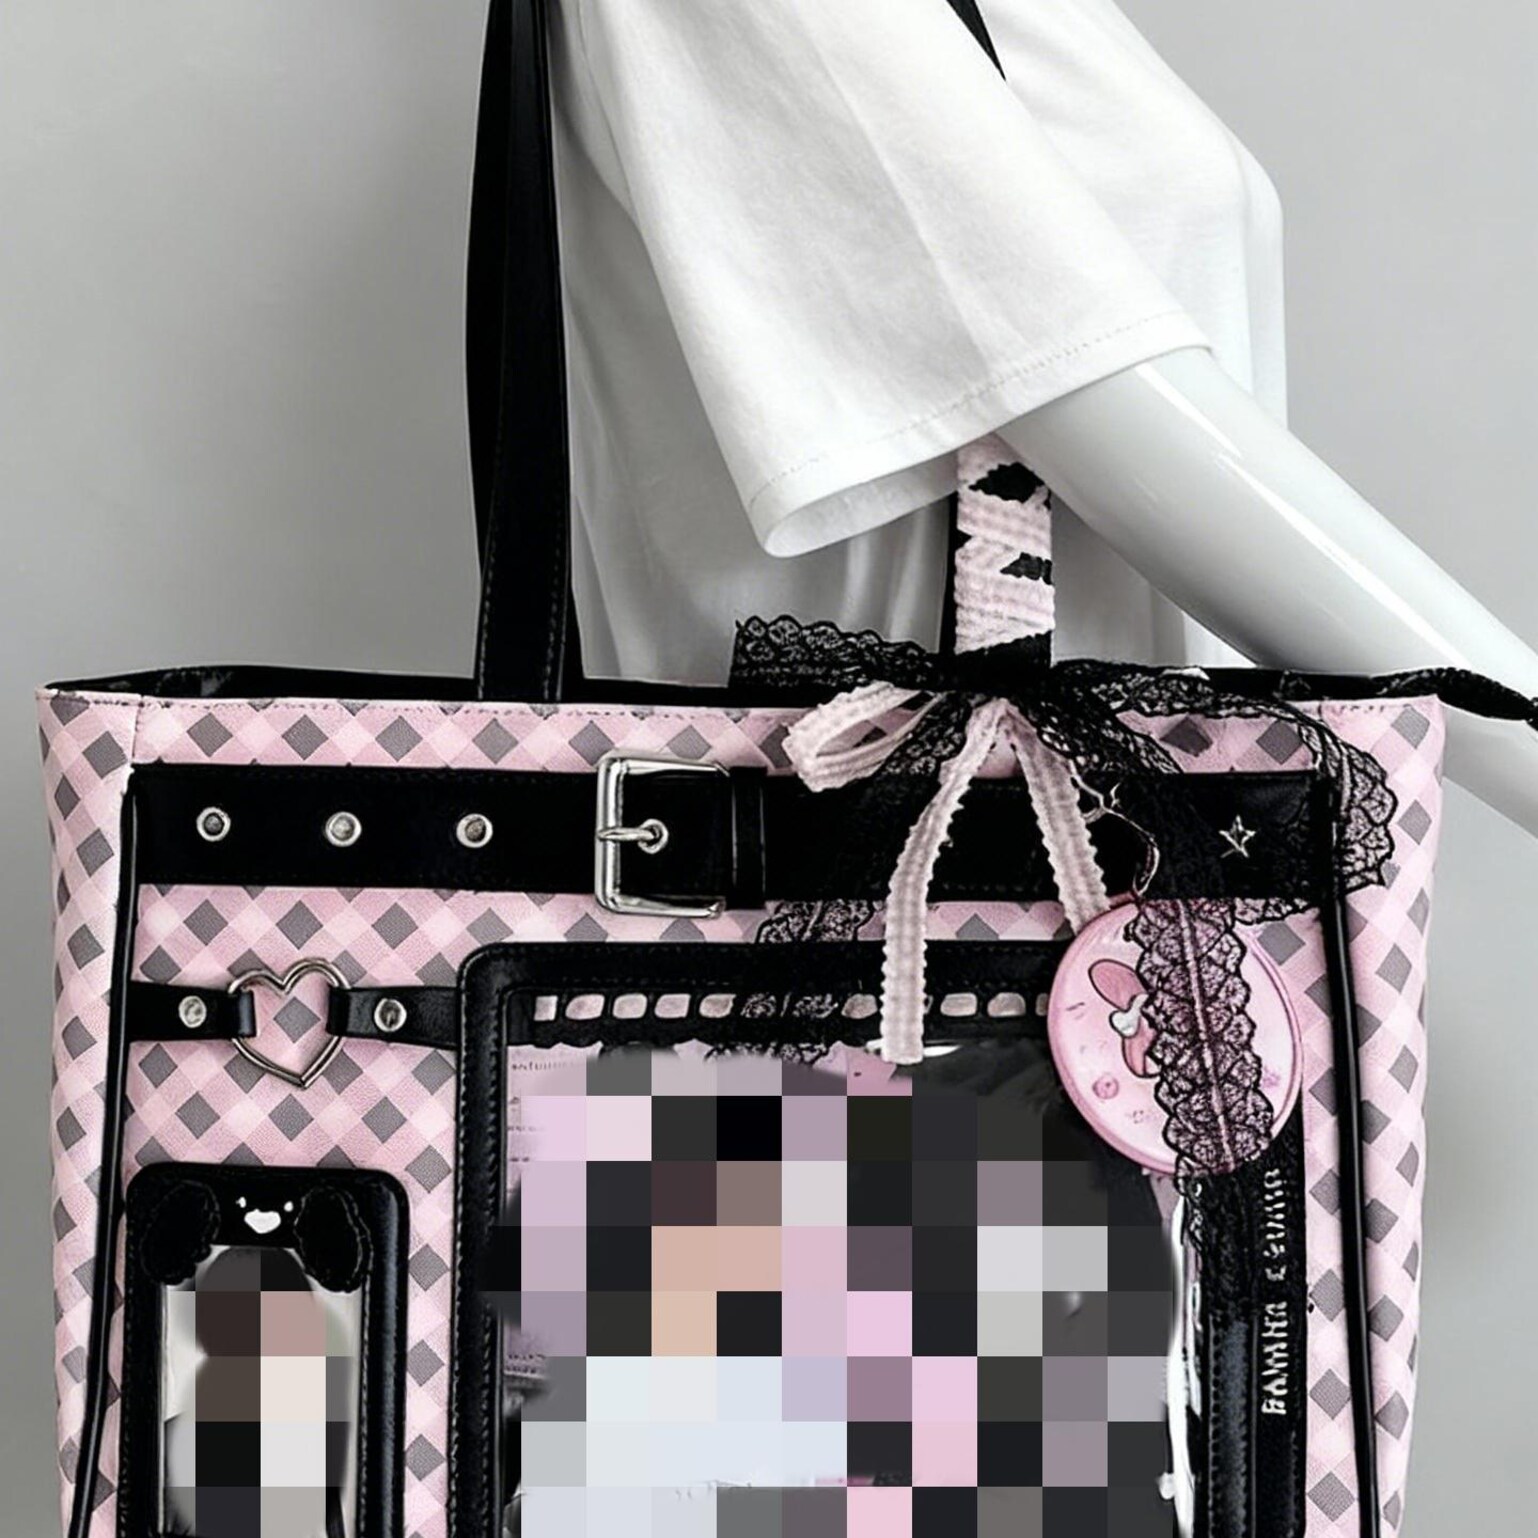
Café, shopping, indoor events | Light | Yes | No (hands not free)
Before you buy, confirm:
Ready to shop? Start here: Browse all ita bags · Ita bag starter kit · Insert size guide · How to set up your ita bag
Start with small-to-medium. A smaller window forces you to curate your display, which almost always looks better than a half-filled large window. You can always upgrade when your collection grows.
Crossbody bags wear on one shoulder or across the body. Better for daily carry, lighter, easier to access. Backpacks distribute weight across both shoulders — better for all-day convention wear or carrying heavier loads. The display window is on the front panel of both formats.
Some do, some don't. Every product page states whether an insert is included. Starter kits always include a matched insert. If the bag doesn't include one, use the insert size guide to order the right size separately.
A bundle that includes a bag, insert, and accessories. Designed for beginners who want everything in one purchase without sourcing each component separately. See our starter kit page.
Yes. Use a rigid or PVC insert rather than foam — photocards lie flatter against a rigid surface. Pin them (or use adhesive mounts) around the photocards. Medium crossbody or backpack formats give enough window space for a mixed display.
Pulled from the live April 15 catalog export used for this content audit.

Every audited page now ends with a live merch path and a guide path so the content can support both ranking intent and shopping intent.