Bag type
Typical window | Recommended insert | Fits approx.
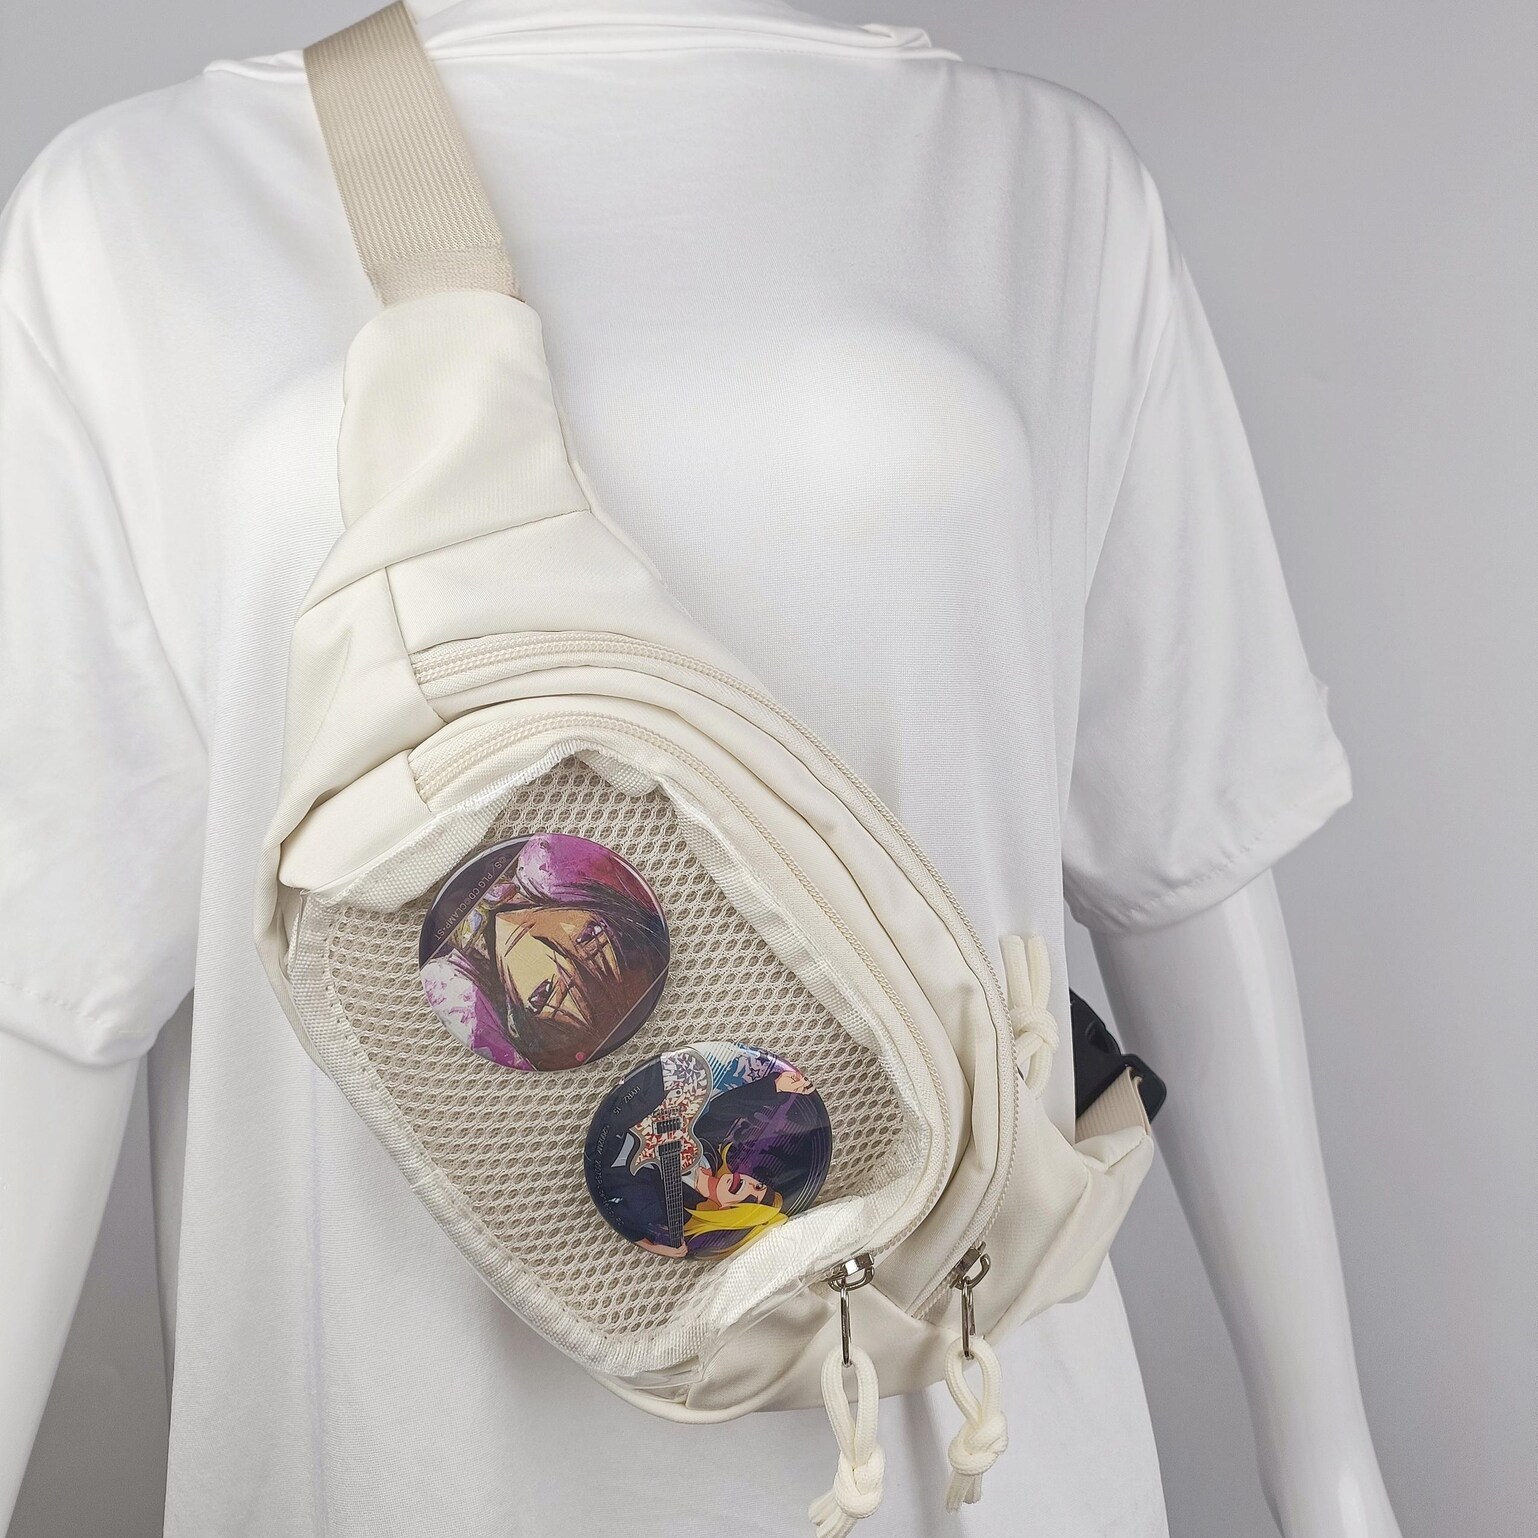
Mini crossbody
4"×4" to 5"×6" | 3.5"×3.5" to 4.5"×5.5" | 5-10 pins
Ita wallet / keychain
3"×3" to 4"×4" | 2.5"×2.5" to 3.5"×3.5" | 3-6 pins
Mini shoulder bag
5"×6" to 6"×7" | 4.5"×5.5" to 5.5"×6.5" | 8-12 pins
Bag type
Typical window | Recommended insert | Fits approx.
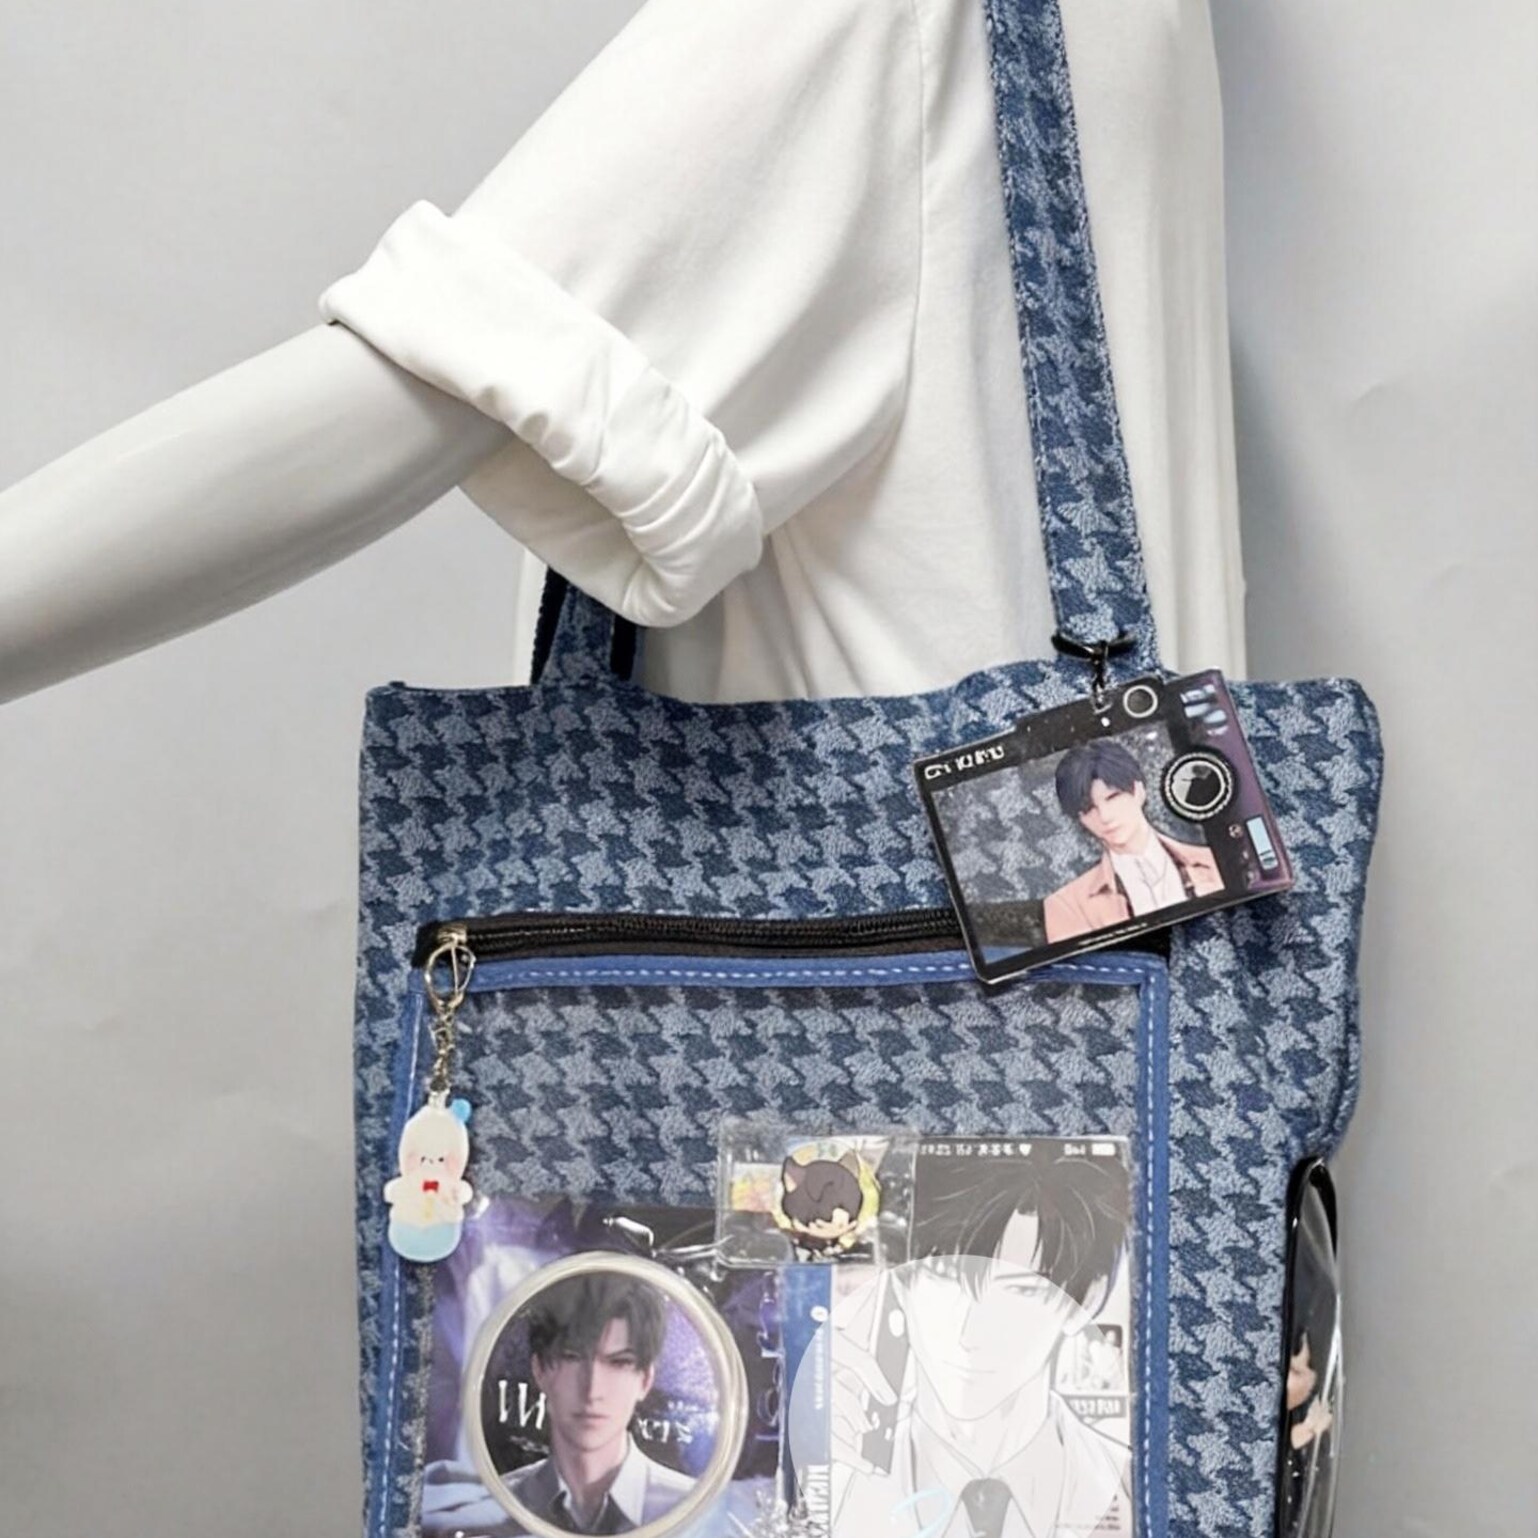
Small crossbody
6"×7" to 7"×9" | 5.5"×6.5" to 6.5"×8.5" | 10-18 pins
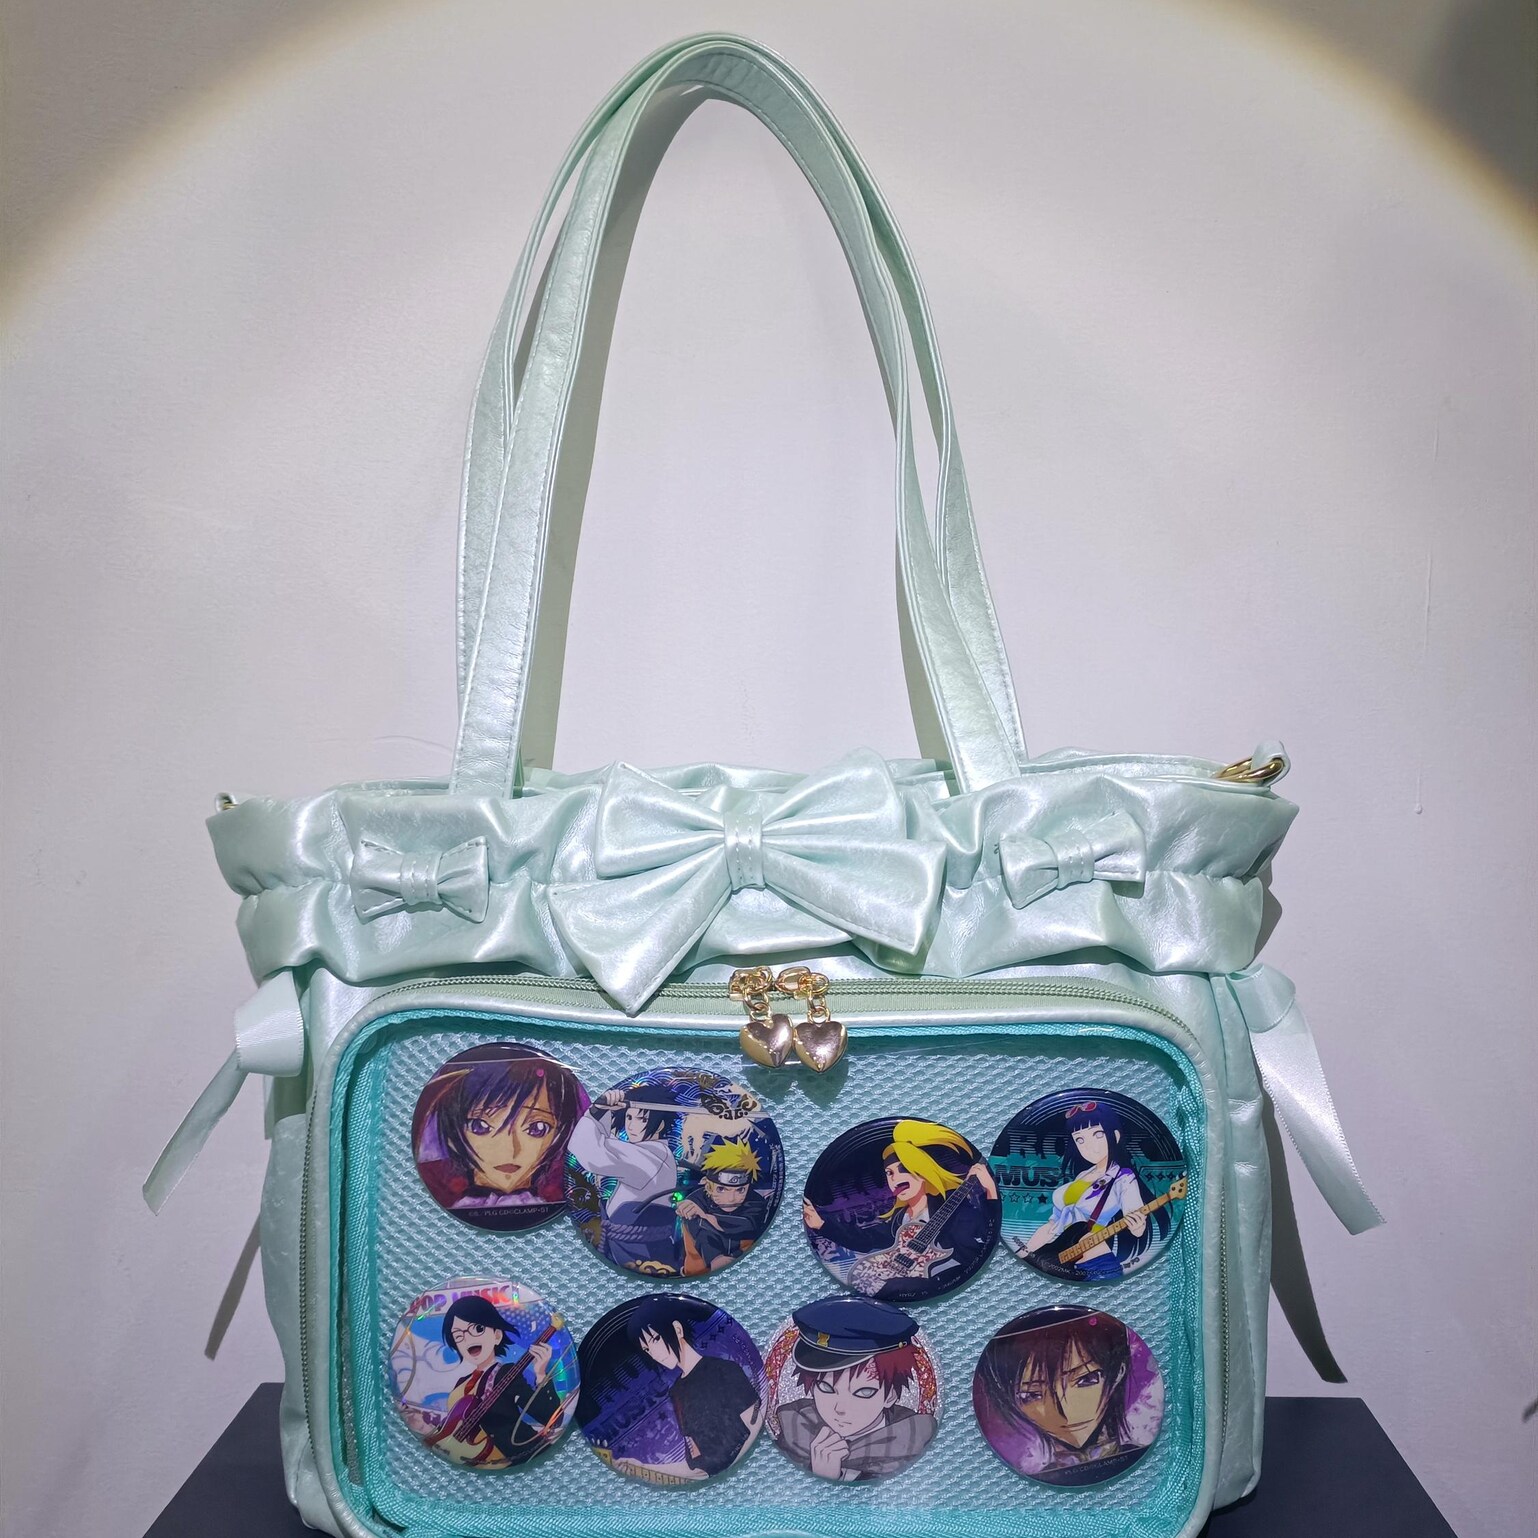
Medium shoulder bag
8"×9" to 9"×11" | 7.5"×8.5" to 8.5"×10.5" | 15-25 pins
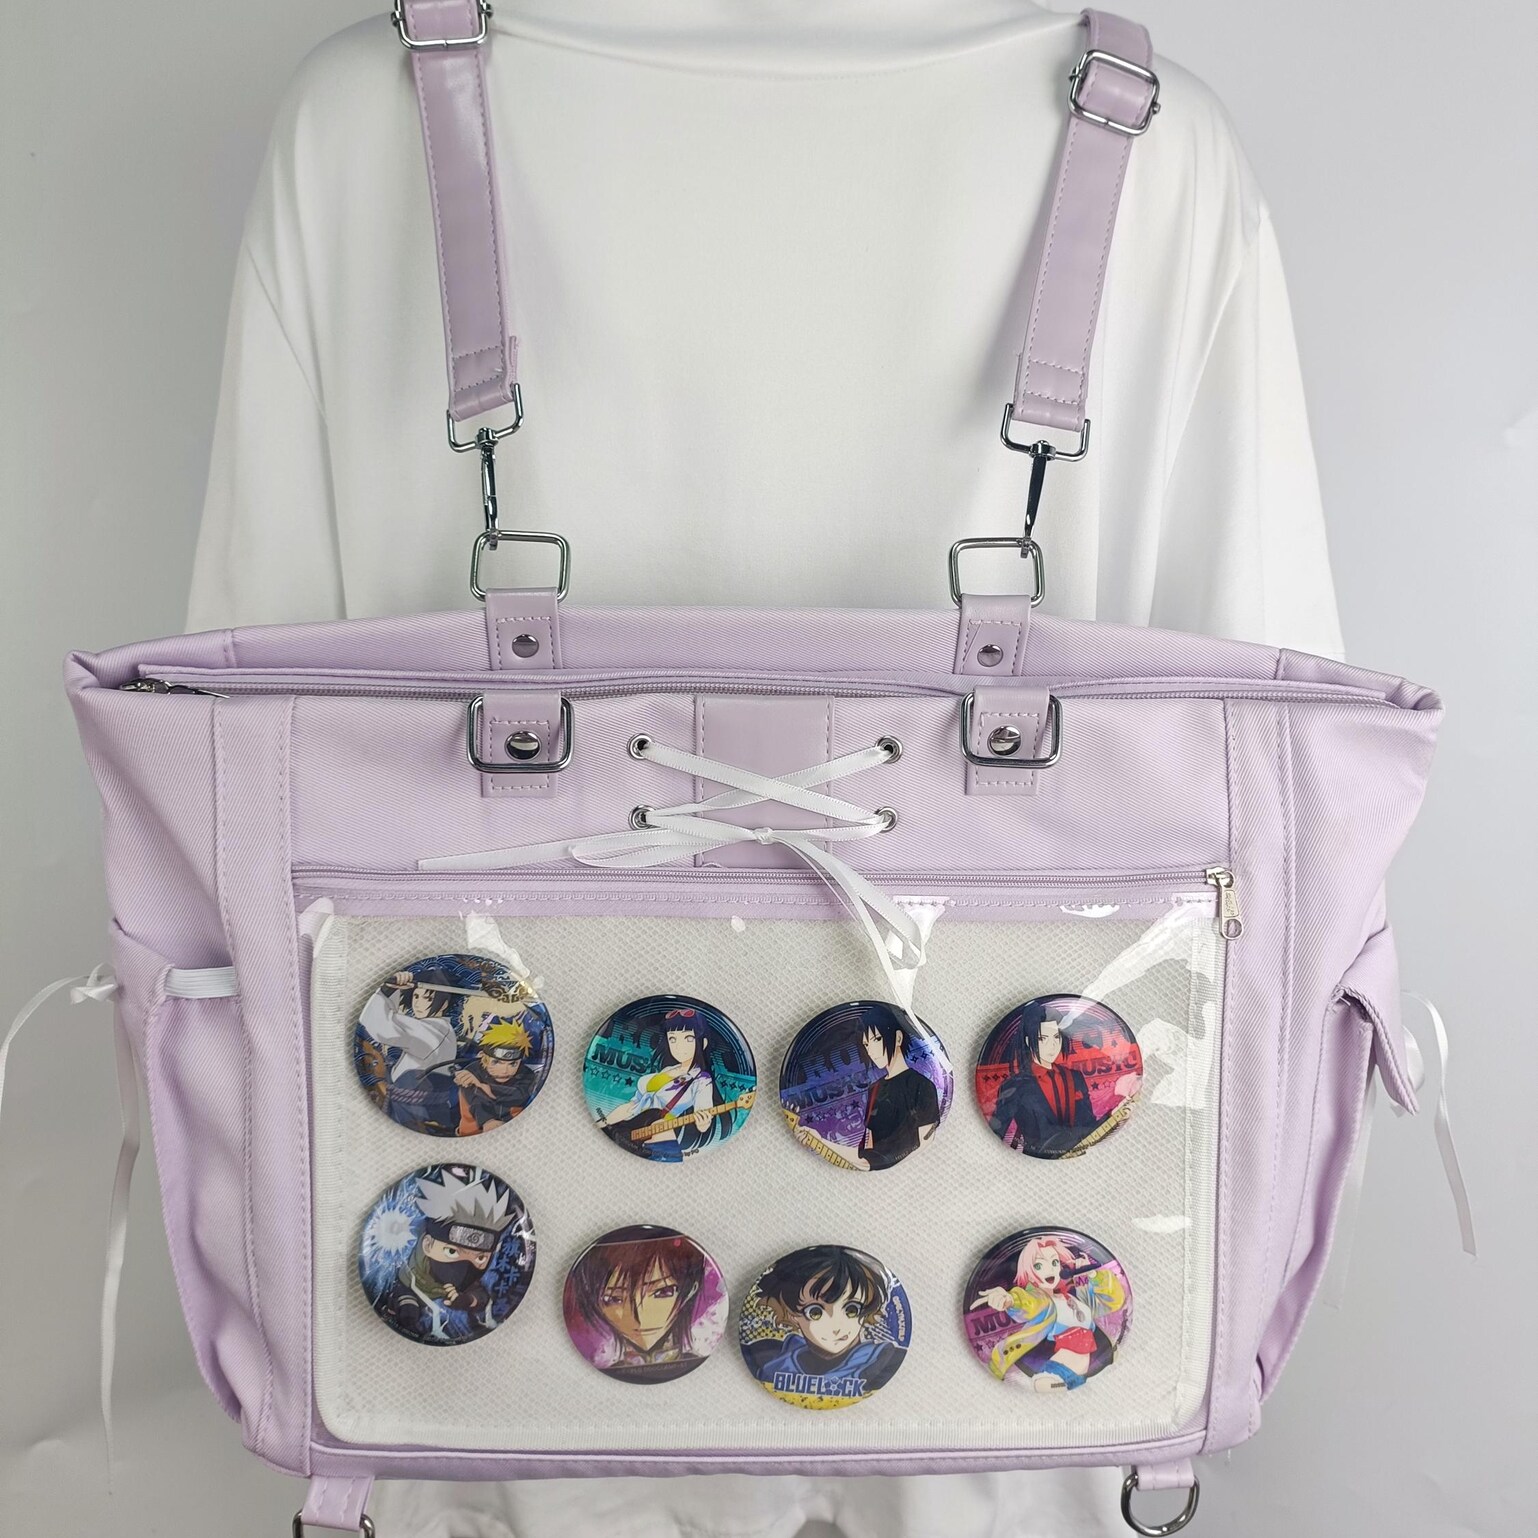
Small backpack
8"×10" to 9"×11" | 7.5"×9.5" to 8.5"×10.5" | 15-25 pins
Bag type
Typical window | Recommended insert | Fits approx.
Compact backpack
9"×11" to 10"×12" | 8.5"×10.5" to 9.5"×11.5" | 20-30 pins
Standard backpack
10"×12" to 11"×13" | 9.5"×11.5" to 10.5"×12.5" | 25-38 pins
Large backpack
11"×14" to 12"×15" | 10.5"×13.5" to 11.5"×14.5" | 35-50+ pins
Window shape
Typical dimensions | Insert note
Heart
Varies widely (6"×6" to 12"×12" total) | Must be heart-shaped, sized 0.5" smaller on each curve
Star
Varies (6"×6" to 10"×10" total) | Must be star-shaped, 0.5" smaller per point
Coffin
7"×10" to 9"×13" | Must be coffin-shaped; tapered bottom
Round
5"×5" to 9"×9" | Must be circular
Cat face
Varies (6"×7" to 8"×8") | Often oval or irregular — measure carefully