Setup Guide

How To Set Up An Ita Bag

A clean ita bag setup starts before you pin anything in place. The best layouts come from choosing the focal item first, then fitting the bag and insert around it.

This page uses current insert-ready products from the live catalog to keep the setup advice grounded.

What to Prepare Before You Start

Set everything out before the bag opens: your main merch, any supporting pieces, sleeves or backing cards if needed, and the insert if the bag uses one. The goal is to see the whole visual story before anything is attached — a dry-run on a flat surface before pins go anywhere.

Pick one focal idea first: one character, one group, one color family, or one merch type. That single decision removes most of the clutter before the arrangement even starts. A display that tries to show everything usually reads as nothing. A display with a clear focal point reads immediately, even through a bag window at a distance.

What to gather before you begin:

  • Your insert — removed from the bag and laid flat on a table
  • Your merch collection — everything you are considering for this display, sorted roughly by size
  • The bag — open and accessible so you can do test checks as you build
  • Pin backing cards or rubber clutches — if your pins need back covers, have them ready before you start pushing through the insert
  • Optional: a reference photo — a photo of a display you like can help you troubleshoot visual balance as you go

One underrated preparation step: photograph your merch spread flat before you start pinning anything. If the arrangement goes wrong, you have a reference to rebuild from without having to remember which piece went where.

Choosing the Right Insert for Your Setup

The insert is the surface everything pins to. Getting the right one for your use case makes the whole setup easier and the result more stable.

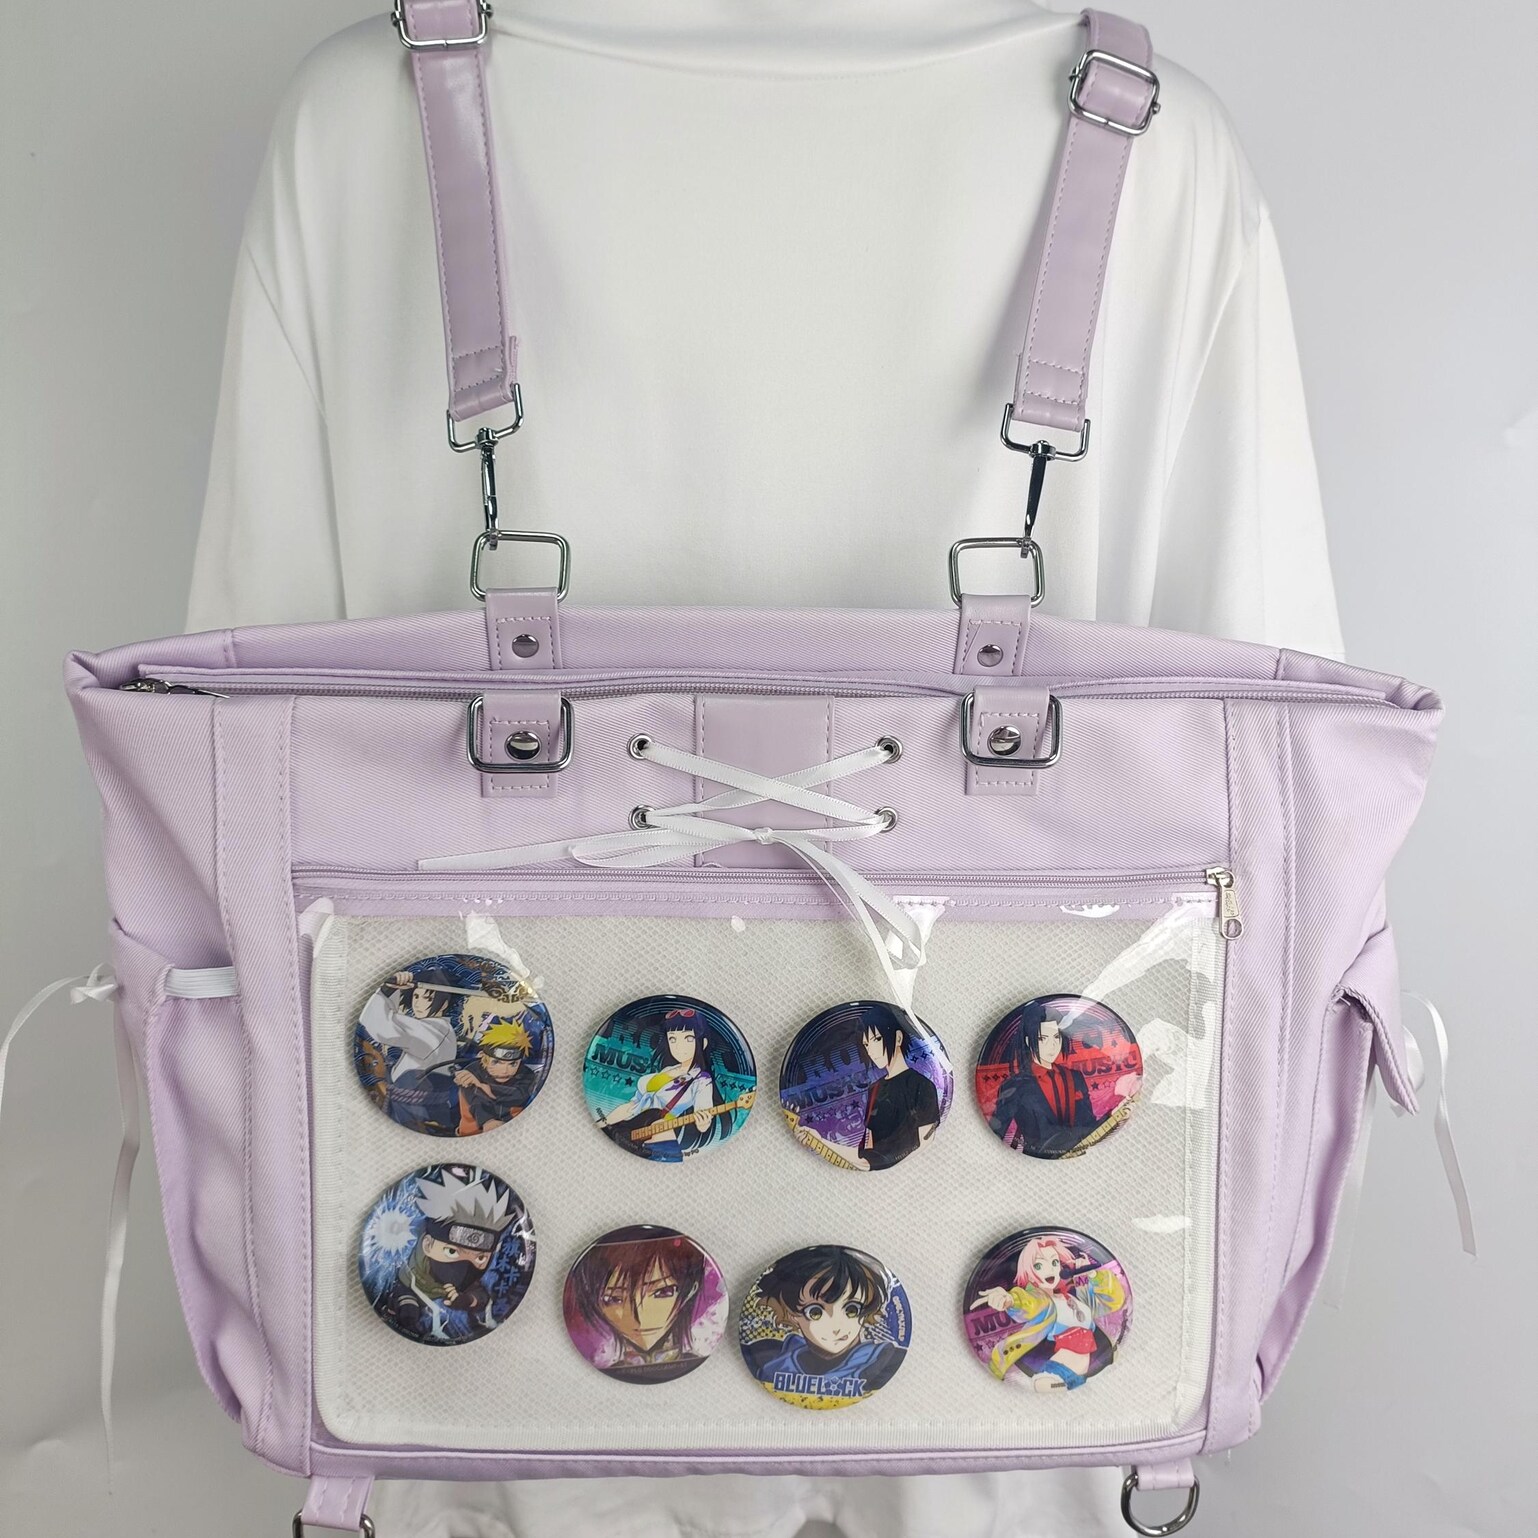
Fabric-wrapped foam board is the most common insert type. Pins push in anywhere on the surface, hold firmly without pre-existing holes, and come out cleanly when you want to change the arrangement. The soft surface tolerates frequent repositioning well. This is the right insert for most collections.

Plastic canvas is a rigid grid used in cross-stitch crafts. Pins go through the grid holes rather than the fabric directly. The positioning is constrained to the grid spacing (approximately every 6–7mm), which actually helps newer collectors build more structured, evenly-spaced displays. The surface is easy to wipe clean and holds up well over years of use. The downside: you cannot place a pin exactly anywhere — only on the grid intersections.

Cardboard or craft foam is the cheapest option and works fine for casual use, but it degrades faster than either alternative. If your bag came with this type and you are pinning the same display for months at a time, consider upgrading to a foam board insert cut to the same dimensions.

Insert sizing: before buying a separate insert, measure your window opening — the inside edge of the frame, not the outer bag dimension. Cut-to-size or pre-sized inserts are available in the inserts archive. A properly fitted insert sits flush in the window without visible gaps or bunching at the edges.

A Setup Flow That Actually Works

The easiest setup flow is repeatable and takes the same time whether you are setting up for the first time or rebuilding the bag for a new event. Follow these steps in order:

  1. Remove the insert from the bag and lay it flat. This is the actual work surface. The insert outside the bag is easier to see from above and easier to arrange without fighting the bag shape.
  2. Place the focal item first. The largest acrylic stand, the most important pin cluster, or the centerpiece plushie goes in the center of the insert. Leave clear space around it — at least one pin-width on all sides if possible.
  3. Add medium-size supporting pieces next. These are pieces that complement the focal item in color, character, or theme. They should feel connected to the center, not competing with it for attention.
  4. Use small filler pieces last. Button badges, small charms, and mini pins fill in the negative space after the composition is already readable. Do not use filler pieces to solve a composition problem — they will make it worse.
  5. Check the window before you call it done. Hold the insert up behind the bag’s window panel without inserting it. The window will crop the edges of the insert — anything too close to the border will be hidden. If important pieces are getting cut, shift the composition toward the center.
  6. Insert and final check. Slide the insert back into the bag. Look at the display through the window at arm’s length. This is how other people will see it. If something feels off at this stage, it is usually a piece that needs to move slightly or be removed entirely.

The full setup — from first pin to final insert — typically takes 15–30 minutes for a practiced collector and 45–90 minutes for someone setting up for the first time. The layout gets faster with repetition.

Layout Strategies by Merch Type

The right layout strategy depends on what you are displaying. Different merch types behave differently on an insert and need different spatial approaches.

Enamel pin displays. Work best when arranged in thematic clusters rather than random scatter. Create a clear focal cluster (3–5 pins around the most important character) and build outward. Use size variation — a large statement pin surrounded by smaller supporting pins — to create visual hierarchy. Leave intentional negative space between clusters rather than trying to fill every square centimeter.

Acrylic stand displays. Stands need to lean slightly to stay upright and visible through the window. Group them by character or by scene and use pin or charm anchors around their bases to prevent sliding. For multiple stands, staggering the heights — taller ones toward the back, shorter ones in front — creates depth even in a flat window format.

Photocard displays. Photocards are flat and can overlap slightly without losing readability. Many collectors use small card sleeves pinned to the insert to protect photocards while displaying them. Arrange by era, group, or color for the most cohesive look. One common approach: a grid arrangement of sleeved cards as the background layer, with one or two featured cards or an acrylic stand in the center as the focal point.

Mixed displays (pins + stands + charms). Give each type its own visual zone within the window. Pins as background texture, stands as midground focal points, charms hanging from the window frame edge if your bag allows. Mixing everything at the same visual depth creates visual noise. Layering by depth creates a coherent shrine.

How Inserts Change the Result

Inserts make pin placement cleaner and make revisions easier. Without an insert, pins have to go directly through the bag’s interior fabric or into foam tape stuck inside the window — neither of which allows easy repositioning or creates a clean, even surface for a dense display.

A good insert also gives the display structure. When you hold up a well-loaded insert, the arrangement holds its shape — pins do not shift around, stands do not lean inconsistently, the visual balance you set on the table is the visual balance you get through the window. Without an insert, the display shifts every time the bag moves.

For denser layouts — 30+ pins, multiple stands, or a mix of merch types — the insert becomes the determining factor in whether the display looks intentional or chaotic. A quality foam insert with firm pin grip makes a 50-pin layout manageable. A thin or low-quality insert makes the same layout feel unstable.

Your display should look intentional through the clear panel at arm’s length. That standard — intentional at arm’s length, from the outside — is the one worth optimizing for. An insert that passes that test is the right insert for your use case. If you want a denser layout, the inserts archive and the clear-window archive are the useful next steps.

What to Fix When the Layout Looks Crowded

If the display feels messy, remove the weakest filler pieces first. Most crowded layouts need subtraction, not more decoration. Adding a cute accessory to a cluttered display does not fix the cluttered display — it adds another element competing for attention.

Common crowding fixes:

  • Remove the smallest or most generic pieces. The small logo pins, the generic badge buttons, the filler charms that do not connect to the main theme — these go first. What remains should have a clear reason to be there.
  • Increase the spacing around the focal item. If the center feels busy, pull the surrounding pieces outward by one pin-width. The empty space makes the focal item more visible, not less impressive.
  • Reduce the number of merch types. A display of all pins reads more cohesively than a display mixing pins, cards, stands, and charms at random. If it looks busy, try simplifying to two merch types maximum.
  • Check whether the insert is the right size. A display that feels forced may be because you are trying to fit a large collection into a small window. If the window is genuinely too small for what you own, a larger bag format is the actual solution.

If you keep fighting the fit, it is probably a bag size problem, not a creativity problem. That is when the inserts archive or the clear-window archive is more useful than adjusting the current layout further.

Building a Single-Character Shrine

A character shrine is an ita bag display dedicated entirely — or primarily — to one character, idol, or figure. These are among the most visually striking ita bag setups because the thematic coherence is immediately legible. You see the bag from across the room and instantly know who it is dedicated to.

To build an effective character shrine:

  • Choose your hero piece first. This is your best, largest, or most iconic item for the character — usually a large acrylic stand, a statement enamel pin, or a centerpiece rosette. Everything else in the display serves this piece.
  • Collect pieces across merch types. The most cohesive shrines typically have a mix: official merchandise and fan-made pieces, pins alongside acrylic stands, key charms at the edges. The variety creates visual texture while the single-character focus maintains coherence.
  • Use the character’s color palette as the frame. If the character has a signature color (Miku’s teal, Gojo’s blue, a K-pop group’s specific colors), lean into it for the background decorations, ribbons, and supplementary pieces even if the main merch items are varied.
  • Keep it updated. A shrine bag for an active fandom grows over time. New merch from a recent album or season update, seasonal variants, and limited releases give you reasons to refresh the layout. Regular updates also keep the display feeling current rather than static.

Updating Your Display for Events and Seasons

One of the most useful features of the insert system is that it makes regular updates fast. A full display swap — removing all pins, re-arranging the insert, and re-pinning a new setup — takes 20–40 minutes for most collectors. This means the bag can change identity for different contexts without buying a new bag.

Common reasons to update the display:

  • Upcoming convention or fan event. Rebuild the display around the fandom that will be most represented at the event. At Anime Expo, a Genshin or JJK shrine will draw more conversation than a mixed-fandom display.
  • New album or season release. K-pop fans often rebuild their bias bag around each new comeback, using the latest merch to signal that they are current fans. Anime fans do the same after a new season drops.
  • Seasonal themes. Winter, Halloween, Valentine’s Day, and sakura season all offer natural opportunities to add seasonal elements — themed enamel pins, holiday acrylic charms, or color palette shifts — without fully replacing the base display.
  • Reducing the collection. As pin collections grow, the bag can become a curated display of highlights rather than trying to fit everything at once. Rotation keeps the display fresh and lets more of the collection get visible time.

The insert system is specifically designed for this: pins come out cleanly and re-enter new positions without damaging the insert surface over normal update cycles. A quality foam insert handles dozens of pin-in, pin-out cycles before showing meaningful wear.

Four live insert-ready products that are easier to set up

These products either ship with inserts or clearly frame the display space, which lowers setup friction and gives a fuller range to compare.

Ita Crossbody Bag with Clear Window and Included Insert for Pin Display

Ita Crossbody Bag with Clear Window and Included Insert for Pin Display

Clear Window Ita BagsIta Bags For Pins

Combines everyday carry with a clear display area for pins, badges, charms, or character merch.

  • The transparent display window lets you show off your pins, badges, small toys, and character cards to your…
  • Includes bag, inserts, pearl charm only, badge not included.

$43.21

In stock
View product
Ribbon Ita Backpack with Clear Window and Included Insert for Plushies and Pins

Ribbon Ita Backpack with Clear Window and Included Insert for Plushies and Pins

Clear Window Ita BagsIta Bag Backpacks

Designed to display plushies, dolls, pins, and badges while keeping everyday essentials organized.

  • Package includes: One bag, one insert, two shoulder straps, two back straps
  • Handcrafted: Polyester material, hand-sewn.

$52.4

In stock
View product
Ita Purse with Clear Window for Pin Display

Ita Purse with Clear Window for Pin Display

Clear Window Ita BagsIta Bags For Pins

Combines everyday carry with a clear display area for pins, badges, charms, or character merch.

  • Keep your collection neat with this ita organizer panel badge insert board collector display pad window purse…
  • Perfect for conventions, fan events, or daily aesthetic outfits, this lightweight accessory helps transform…

$16.82

In stock
View product
Large Convertible Ita Bag with Clear Window and Included Insert for Plushies and Pins

Large Convertible Ita Bag with Clear Window and Included Insert for Plushies and Pins

Clear Window Ita BagsConvertible Ita Bags

Designed to display plushies, dolls, pins, and badges while keeping everyday essentials organized.

  • Dimensions of the side window: Height: 20 cm, Width: 9 cm.
  • Handmade. The transparent window on the side can hold dolls.

$94.44

In stock
View product

FAQ

Do I need an insert to set up an ita bag?

Not always, but inserts make dense pin layouts easier to control and revise.

How many items should go in a first layout?

Fewer than most beginners expect. Start with one focal item and only a few supporting pieces.

Why does my layout look good outside the bag but messy inside it?

Because the bag frame and window crop the display. Always do a final check with the insert back inside the bag.

Set it up, then shop the right archive

If the layout still feels cramped or unstable, move straight into the archive that solves the setup problem.