
Ita Bag Blog
What Is an Ita Bag Insert
What Is an Ita Bag Insert? What It Does and When You Need One
An ita bag insert is the removable panel that sits behind the clear window of the bag and gives you a safe surface to pin merch into. Instead of pushing pin backs through the bag itself, you pin into the insert, arrange your layout, and then place the finished panel inside the display window.
If you are new to ita bags, this is the single component that makes the display functional. Without an insert, most pin-based setups are awkward, unstable, or impossible to build cleanly.
An ita bag insert is the removable panel that sits behind the clear window of the bag and gives you a safe surface to pin merch into. Instead of pushing pin backs through the bag itself, you pin into the insert, arrange your layout, and then place the finished panel inside the display window. If you are new to ita bags, this is the single component that makes the display functional. Without an insert, most pin-based setups are awkward, unstable, or impossible to build cleanly.
What an Insert Actually Does
An ita bag insert is a rigid or semi-rigid panel that sits inside the display window of an ita bag. Its job is to hold pins, charms, acrylic stands, and photocards in a stable, visible arrangement — so your display looks intentional rather than loose and shifting around with every step.
Why the Insert Matters More Than the Bag
Most ita bag beginners focus entirely on choosing the bag and underestimate the insert. The insert is actually the display surface. The bag is just the frame and carrier. A great bag with a weak insert produces a sloppy display. A mid-range bag with a firm, well-fitted insert can look polished and professional.
The insert serves four practical purposes:
- Holds pins in place — the insert material grips the pin post so pins face forward, not sideways
- Creates a flat display surface — without it, the window is soft and pins cluster at the bottom
- Protects the PVC window — pins pushed directly into floppy fabric can distort the window shape over time
- Makes rearranging easy — you pull the insert out, move pins, slide it back in
Insert Materials Compared
Foam board is the most common and beginner-friendly option. Standard craft foam or EVA foam is lightweight, easy to cut to size, and pins push in and pull out without tools. The downside: it compresses over time in heavy-use areas, leaving visible holes. For casual collectors and smaller bags it works well. Replace every 6–12 months if heavily used.
Plastic canvas (the needlepoint grid mesh) is the second most popular. The grid holes accept pin posts cleanly and the rigid structure keeps the insert flat even in large bags. It is slightly heavier than foam but does not compress or wear out. Good for collectors who rearrange their display frequently. Cut to size with scissors.
Cardboard or foam core board gives the most rigidity for large windows, but is heavier and can bow outward if the bag is overfull. Best used in structured backpacks where the bag’s frame adds support.
Fabric-backed boards (foam or cardboard wrapped in felt or velvet) add a polished look. The fabric surface holds pins at any angle without leaving holes. Popular for display-focused setups where the insert is a design element in itself — dark felt for Genshin Impact or JJK builds, pastel fabric for Sanrio or K-pop displays.
Getting the Right Size
The insert should fit snugly inside the window pocket — not so tight that it bows the window, not so loose that it slides and shifts. Most bags list window dimensions in the product description. If yours does not, measure the interior width and height of the window pocket with a ruler before cutting your insert. See the ita bag insert size guide for dimension tables by bag type.
For bags where the insert pocket opens at the top: cut the insert 0.5–1cm narrower than the pocket width to allow easy removal. For side-entry pockets: cut to match the width exactly, as the snug fit holds the insert in place.
Does My Bag Come With an Insert?
Some ita bags include a thin foam insert. Whether it is sufficient depends on the thickness and rigidity. A single layer of 3mm foam in a large bag will flex and allow pins to point sideways. For most bags, the included insert is a starting point — you may want to add a layer of plastic canvas or foam core for a firmer display. See the bags that include usable inserts for options where the included board is adequate out of the box.
FAQ
- Can I use an ita bag without an insert?
- Technically yes, but pins will not stay upright and the display will look messy. The insert is what makes an ita bag a display piece rather than a bag with pins stuck in it.
- How do I make my own insert?
- Measure your window pocket, cut foam board or plastic canvas to fit, and optionally wrap in felt. The insert-making guide covers this in detail with material options and cutting tips.
- What size insert do I need for a standard ita bag?
- A standard crossbody ita bag usually has a window of 24–28cm wide and 18–22cm tall. Mini bags run 18–22cm × 15–18cm. Large backpacks can go up to 35×28cm. Measure your specific bag for best results.
- Where can I buy pre-cut inserts?
- Craft stores sell foam board and plastic canvas by the sheet. Artist alley vendors at anime conventions often sell pre-cut inserts. Some ita bag shops on Etsy sell cut-to-size inserts for popular bag models.
Shop Ita Bags
Browse the full ita bag collection — all bags include insert dimensions in the product description. If you are buying your first bag, the beginner picks guide highlights bags with the most accessible window and insert setup.
Do All Ita Bags Come With an Insert?
No. Some bags include one by default, and some do not. This is where many buyers get confused. A product page may show a finished pin layout in the window, but that does not always mean the insert is included. Sometimes the display panel in the photos is just a styled example. Before buying, check for one of these details: If none of that is listed, assume you need to verify before buying. You can also browse ita bag inserts or compare fit using the ita bag insert size guide.
- "Insert included"
- "Comes with insert"
- "Removable insert panel"
- exact insert dimensions
What Is an Ita Bag Insert Made Of?
Most inserts use one of three base constructions: Foam insert This is the most common option. Pins push in easily, the panel is lightweight, and it works well for standard enamel pin setups. Plastic canvas or stiff mesh core This is firmer and better for heavier displays. Some makers wrap the plastic canvas in felt or fabric so the front looks cleaner. Fabric-covered insert This usually means a foam or board core covered in felt, canvas, or another display fabric. The fabric improves the look of the display and can help merch sit more securely. If you want the full comparison, read Ita Bag Insert Materials.
What Can You Put on an Insert?
Most collectors use inserts for: The insert is especially important for enamel pins because the pin posts need something to pass through. For photocards or acrylic stands, the insert still matters because it gives you a stable base for clips, sleeves, velcro, or stitched loops. For setup-specific tutorials, see:
- enamel pins
- button badges
- acrylic charms
- small keychains
- photocards in sleeves or pockets
- lightweight plush accessories
- How to Display Photocards in an Ita Bag
- How to Put Acrylic Stands in an Ita Bag
- How to Put Keychains in an Ita Bag
Why You Should Not Pin Directly Through the Bag
Some beginners try to skip the insert and push pins through the interior wall of the bag. That usually creates one of three problems: The inner wall of the bag is not designed to take repeated pin holes. You cannot easily remove the full display and adjust it on a flat surface. Heavy merch can pull awkwardly against the front panel if the structure behind it is too soft. An insert protects the bag and makes the display easier to manage. Even a simple DIY insert is usually better than using the bag interior as your base.
- Damage to the lining
- Poor layout control
- Visible stress on the window area
When You Need a Separate Insert
You should buy or make a separate insert when: Collectors who switch between fandoms often keep more than one insert. That way one bag can hold a concert layout one week, a plushie theme the next week, and a convention setup after that.
- the bag does not include one
- the included insert is too thin for heavy merch
- you want a different color background
- you rotate setups often and want multiple ready-made layouts
- you need a custom shape for a shaped window
How to Tell If the Included Insert Is Good Enough
Not every included insert is equally useful. A strong insert should: If the included insert is floppy, undersized, or very thin, you may still want to replace it. This is common with budget bags. Use the insert size guide if you want to compare the window opening against the panel that came with your bag.
- fit the display window properly
- stay flat without buckling
- be thick enough to support your merch
- hold pin backs securely
- come out cleanly for rearranging
DIY vs Buying a Ready-Made Insert
There is no single correct answer here. It depends on your bag, your merch weight, and how polished you want the final setup to look. Buy a ready-made insert if: Make your own insert if: If you want to make one, the next step is How to Make an Ita Bag Insert.
- your bag has a standard rectangular window
- you want a clean fit with minimal trial and error
- you need multiple inserts fast
- your bag has a custom shape
- you want a specific fabric color
- you need a thicker or firmer build than typical stock inserts
Common Insert Mistakes
The main compartment size does not tell you the insert size. Always measure the display window.
An insert that is too large will bow, catch on the zipper line, or press against the front window.
Very soft foam can sag under the weight of large pins, acrylic charms, or layered accessories.
Some builds need more depth than the window area allows. The insert may fit, but the merch still presses too hard against the clear panel.
Quick Decision Guide
If you are not sure whether you need an insert, use this rule: For a direct comparison, read Insert vs No Insert Ita Bag.
- Pins or badges? Yes, you need one.
- Photocards only? Still recommended for better structure.
- Heavy acrylics or layered charms? Yes, and choose a firmer material.
- Bag already includes a sturdy insert? You may be fine with the one it comes with.
Frequently Asked Questions
For pin-heavy setups, yes. It is the safest and easiest way to build the display.
Temporarily, yes, but it bends easily and does not hold up well with repeated use.
Yes. Black, white, pink, and neutral fabric-covered inserts are common because they change how the merch looks through the window.
Yes. Many collectors keep multiple inserts so they can swap themes without rebuilding the entire layout.
Buy one that matches the window size or make your own using foam, plastic canvas, or a fabric-covered base.
Live Bags That Mention an Included Insert
The current live catalog does not expose standalone insert-only products, so these are live bags that explicitly mention an included insert and help explain how inserts are used in practice.
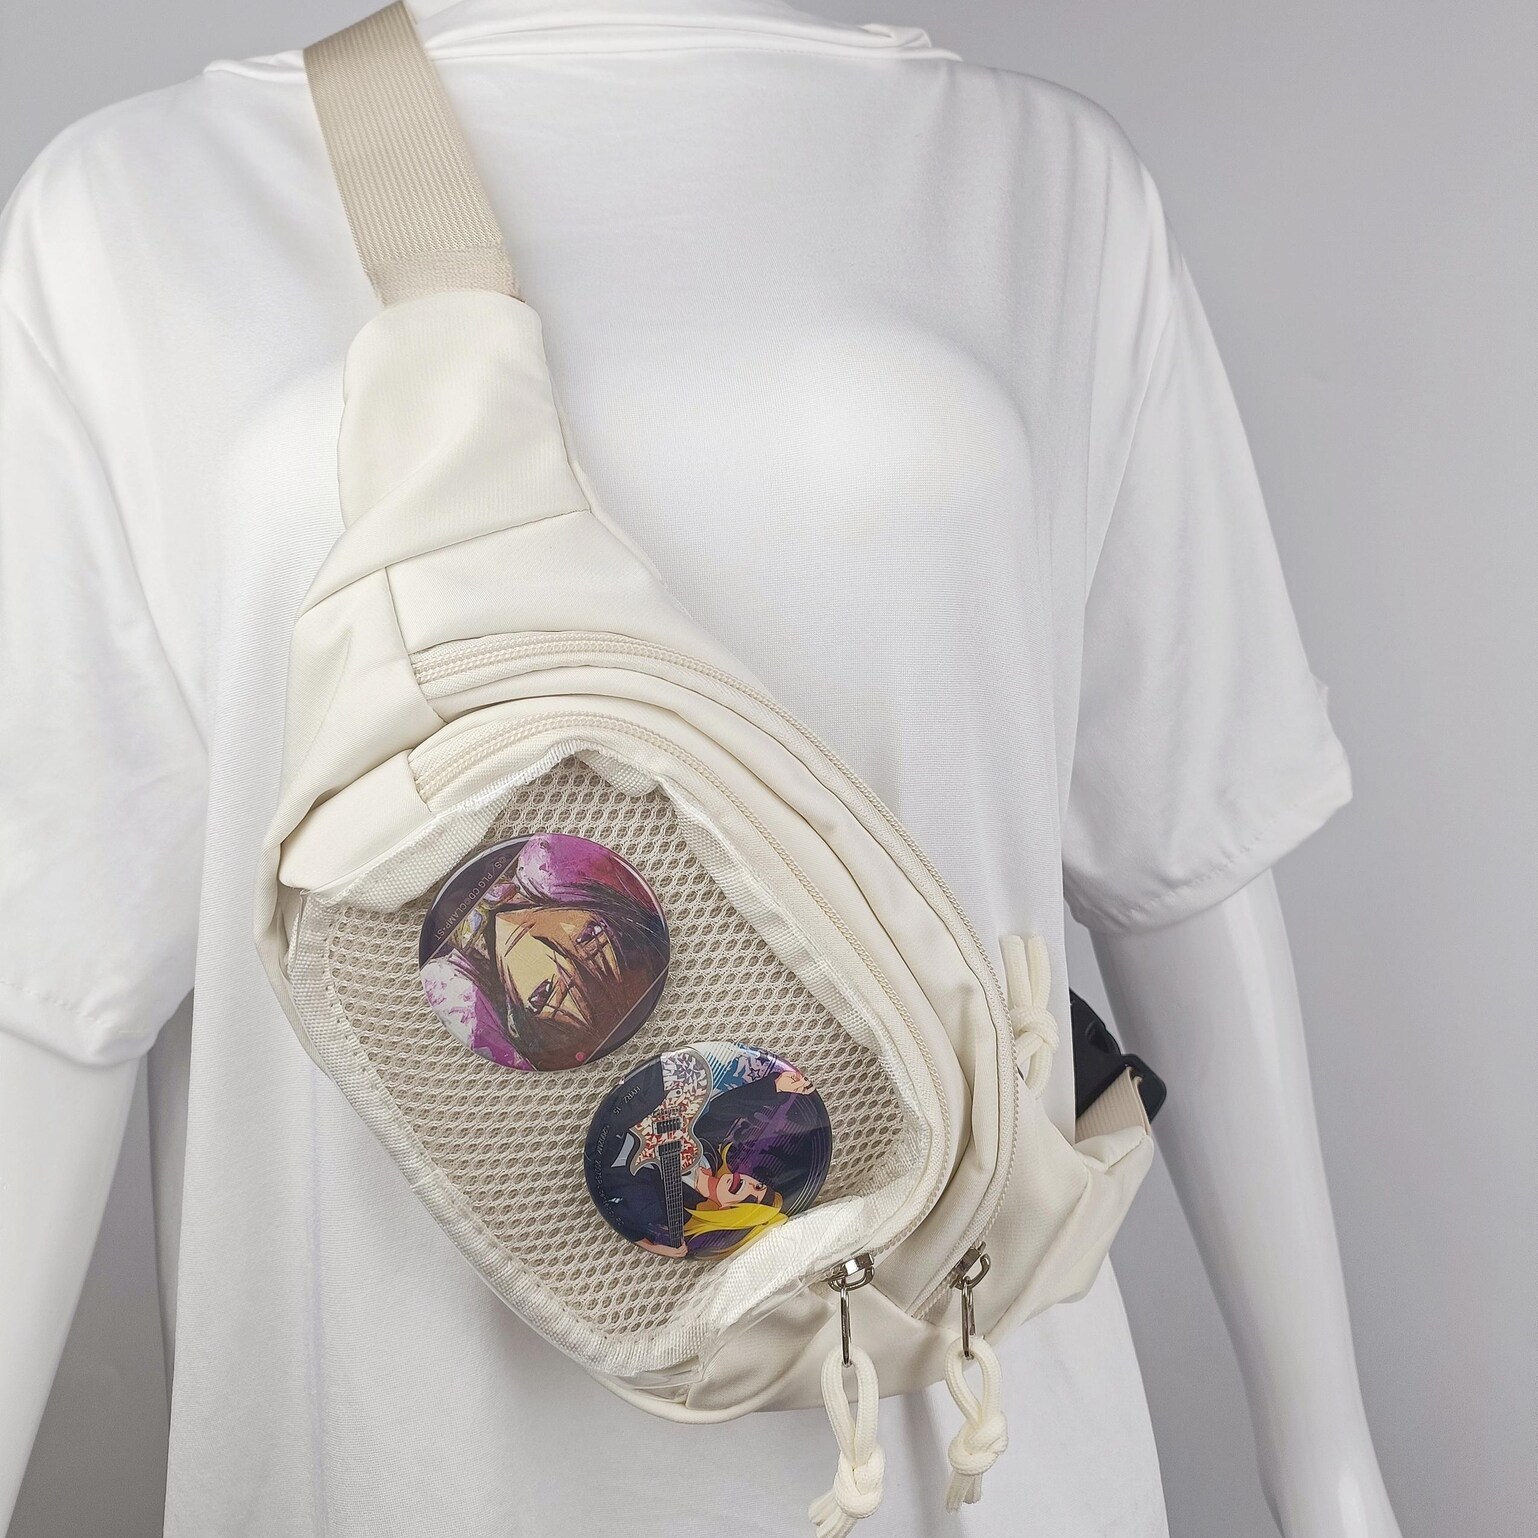
Mini Ita Crossbody Bag with Clear Window and Included Insert for Plushies and Pins
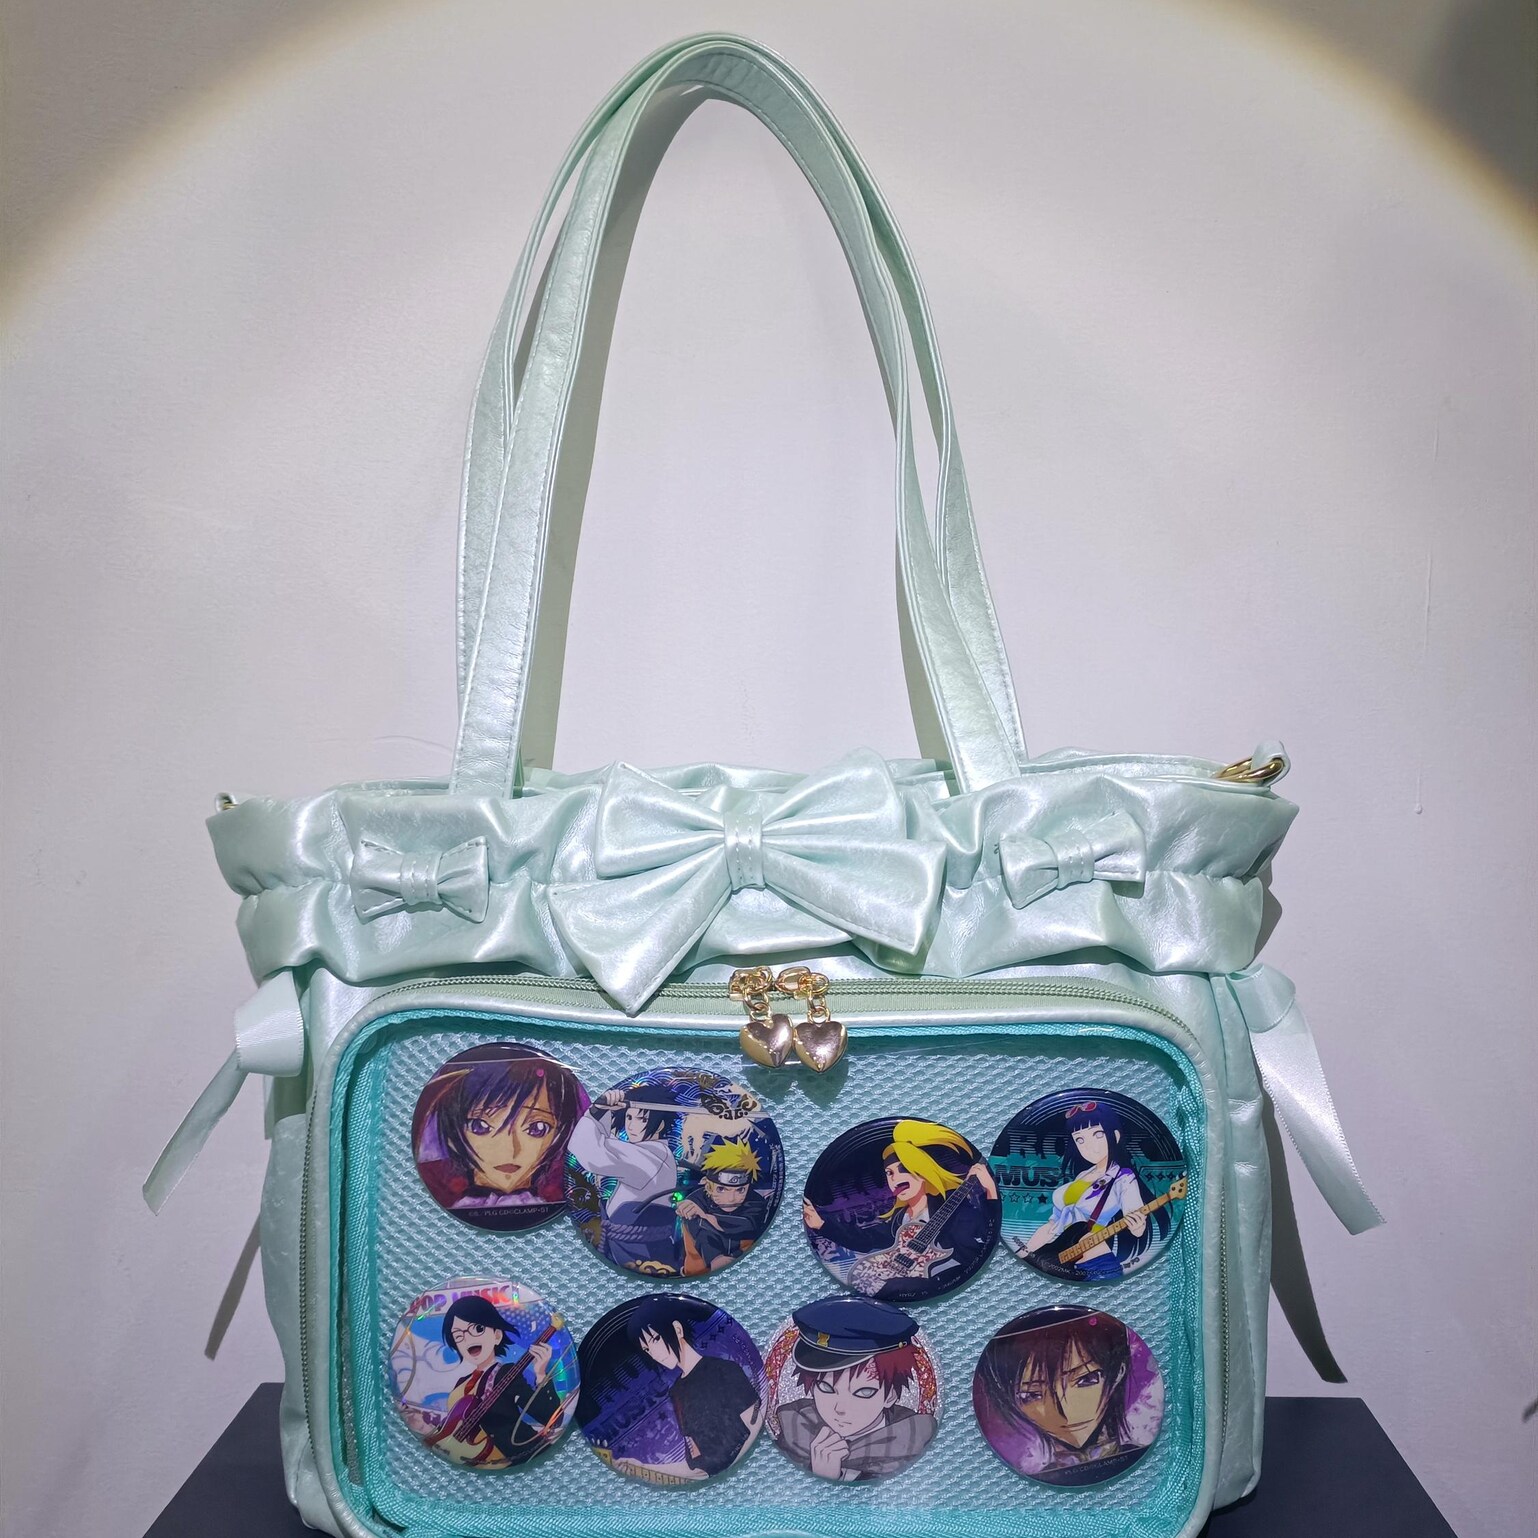
Green Ribbon Ita Crossbody Bag with Clear Window and Included Insert for Pin Display
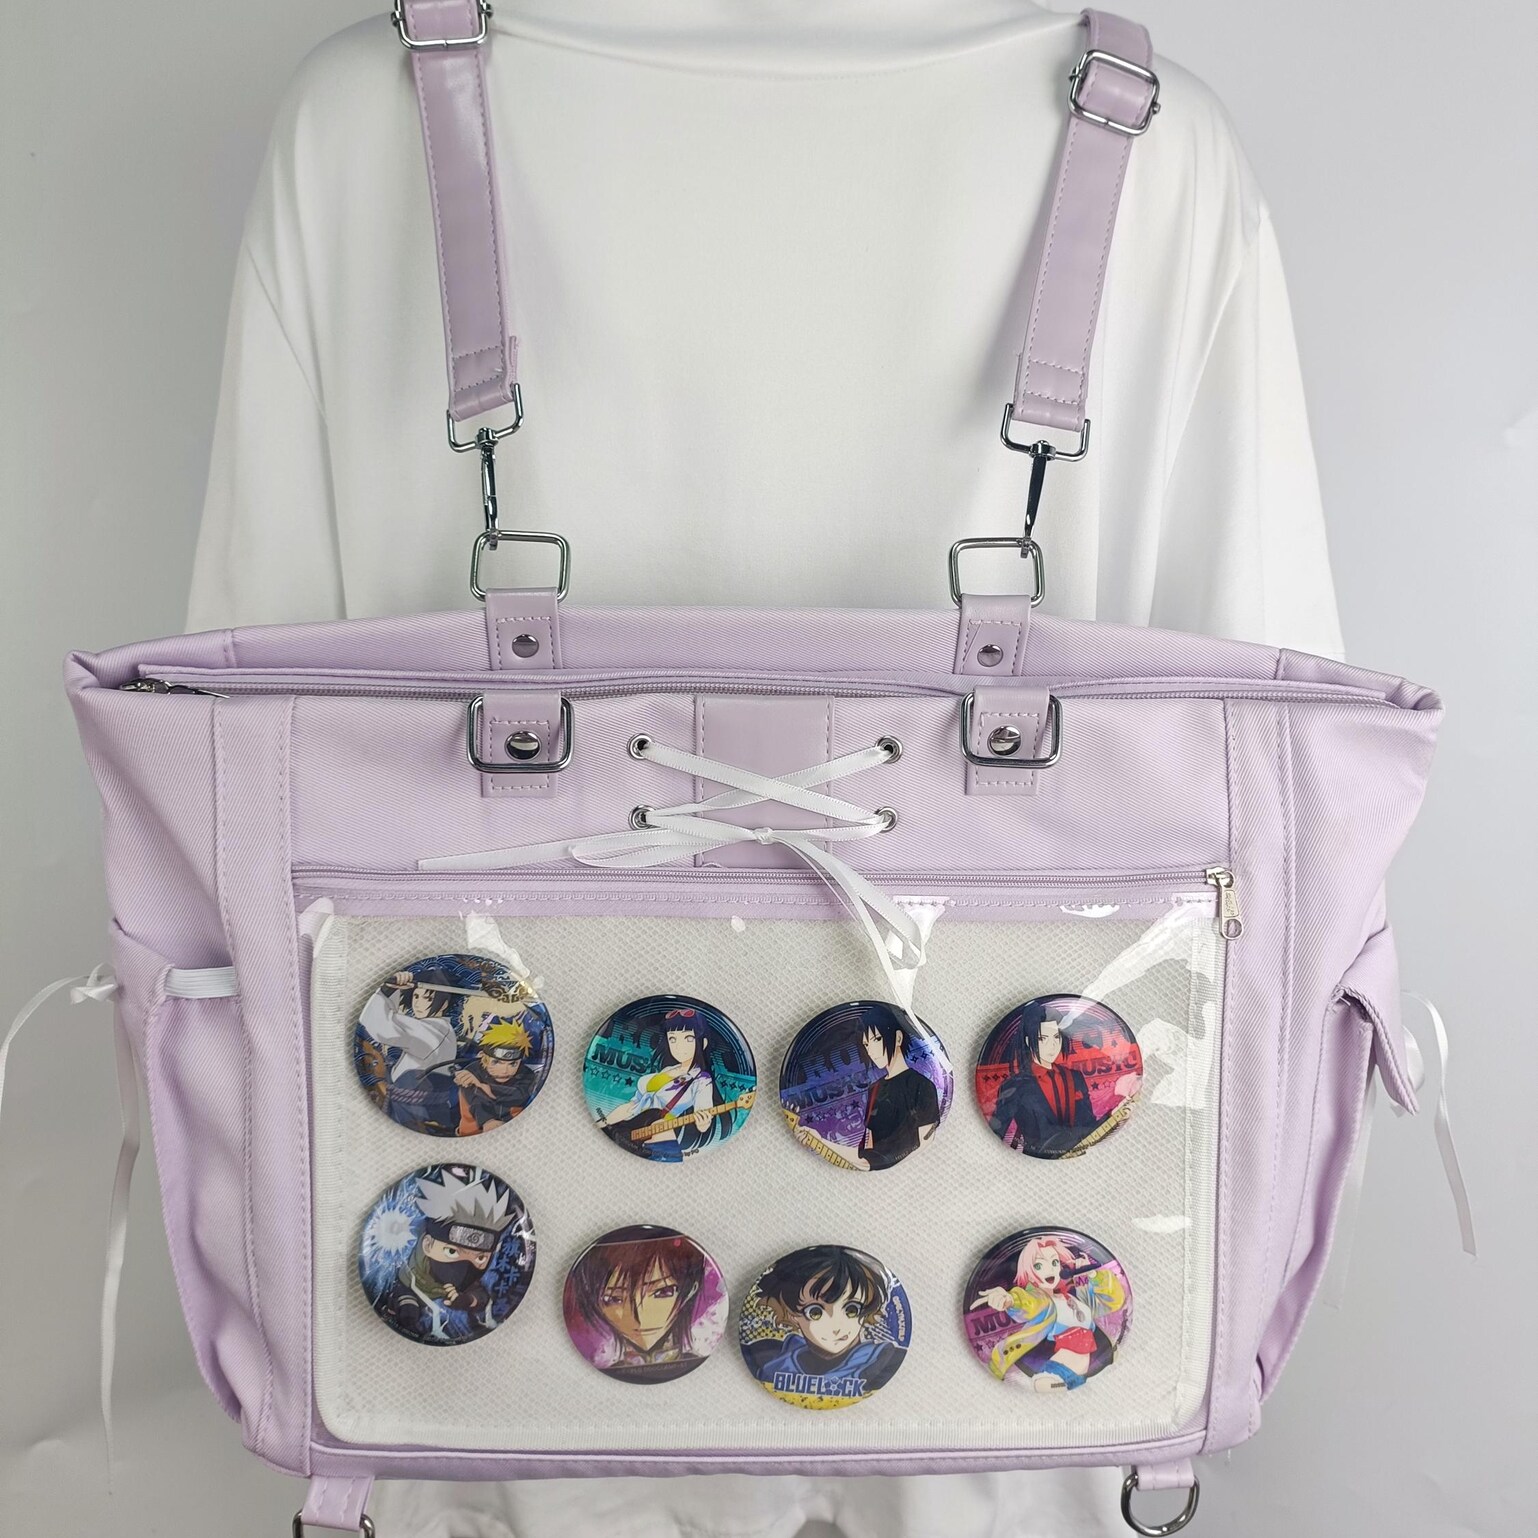
Ribbon Ita Backpack with Clear Window and Included Insert for Plushies and Pins
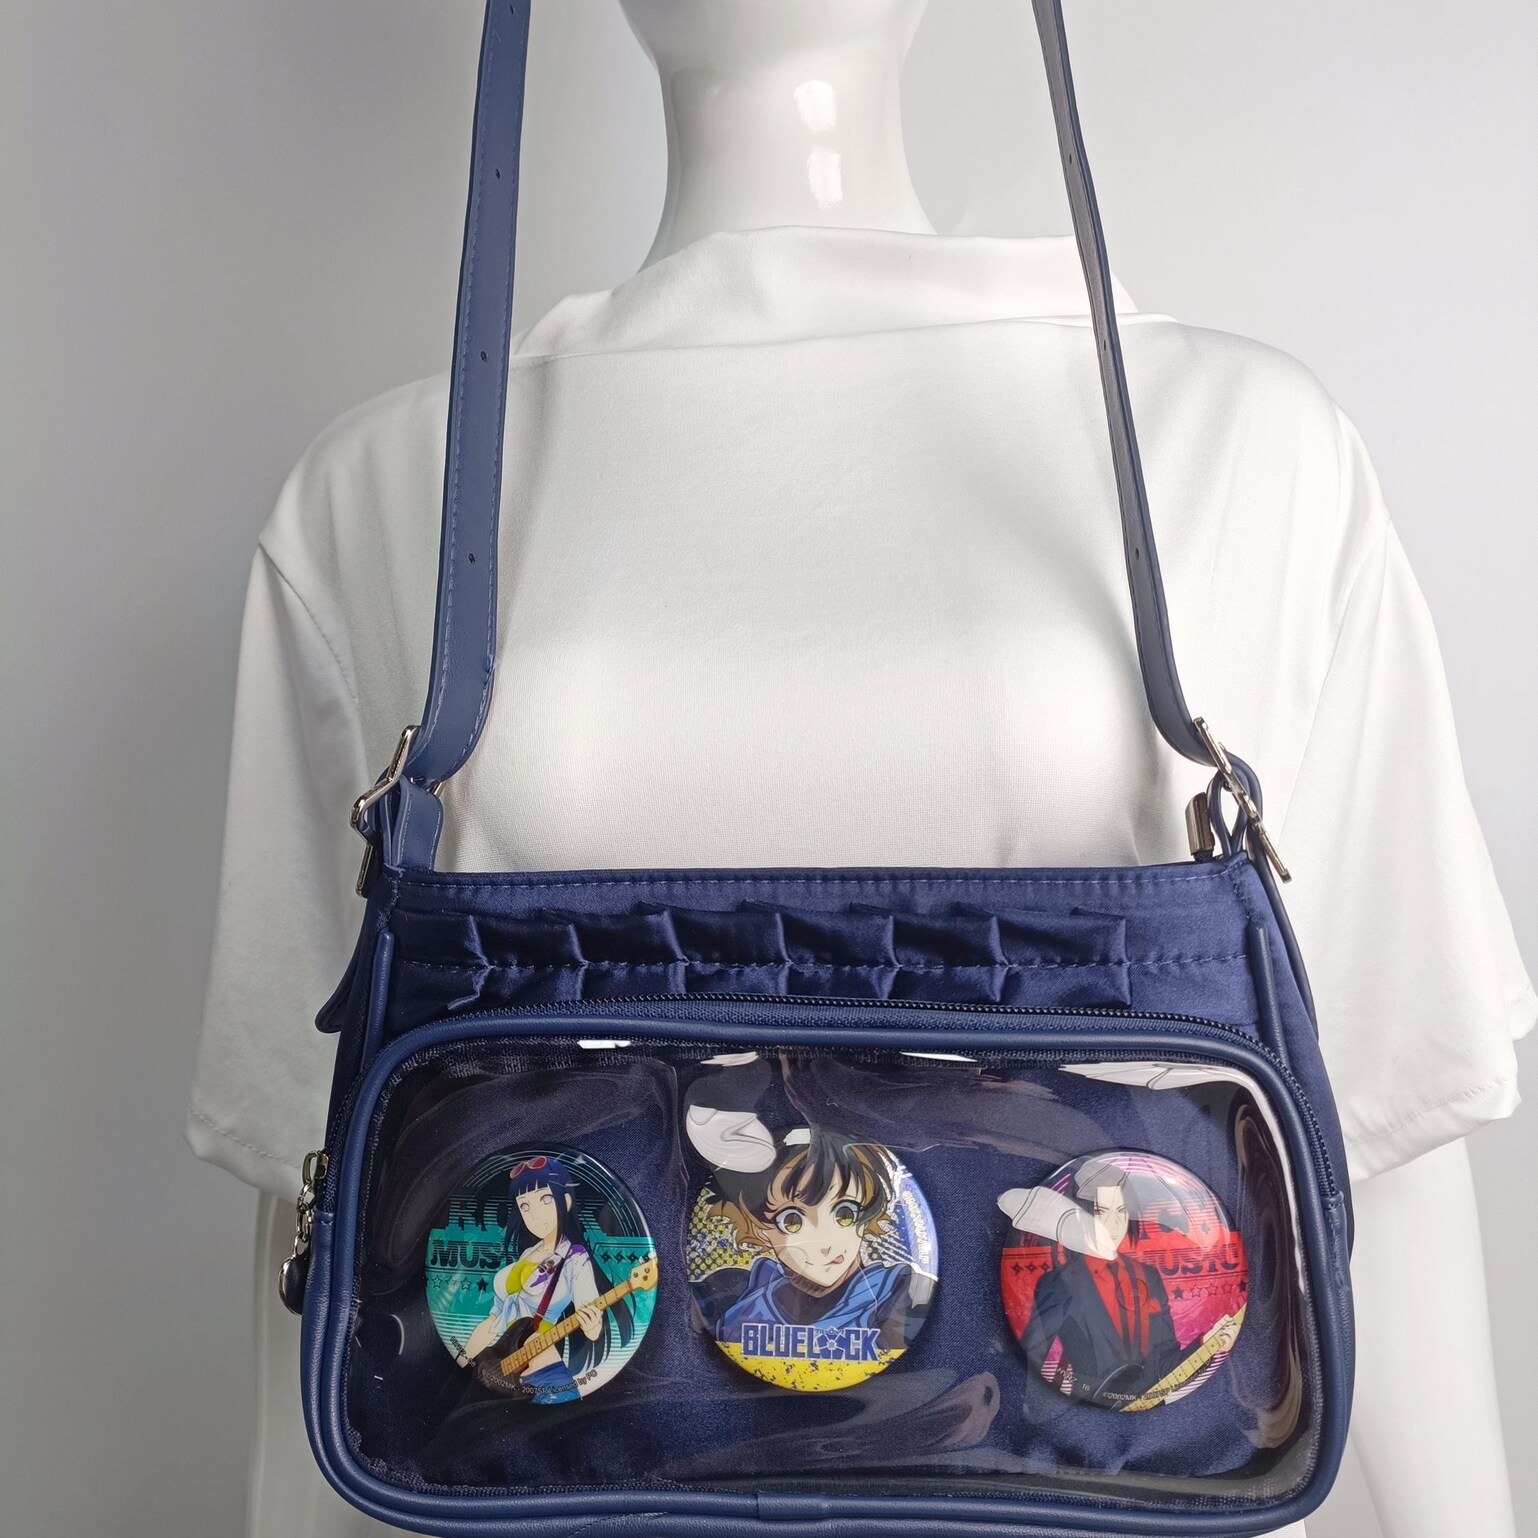
Blue Ita Crossbody Bag with Clear Window and Included Insert for Pin Display
Build the next click naturally
Every audited page now ends with a live merch path and a guide path so the content can support both ranking intent and shopping intent.