
- Your ita bag with display window
- Your acrylic stands (also called acrylics, clear standees, or acrylic charms on stands)
- Insert — essential. Acrylic stands need a backing surface to lean against. If your bag doesn't have an insert, get one before trying to display stands. See: ita bag inserts.
- One or more of: foam squares, adhesive putty, velcro dots, sewing pins, T-pins, or stand holders (explained below)
Guide
How to Put Acrylic Stands in an Ita Bag
Acrylic stands — the small printed character standees with a clear plastic base — are one of the most popular ita bag additions after enamel pins. But unlike flat pins, acrylic stands don't have a pin back, which means you need a different method to keep them in place inside your ita bag's display window.
Here's exactly how to do it, including the most reliable methods and what to avoid.
What You Need Before You StartMethod 1: Foam Squares or Double-Sided Foam Tape (Most Popular)Method 2: Adhesive Putty / Museum Putty (Best for Repositioning)Method 3: T-Pins or Sewing Pins Through the Stand Base (Most Secure)Method 4: Dedicated Acrylic Stand Holders / ClipsPositioning Acrylic Stands in Your Ita BagWhat Makes a Bag Good for Acrylic Stands?Common Mistakes to Avoid
Acrylic stands — the small printed character standees with a clear plastic base — are one of the most popular ita bag additions after enamel pins. But unlike flat pins, acrylic stands don't have a pin back, which means you need a different method to keep them in place inside your ita bag's display window. Here's exactly how to do it, including the most reliable methods and what to avoid.
What You Need Before You Start
Method 1: Foam Squares or Double-Sided Foam Tape (Most Popular)
How it works: Small self-adhesive foam squares or double-sided foam tape are attached to the base of the acrylic stand. The stand is then pressed against the insert where the foam grips the surface. Steps: Pros: No damage to the stand or insert, repositionable (foam tape can be removed and reapplied a few times), holds well for most display purposes. Cons: Can lose grip over time, especially if the bag is jostled frequently at conventions. Works best for bags that won't be moved constantly. Best foam products to use: 3M Command foam strips (thin), Scotch foam mounting tape, or Daiso foam tape squares.
- Cut a small piece of foam mounting tape or use a pre-cut foam square (available at craft stores).
- Peel the backing off one side and press firmly onto the flat bottom of the acrylic stand's base.
- Peel the backing off the other side.
- Position the stand on your insert where you want it.
- Press firmly and hold for 5-10 seconds.
Method 2: Adhesive Putty / Museum Putty (Best for Repositioning)
How it works: A small ball of removable adhesive putty (like Blu-Tack, Loctite Fun-Tak, or museum putty) is rolled into a small piece and used to anchor the stand base to the insert. Steps: Pros: Completely repositionable with no residue. Best option for collectors who rearrange setups frequently. Very gentle on both stand and insert. Cons: Not as strong as foam tape — in bags that get significant movement or vibration, stands can shift or tip. Best for bags in relatively stable display conditions.
- Pinch off a small piece of putty — about the size of a pea or smaller.
- Roll it into a soft ball or flatten it slightly.
- Press it onto the back of the acrylic stand's base (the part that touches the insert).
- Press the stand firmly against the insert in your chosen position.
- Hold for a few seconds. The putty creates a soft adhesive bond.
Method 3: T-Pins or Sewing Pins Through the Stand Base (Most Secure)
How it works: A T-pin (a pin with a T-shaped head, used in sewing and craft work) is pushed through the foam insert, and the base of the acrylic stand is placed over the pin shaft so the pin holds the stand upright. Steps: Alternative (pin through stand foot): Some acrylic stands have a flat foot with a small slot or hole. You can use a small sewing pin pushed through the insert and through the foot of the stand. Pros: Very secure — stands will not tip over unless the insert itself is removed. Best for convention use and active carry. Cons: If the stand's foot doesn't have a hole or slot, this method can be tricky. Repeated pinning may damage the stand's base over time. Not ideal for expensive stands.
- Determine where you want the stand to sit on your insert.
- Push a T-pin straight through the insert at that spot (from front to back so the T-head faces forward).
- Slide the base of the acrylic stand over the exposed pin shaft so the stand rests against the T-head.
- Adjust the pin depth until the stand stands straight.
Method 4: Dedicated Acrylic Stand Holders / Clips
How it works: Small plastic or silicone clips designed specifically to hold acrylic stand bases. These clip onto the insert fabric and grip the stand's foot. Steps: Where to find them: Search for "acrylic stand holder for ita bag" or "ita bag acrylic stand clip" on Etsy or Japanese goods retailers. They are also sometimes sold with insert sets. Pros: Clean, no adhesive, reusable, purpose-built for this exact use case. Cons: Harder to find than the other methods, adds slight cost.
- Clip the stand holder onto your insert at the desired position.
- Slide the acrylic stand's foot into the holder's grip.
Positioning Acrylic Stands in Your Ita Bag
Height placement
Acrylic stands are taller than flat pins, so place them lower in the window — this way the stand doesn't block the items behind it and the top of the stand remains fully visible.
Layering
If you're mixing pins and stands, place the stands first, then arrange flat pins around them. Stands need their base on the insert surface, so they set the foundation for the layout.
Stability on the go
For bags you carry actively (to conventions, on transit), use Method 3 (T-pins) or Method 1 (foam tape) rather than putty. Putty can loosen with vibration.
Multiple stands
If placing more than one stand, keep at least 1"-1.5" of space between stand bases. Crowding causes stands to knock into each other and may tip the entire arrangement.
What Makes a Bag Good for Acrylic Stands?
Not all ita bags are equally suitable for displaying acrylic stands. Look for: Deep enough window: The window needs enough interior depth (distance between the clear front and the insert) for the stand to fit without pressing against the window. Most stands are 0.5"-1" deep at the base — bags with at least 1" of window depth are ideal. Firm insert included: A firm foam or fabric insert gives stands something to grip. Soft or loose inserts let stands shift. Stable carry position: Backpacks and shoulder bags worn upright keep stands vertical. Tote bags or bags carried at an angle can cause stands to tip.
- For bags well-suited to acrylic stands, browse our ita bag backpacks and check the "window depth" spec in each product listing.
Common Mistakes to Avoid
Placing the stand directly against the window: Without an insert, the stand base has no surface to grip and the stand will slide and fall. Always use an insert. Overcrowding the window: Too many items pressing against acrylic stands will push them over. Leave breathing room. Using heavy stands in small windows: Large, heavy acrylic stands (especially ones with metal or thick bases) need more grip. Use foam tape or T-pins rather than putty for heavy stands. Ignoring window depth: Some bags have very shallow windows — the insert sits close to the clear panel. If the window is too shallow, the stand will press against the panel and may fog or scratch it. Check window depth in product specs before buying for an acrylic-heavy setup.
Frequently Asked Questions
How do I keep acrylic stands from falling in my ita bag?
The most reliable method is using foam mounting tape on the stand's base and pressing it firmly against the insert. For convention use, T-pins through the insert are even more secure. Avoid relying only on the stand resting against the insert with nothing holding it — it will fall.
Do acrylic stands scratch the clear window of an ita bag?
The clear plastic base of most acrylic stands won't scratch PVC windows directly. However, the metal portions of stand bases (some have metal feet) can leave marks. Buffer with a small felt pad on the stand foot if concerned.
What is the best insert for displaying acrylic stands?
A firm foam insert (medium density) or a plastic canvas insert covered with fabric. These give the best grip for foam tape and T-pins. Avoid very thin or floppy inserts for acrylic stand setups.
Can I mix enamel pins and acrylic stands in the same bag?
Yes — this is one of the most popular display styles. Position your stands first, then arrange pins around them. Place stands lower in the window so they don't block pins behind them.
My acrylic stand keeps tipping. What should I do?
First check that the insert is firm and flat — a buckled insert causes stands to tip. Then switch from putty to foam tape or T-pins. If the stand is very top-heavy (tall character, large base), use two T-pins through the base for extra stability. Related guides: – How to Put Keychains in an Ita Bag – Ita Bag Insert Size Guide – What Is an Ita Bag? – Shop Ita Bag Inserts – Shop Ita Bag Backpacks “`
Good Base Bags for Acrylic Stand Displays
Pulled from the live April 15 catalog export used for this content audit.
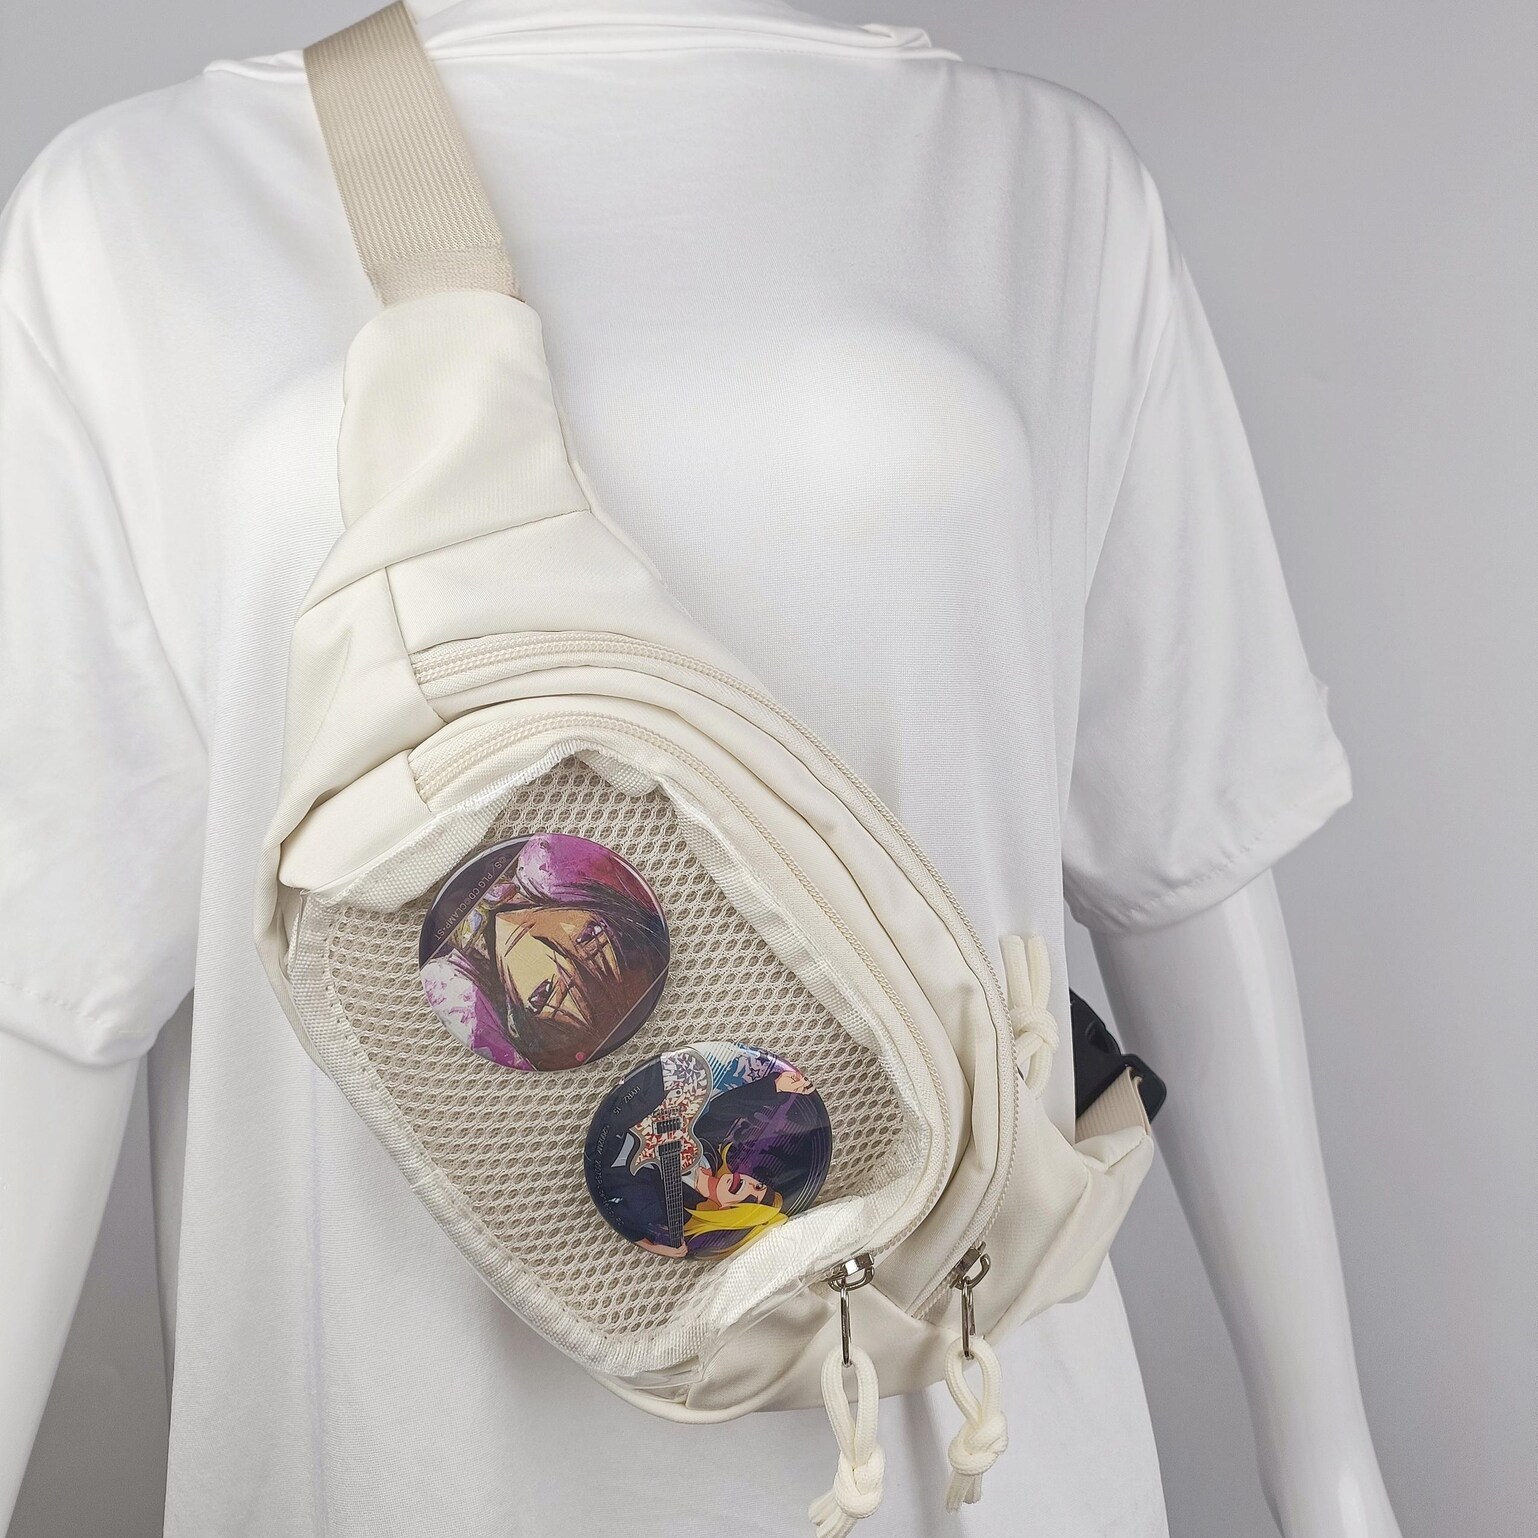
Mini Ita Crossbody Bag with Clear Window and Included Insert for Plushies and Pins
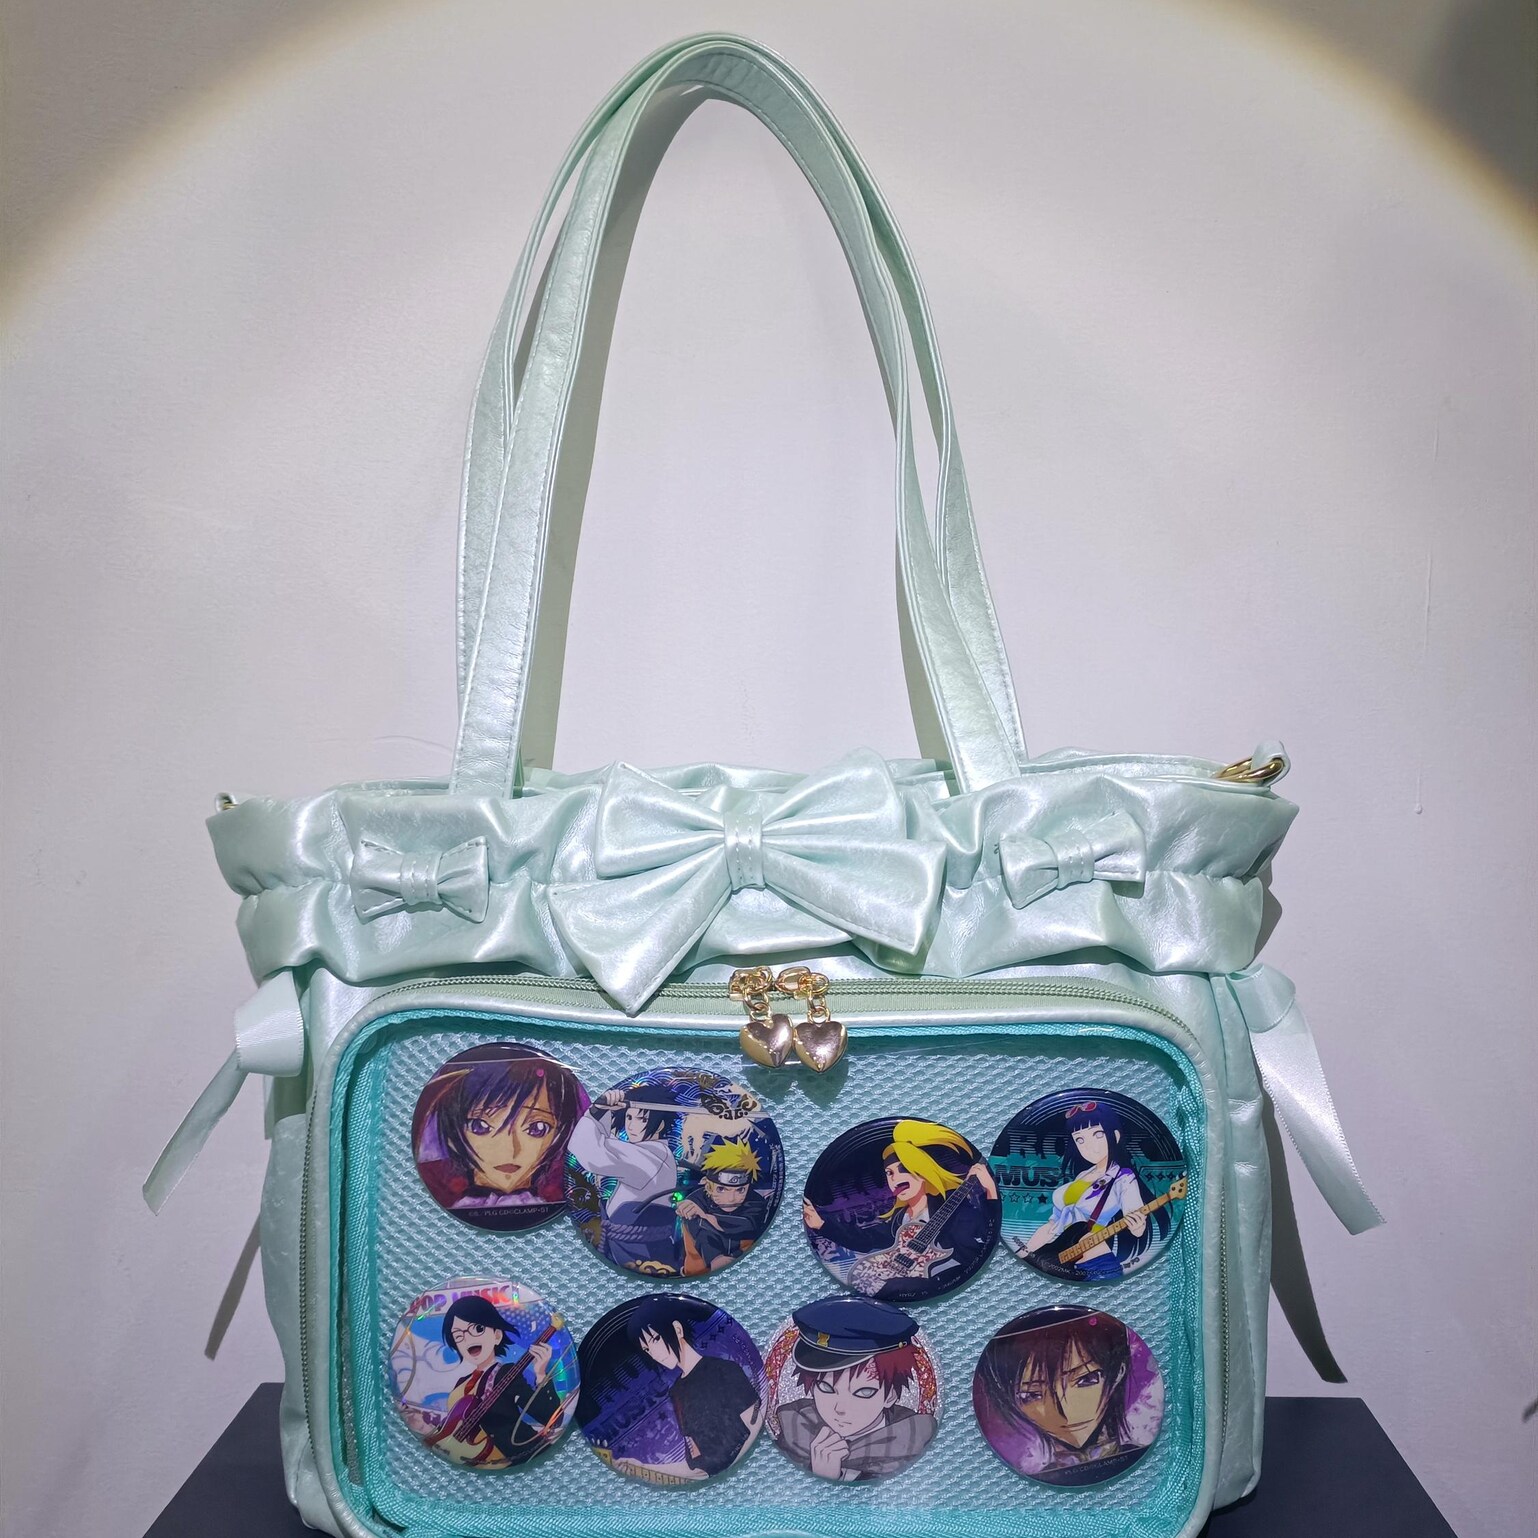
Green Ribbon Ita Crossbody Bag with Clear Window and Included Insert for Pin Display
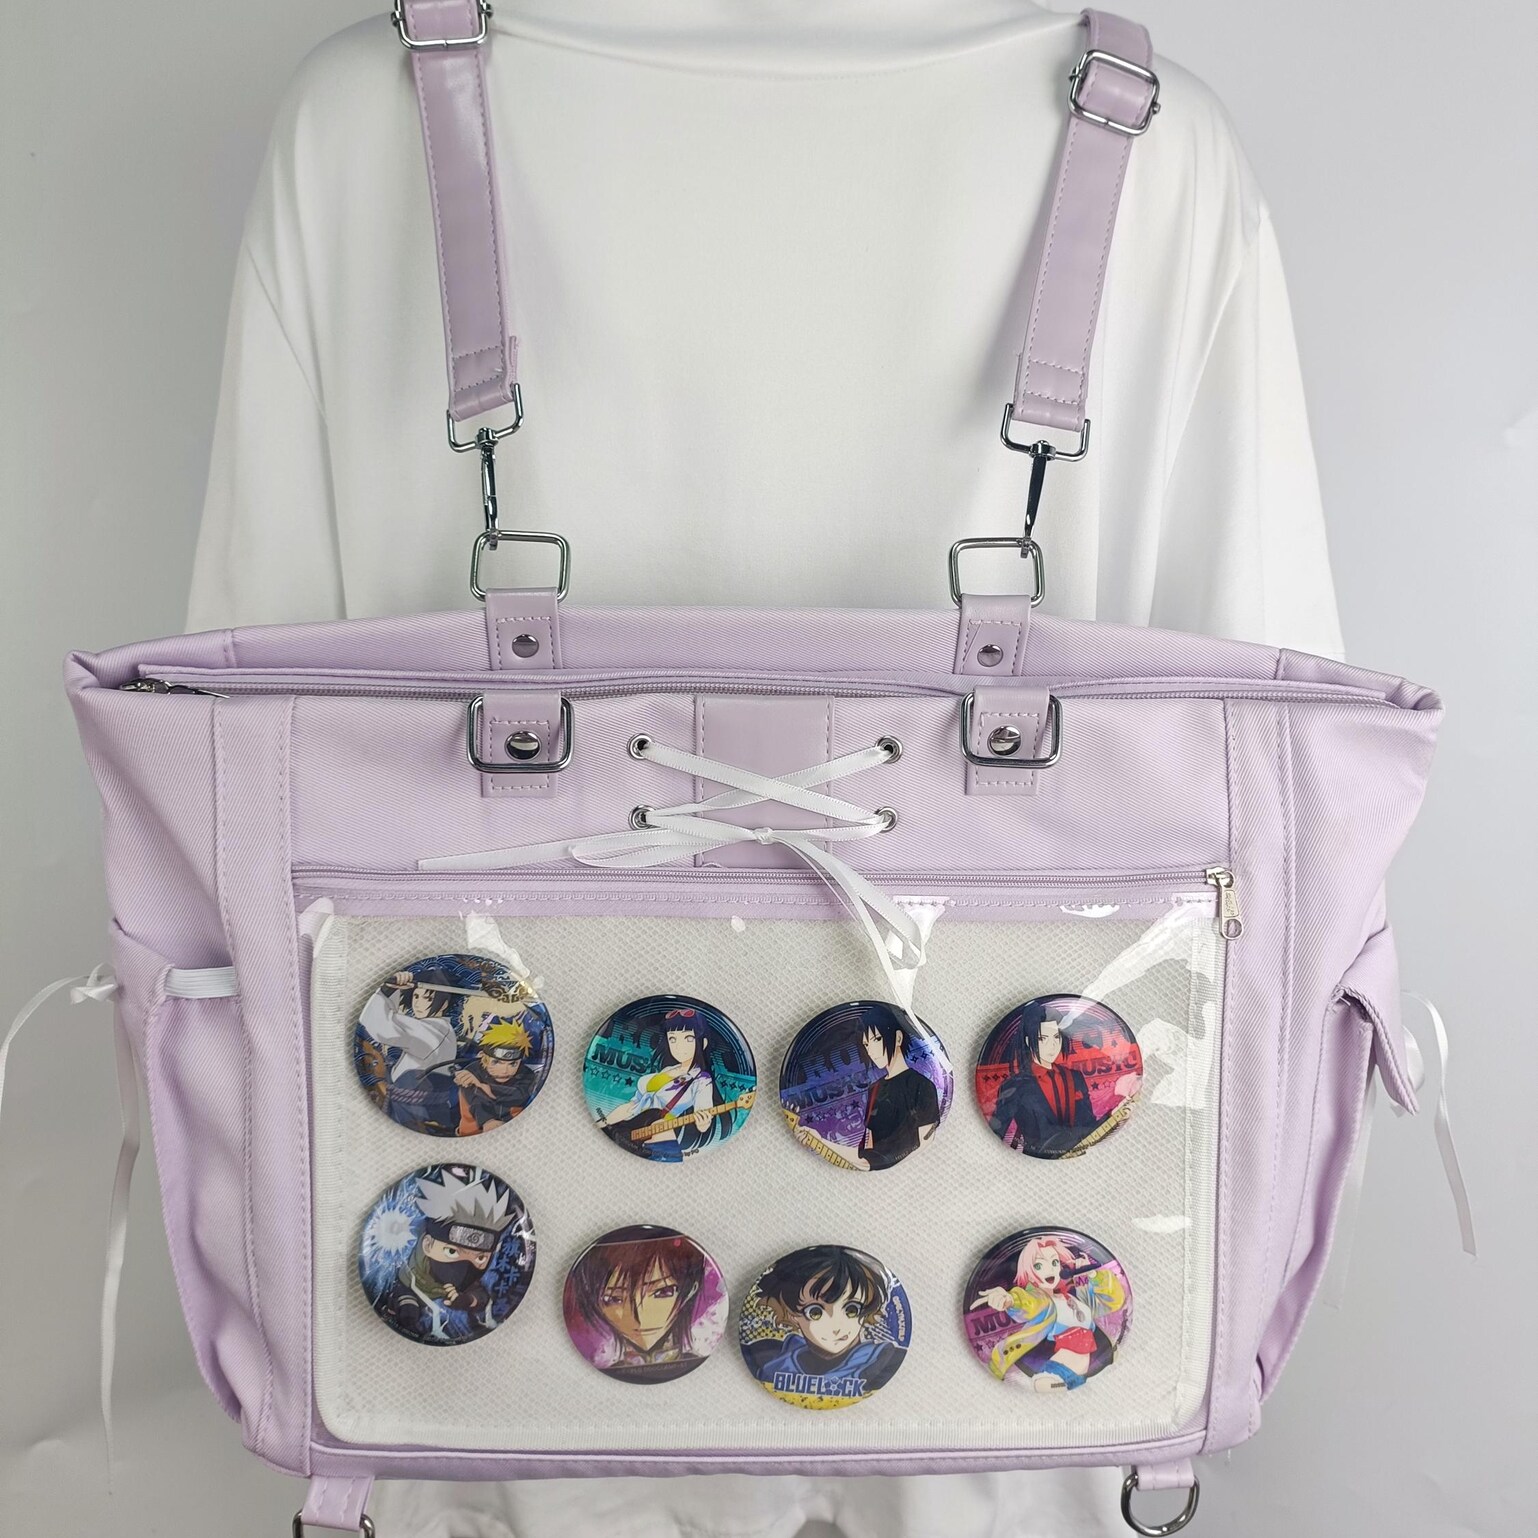
Ribbon Ita Backpack with Clear Window and Included Insert for Plushies and Pins
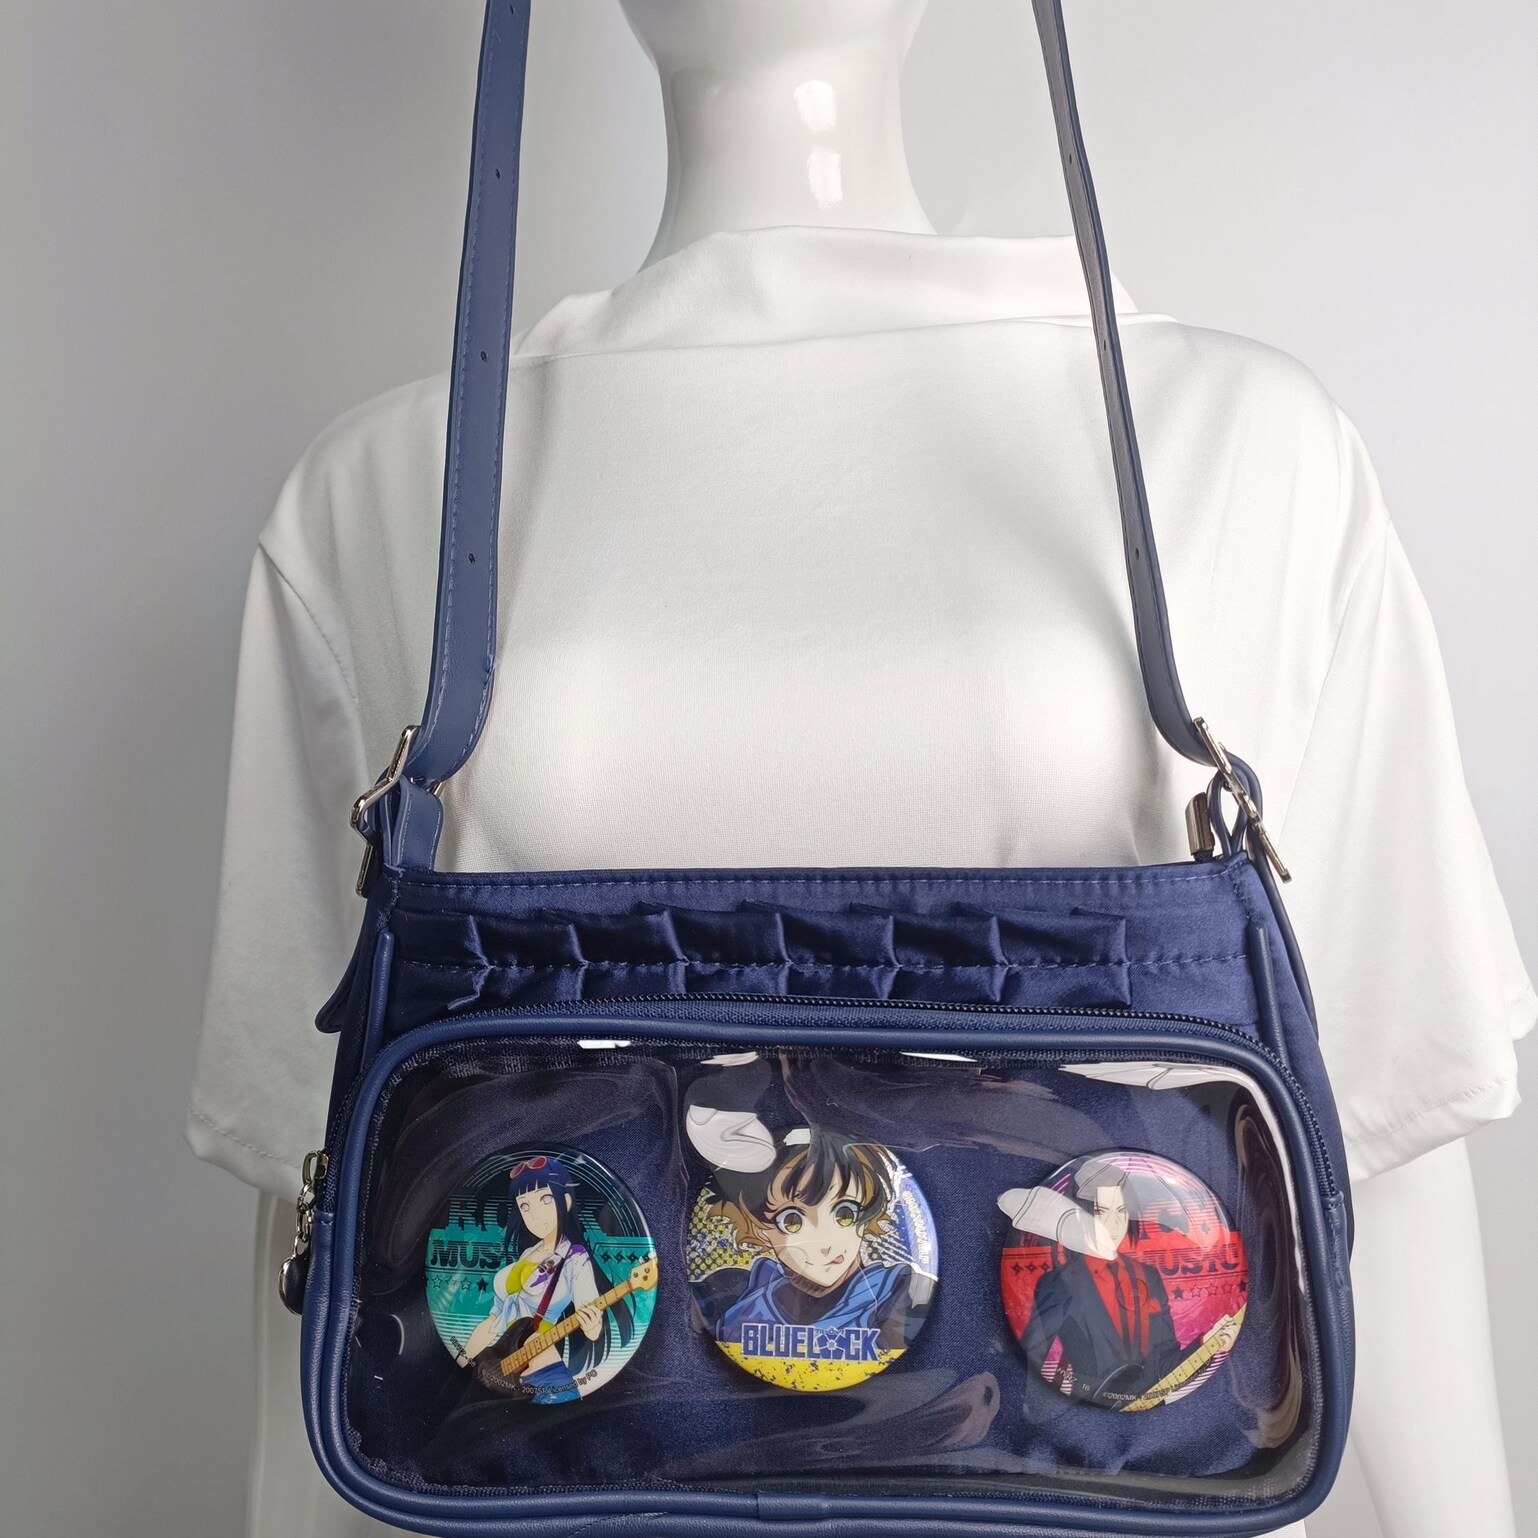
Blue Ita Crossbody Bag with Clear Window and Included Insert for Pin Display
Build the next click naturally
Every audited page now ends with a live merch path and a guide path so the content can support both ranking intent and shopping intent.