Type
Material | Best for | Notes

An ita bag is only as good as what goes inside it. The bag itself is the frame — the accessories determine whether your display looks intentional or like a pin dump.
This guide covers every accessory type used in ita bag builds, what each one does, and how to choose the right one for your setup.
An ita bag is only as good as what goes inside it. The bag itself is the frame — the accessories determine whether your display looks intentional or like a pin dump. This guide covers every accessory type used in ita bag builds, what each one does, and how to choose the right one for your setup.
Material | Best for | Notes
Dense foam, fabric-wrapped | Standard pin builds | Most common, easy to pin into
Clear or white plastic | Photocard + pin builds | Cards lie flat, pins grip edge
Pre-cut to heart, star, etc. | Shaped window bags | Required for shaped windows
EVA foam, cut to size | Non-standard window shapes | Good for unusual bag formats
Standard butterfly pin backs are not secure enough for ita bags, especially at conventions. Locking pin backs (also called locking clasps or safety pin backs) replace the standard back and require a tool or two-step action to remove. Why use locking backs: Pins shift when worn. In crowds, pins can snag and pull loose on standard backs. Locking backs prevent accidental loss of expensive or limited enamel pins. How to switch: Remove the standard butterfly back, insert the locking back post, and click shut. Most locking backs are universal fit for standard pin post sizes (0.6mm–0.9mm diameter).
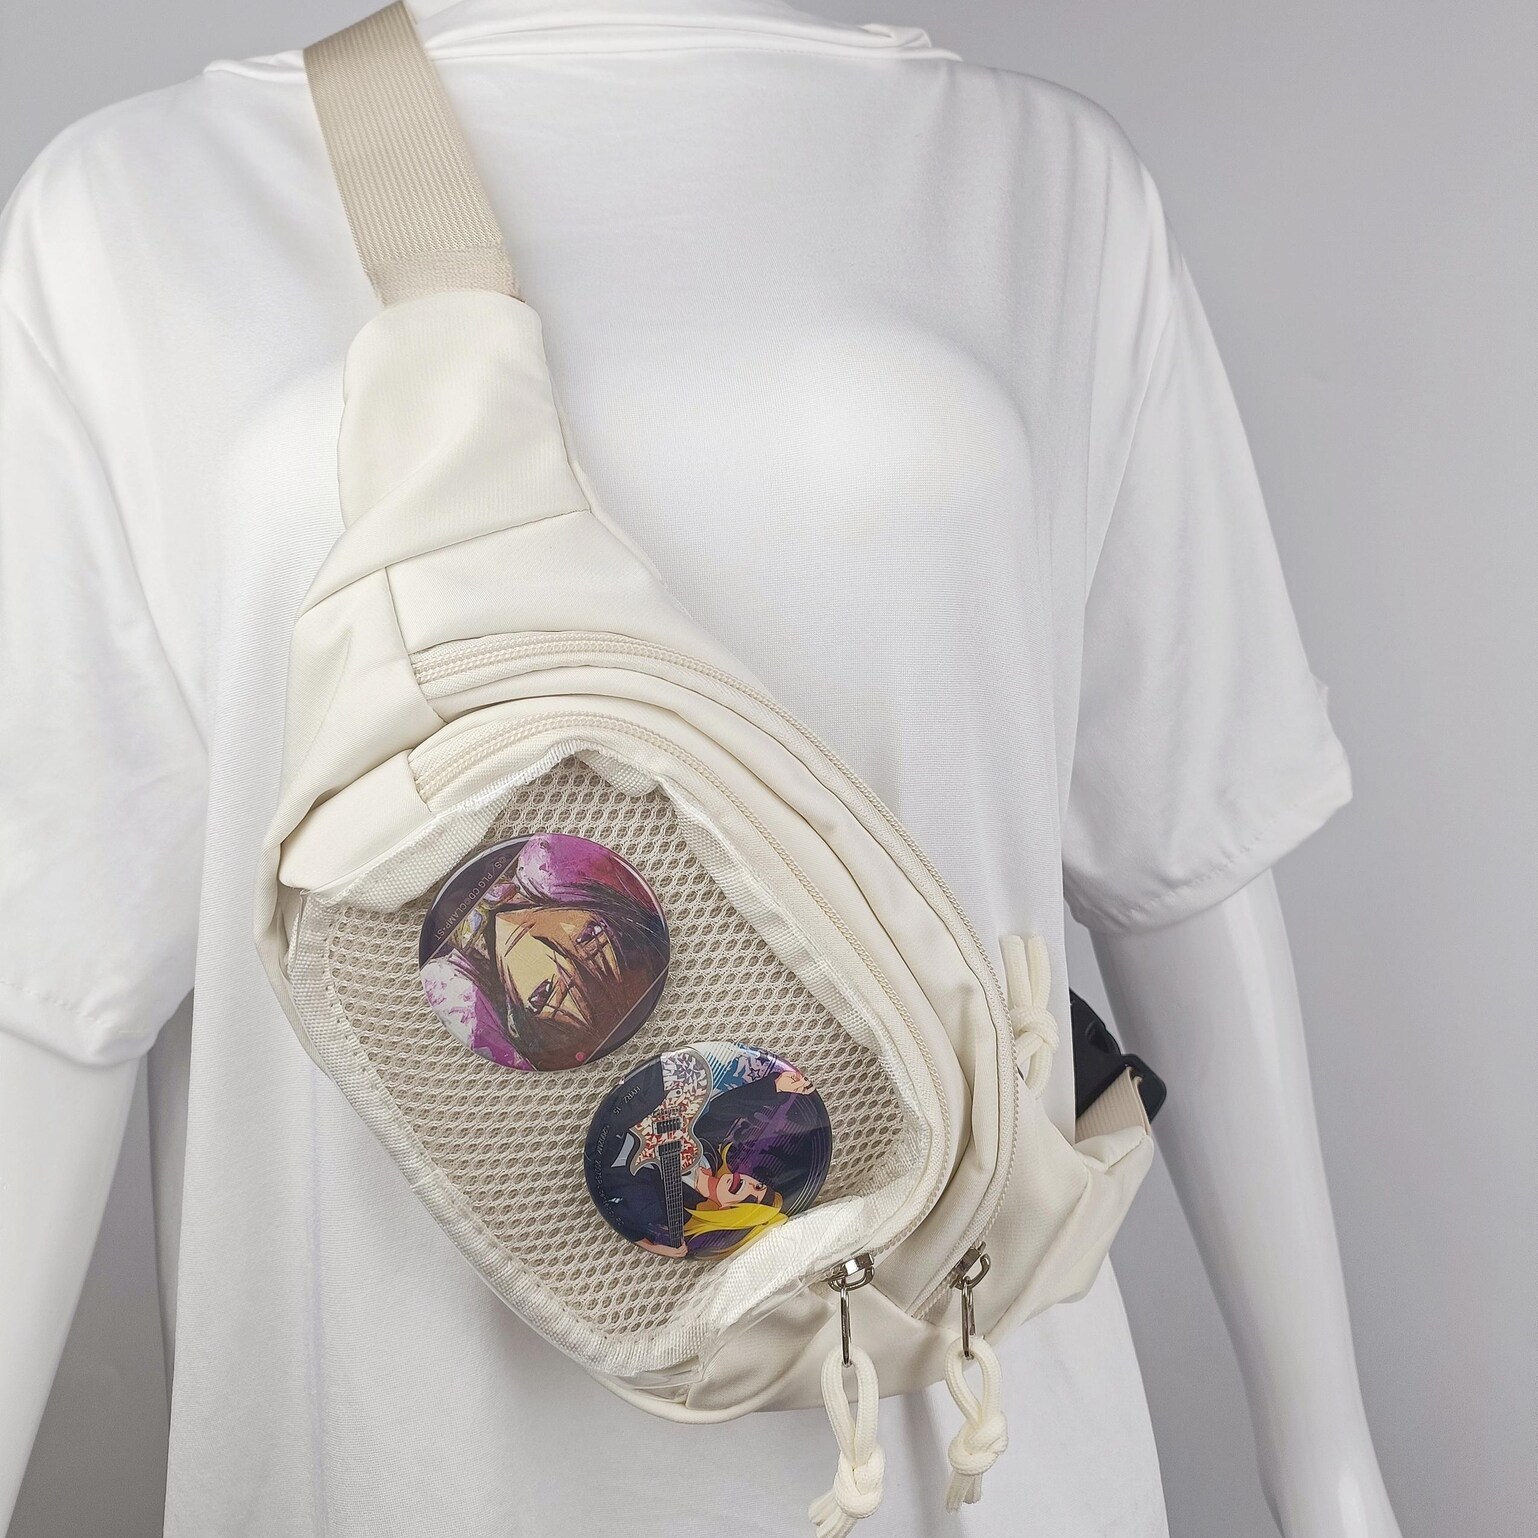
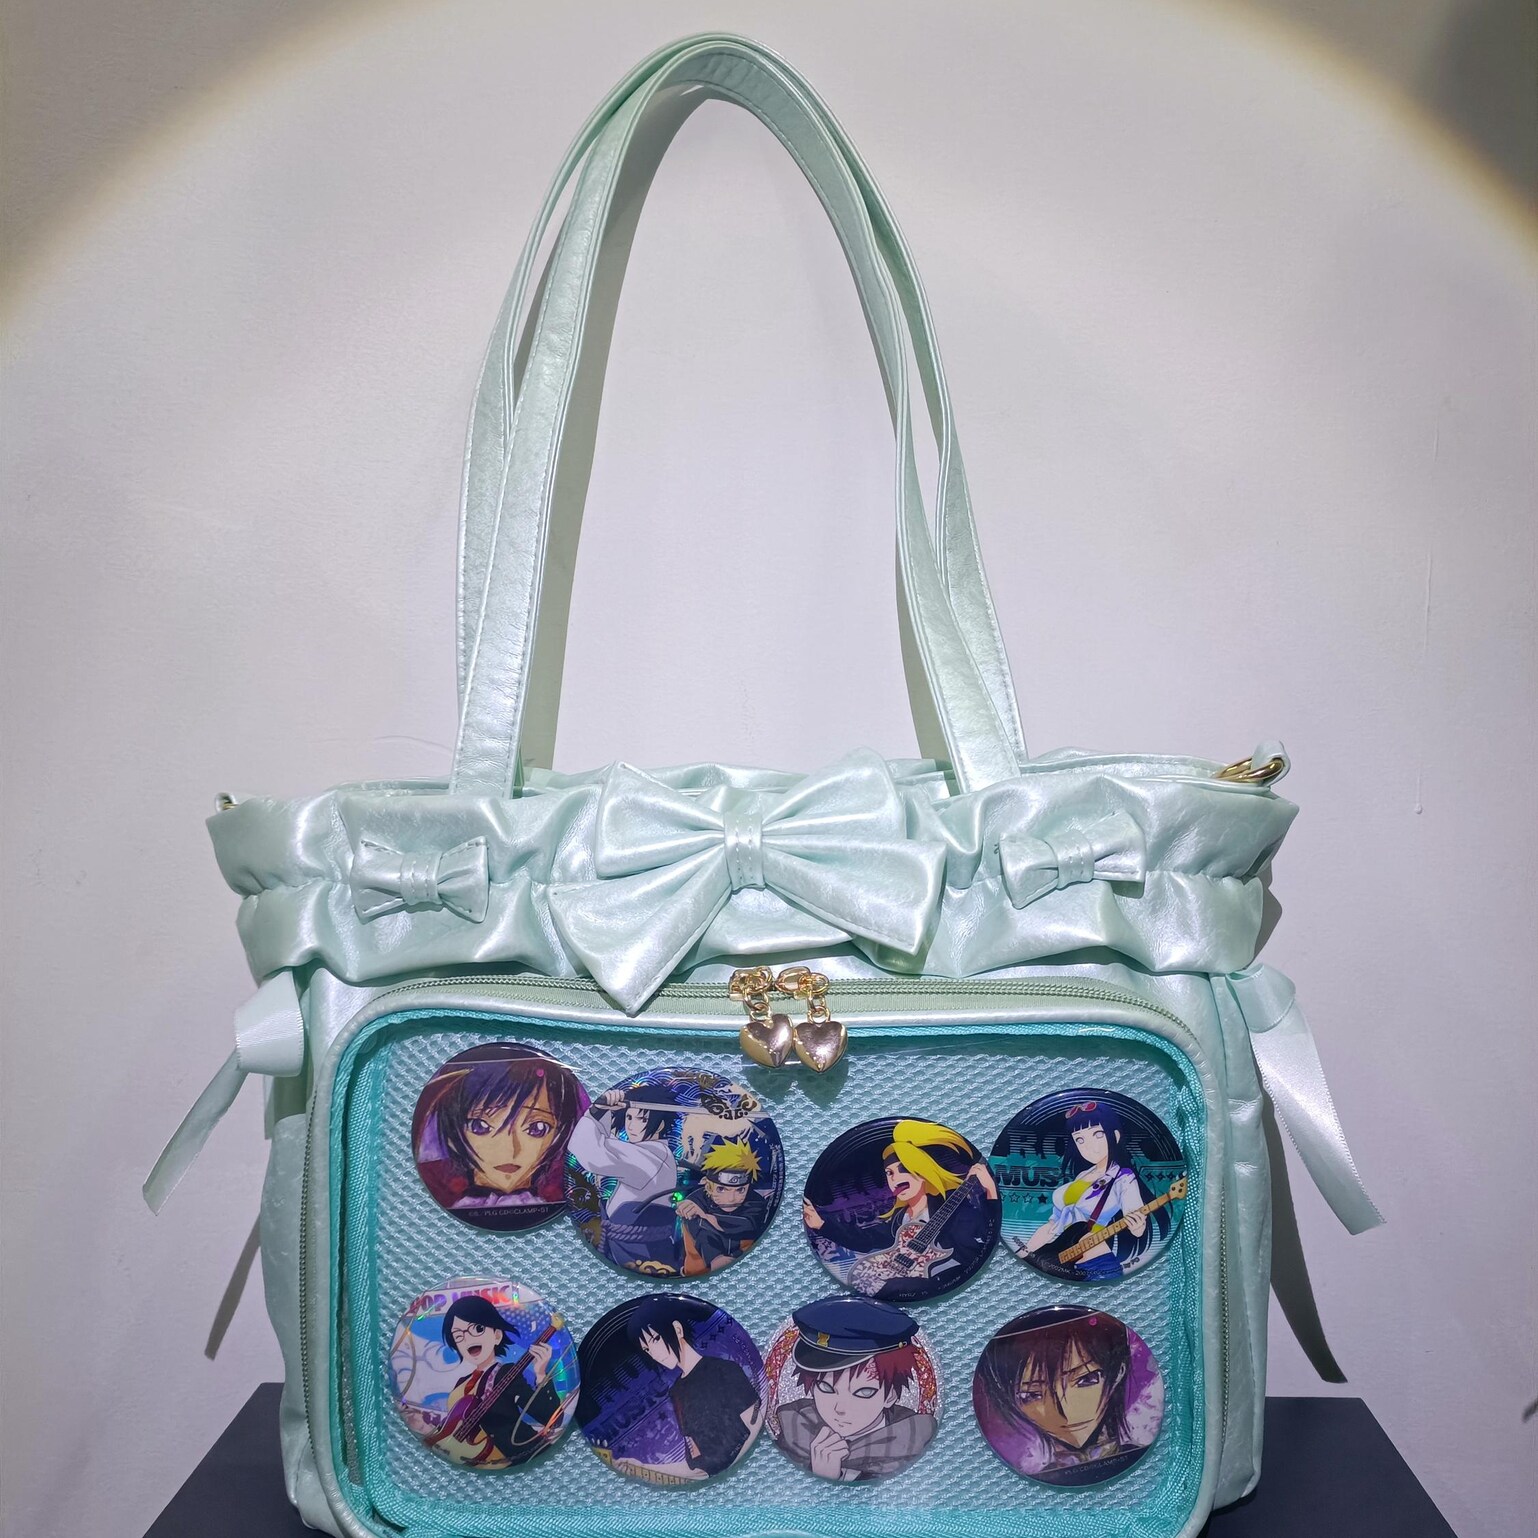
Can badges (button badges / acrylic badge pins) are more fragile than enamel pins and scratch easily behind window glass. Badge covers are clear circular sleeves that protect the surface while keeping the badge visible. Sizes: 44mm, 58mm, 76mm, 80mm — match to your can badge diameter. Standard anime can badges are usually 58mm or 76mm. Types:
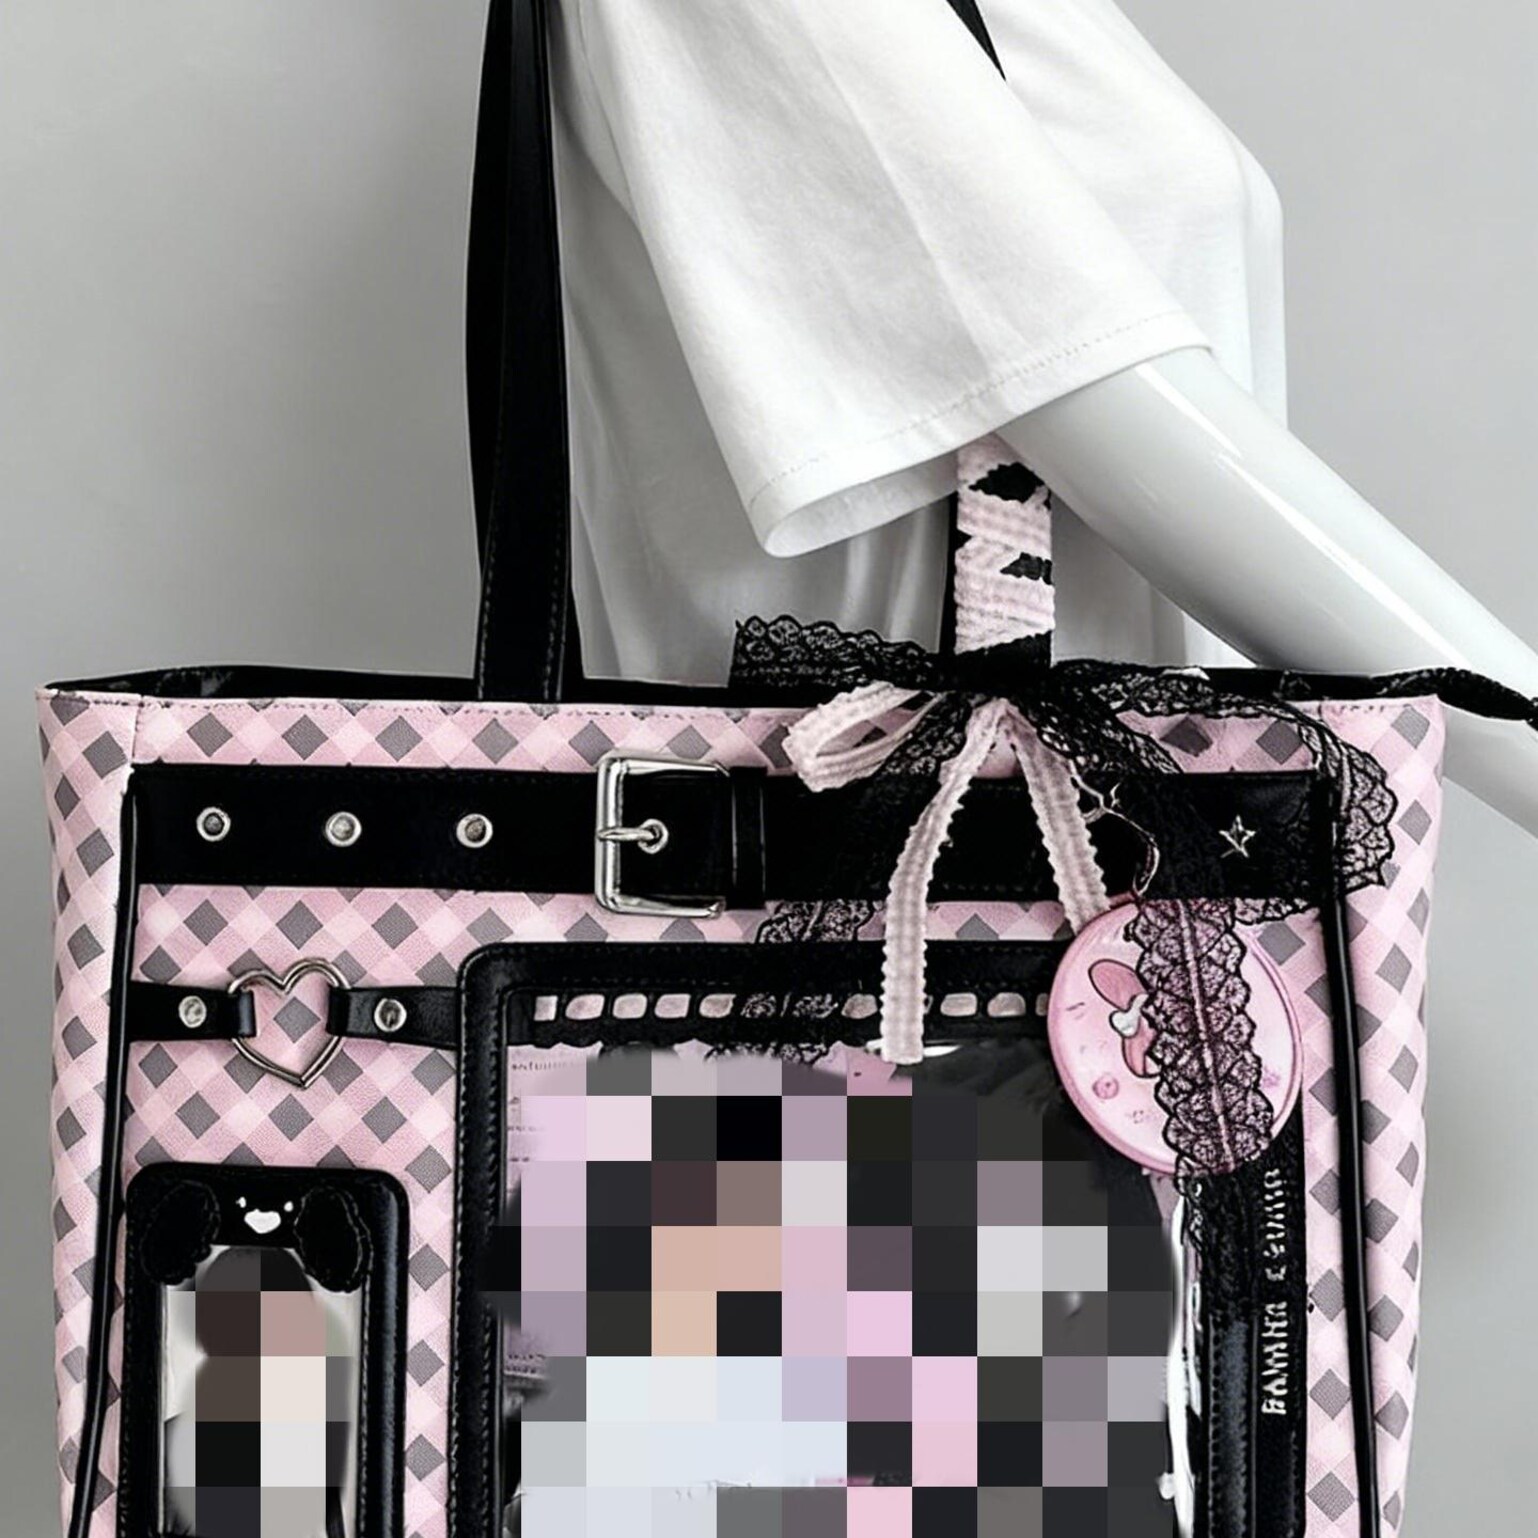
Charms hang from bag loops, zipper pulls, and D-rings on the exterior of the bag. They add display dimension outside the window — good for characters or goods you want visible from multiple angles. How to attach: Most bag charms include a lobster clasp or split ring. Attach to any D-ring, key ring loop, or zipper pull on the bag exterior. Mixing with window builds: Use charms for characters that didn't fit inside the window, or for dynamic items (dangling acrylic standees, plushie keychains) that look better with movement than pinned flat.
Decorative chains attach to bag loops and hang along the bag's exterior, adding visual weight and an "adorned" look to the overall silhouette. Popular in dark or gothic ita bag aesthetics. Types: Attach to: shoulder strap loops, handle rings, D-rings on the bag body.
Rosettes are ribbon or fabric decorations that add soft texture contrast to the primarily hard-surface display. Common in Lolita-influenced and vintage-style ita bags. Used as: border detail around the insert, accent piece at the center, or on the bag exterior near the handle.
Use
Cut custom insert shapes
Cover foam inserts in display-ready color
Stabilize standees and plushies on insert
Hold insert in place inside window pocket
Re-open factory-sealed insert pockets on some bags
Starting your first build? Here's what to gather before you begin:
Browse bag charms · Browse all ita bags · Insert size guide · How to set up your ita bag
Some do, some don't. Every product page clearly states whether an insert is included. Starter kits always include a matched insert. If buying separately, use the insert size guide to find the right fit.
Locking pin backs if you're wearing the bag outside. Pins on standard backs fall off in crowds, at conventions, and on public transport. Switching to locking backs costs almost nothing and protects expensive or limited pins.
Not required, but strongly recommended. Window glass scratches soft can badge surfaces over time, especially when the insert shifts during wear. Hard acrylic covers protect the surface completely.
Any bag with D-rings, key rings, or zipper pulls can accept chains or charm hangers. Most ita bags have at least one attachment point. Check the product photos or description to confirm.
Measure the inner opening of your window pocket (not the outer window frame). Then match to our insert size guide. Common sizes: 15×20cm (small crossbody), 22×28cm (medium backpack).
Pulled from the live April 15 catalog export used for this content audit.

Every audited page now ends with a live merch path and a guide path so the content can support both ranking intent and shopping intent.