
Complete Guide · 2026
The Complete Ita Bag Guide 2026
Everything you need to know about ita bags — what they are, which style to buy, how to size your insert, how to set it up, and how to build the perfect display for your fandom.
539
Ita bags in catalog
$15–$120
Price range
12+
Fandom guides covered
What Is an Ita Bag?
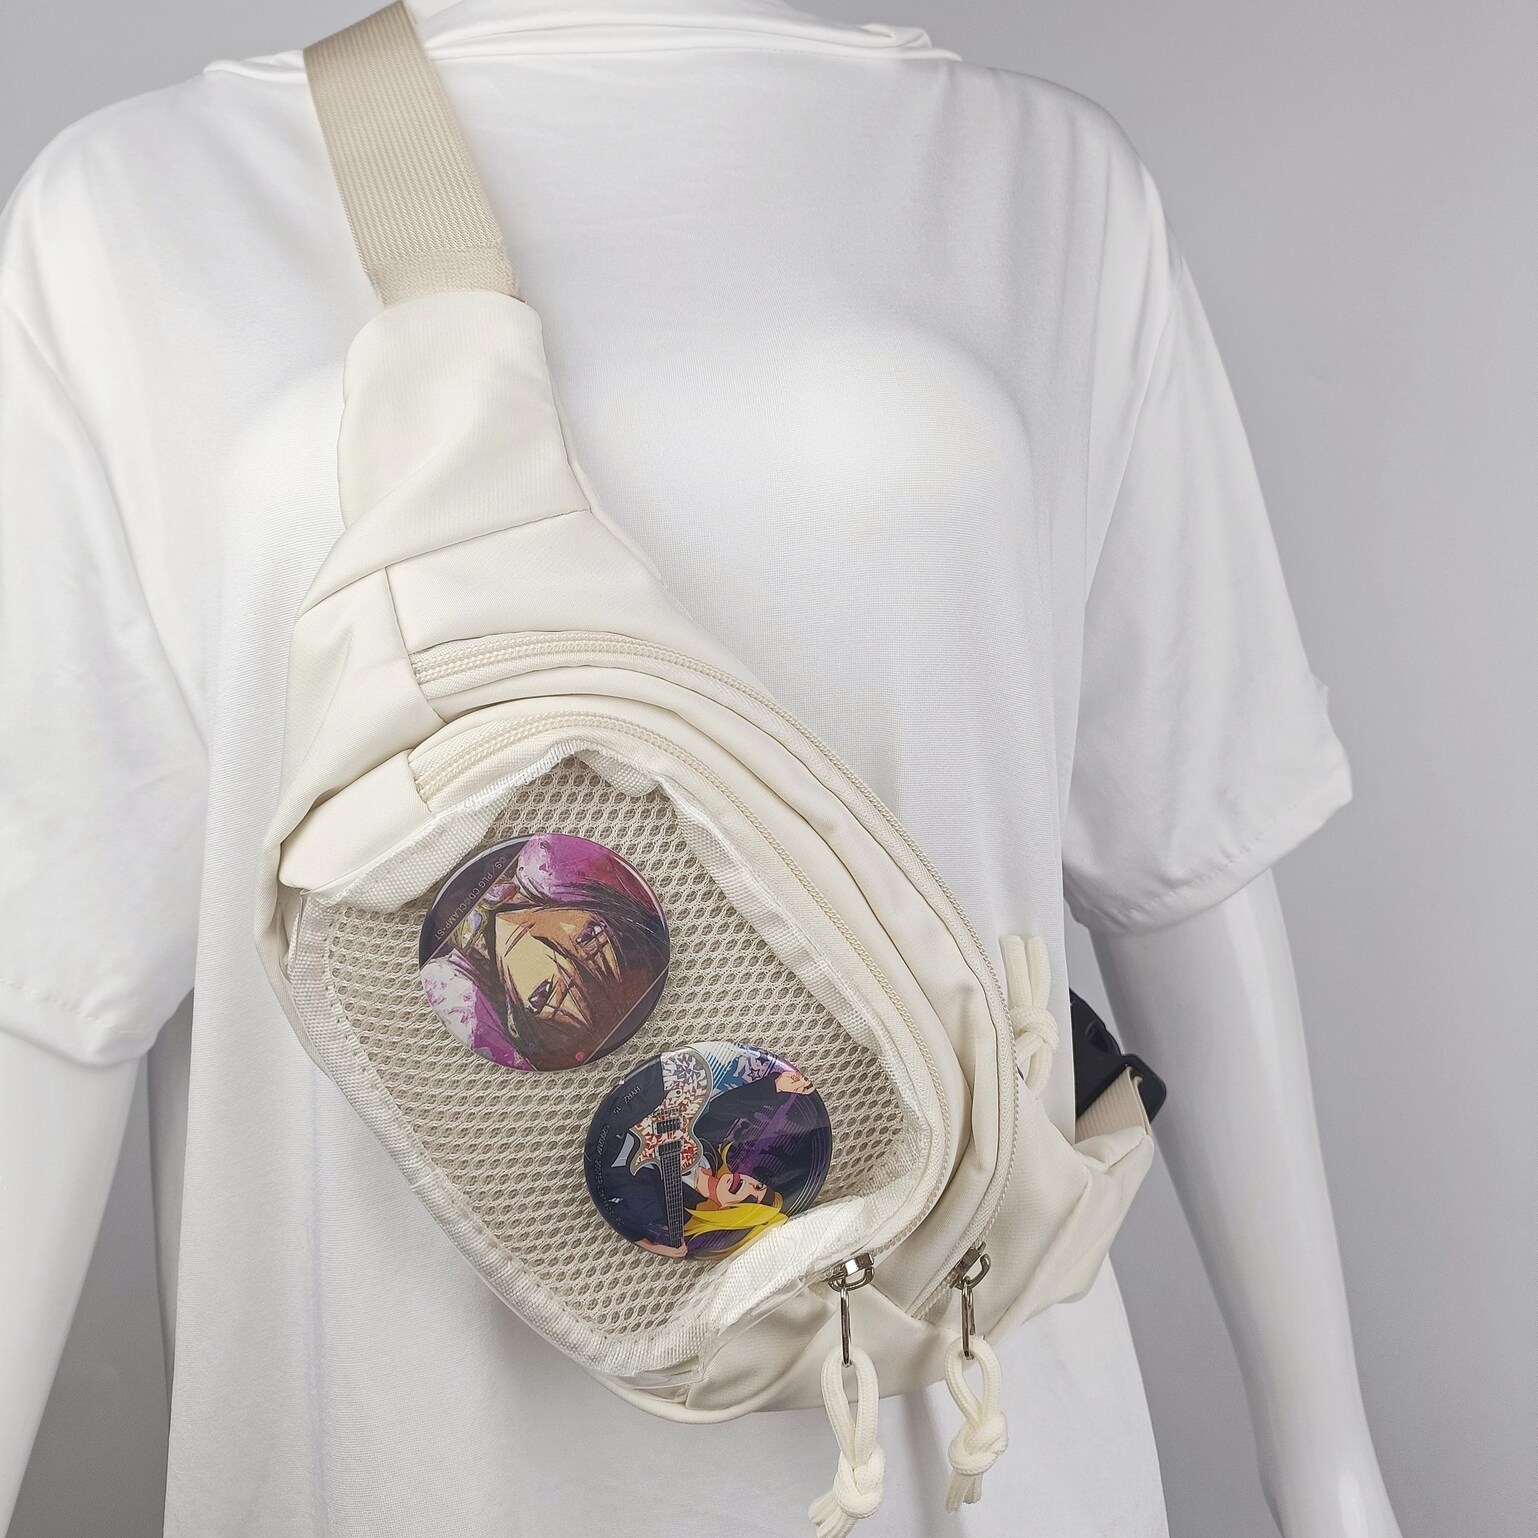
An ita bag (痛バッグ, itabaggu) is a bag with a clear display window on the front — built specifically to show off enamel pins, acrylic charms, plushies, photocards, and other fandom merchandise through a transparent panel. The defining feature is the window: your collection stays visible from the outside without opening the bag.
Unlike a regular bag where pins scatter across straps or hide inside a pocket, an ita bag gives your merch a dedicated, curated display space. You wear your fandom, not just carry it.
Quick Answer
An ita bag = any bag with a clear front window designed to display fandom merchandise. The word comes from Japanese: itai (痛) means “painful” — a playful nod to how painfully obvious your devotion to a character is. Used with pride in fan communities worldwide.
Ita bag vs regular bag
- Regular bag: contents hidden. Ita bag: collection on display through a clear window.
- Regular bag: pins attached to straps or pockets haphazardly. Ita bag: pins attached to a removable insert inside the window — organized and protected.
- Regular bag: pins can scratch the lining. Ita bag: insert sits between pins and the bag interior.
- Regular bag: no space designed for a collection. Ita bag: window + insert = a purpose-built display system.
Who uses ita bags?
Ita bags are used by anyone who collects fandom merchandise and wants to display it while on the move. The most common users:
- Anime fans — enamel pin and acrylic charm displays
- K-pop fans — photocard displays, official merch, photocards
- Kawaii collectors — Sanrio, plushies, pastel aesthetics
- Gamers — game character pins and keychains
- Convention-goers — fandom signaling at cons and events
- Pin collectors — enamel pins of any theme
History and Culture
Ita bags originated in Japan in the late 2000s, in the same cultural space as itasha (anime-decorated cars) and itachari (anime-decorated bicycles) — the “painful decoration” aesthetic that turns everyday objects into fandom displays.
| Period | Where | What happened |
|---|---|---|
| Late 2000s | Japan (Akihabara, Ikebukuro) | Female otaku (fujoshi fans) began covering bags with can badges of their favorite characters at Comiket and doujinshi events. The practice was called itabaggu by analogy with itasha. |
| 2010–2014 | Japan mainstream + early Western adoption | Ita bags became visible at major anime events. First dedicated window bags appeared in Japanese fashion stores (Wego, Swimmer). Tumblr spread images to Western fandoms. |
| 2015–2018 | Western cosplay and anime convention scene | Ita bags exploded at US and EU anime conventions. Ita bag meetups became a convention staple. K-pop fans began using them for photocards and idol merchandise. |
| 2019–2021 | Global mainstream | Ita bags appeared on Amazon, Etsy, and in mainstream fashion retail. The kawaii aesthetic merged with the ita bag format. TikTok and Instagram drove the next wave of growth. |
| 2022–2026 | Diversified global community | Ita bags are now used across fandoms — anime, K-pop, gaming, western cartoons, sports, and non-fandom pin collectors. Styles have expanded from basic rectangles to heart, coffin, star, and novelty shapes. |
Cultural note: In Japan, “painful” (itai) is used affectionately. The idea is that your devotion to a character is so intense it’s almost embarrassing — but that embarrassment is worn as a badge of pride. Western communities adopted this same spirit.
Types of Ita Bags
Ita bags come in every bag style — backpacks, crossbodies, totes, shoulder bags, minis, and fanny packs. Within each style, windows come in different shapes. Here’s a complete breakdown.
By Bag Style
| Style | Window Size (typical) | Pin Capacity | Best For | Price Range |
|---|---|---|---|---|
| Ita Backpack | 10×12 – 14×16 in | 35–60+ pins | Conventions, school, large collections | $40–$100+ |
| Ita Crossbody | 7×9 – 9×11 in | 15–30 pins | Daily carry, concerts, events | $20–$65 |
| Ita Shoulder Bag / Tote | 8×10 – 11×13 in | 20–40 pins | Fashion, events, versatile carry | $30–$80 |
| Mini Ita Bag / Ita Wallet | 4×5 – 6×8 in | 3–14 pins | Secondary bag, clip-on, gifts | $15–$35 |
| Ita Waist Bag / Fanny Pack | 5×7 – 7×9 in | 8–18 pins | Concerts, festivals, hands-free events | $20–$50 |
| Ita Tote (large) | 10×12 – 13×15 in | 30–55 pins | Casual carry, shopping, large displays | $35–$75 |
By Window Shape
Rectangle / Square
Most common. Maximum window area for the bag size. Works with any pin layout. The practical default for high pin-count displays.
Heart
Romantic aesthetic. Popular for ship merch, BTS, and kawaii setups. The curved edges reduce usable space slightly but make a strong visual statement.
Star
Bold and eye-catching. Popular for idol groups, pop culture collections, and high-visibility display bags. Points create interesting corner spaces.
Coffin
Gothic and alt-aesthetic. Dramatic silhouette. Ideal for horror anime, dark fandoms, and alternative fashion. Pairs with black inserts.
Round / Circle
Clean and minimalist. Works with any style. Best for a small, curated focal display rather than maximum pin count.
Cat Face / Novelty
Themed shapes (cat, bear, character silhouettes). The bag itself is part of the aesthetic. Popular for kawaii and Sanrio collections.
Ita Bag Size Guide & Prices
The most important number when buying an ita bag is the window dimension — not the outer bag size. A bag labelled “large” may have a smaller window than a “medium” from a different brand. Always check the listed window measurements.
| Size Category | Window (approx) | Pins Capacity | Typical Price | Ideal For |
|---|---|---|---|---|
| Mini | 4×5 – 6×8 in | 5–14 pins | $15–$35 | Clip-on, secondary bag, single-character display |
| Small | 6×8 – 8×10 in | 12–22 pins | $25–$55 | Beginners, daily crossbody, modest collections |
| Medium | 8×10 – 11×13 in | 22–40 pins | $40–$80 | Versatile carry, conventions, 20–40 pin collections |
| Large | 11×13 – 14×16 in | 40–60 pins | $60–$120 | Convention backpacks, plushie displays, large collections |
| XL / Oversized | 14×16 in+ | 60+ pins | $80–$130+ | Maximum display, premium builds, serious collectors |
Budget tip: Reliable ita bags under $30 do exist — look for crossbodies with 7–9 inch windows. Avoid backpacks under $25; the window PVC is usually too thin and cracks within months. For a first bag, $35–$55 is the sweet spot for quality vs. cost.
Budget Tiers at a Glance
Budget
$15–$30
Mini bags and basic crossbodies. Thin PVC. Fine for small pin counts and testing the hobby.
Mid-Range
$30–$65
Best value. Medium crossbodies and small backpacks. Decent PVC clarity, metal hardware, often includes insert.
Upper-Mid
$65–$100
Large backpacks with padded straps, thick PVC, reinforced window corners, laptop pockets.
Premium
$100+
YKK zippers, genuine leather trim, deep rigid windows, heavyweight construction for serious long-term collectors.
How to Choose Your First Ita Bag
The right first ita bag depends on four things: what you plan to display, how many items you have (or plan to have), how you’ll carry it, and your budget. Work through these in order.
-
1
Match the bag to your collection type
What are you displaying?
• Mostly flat enamel pins → any rectangular window, standard depth is fine.
• Acrylic stands and keychains → look for window depth ≥ 1 inch; stands need room to stand upright.
• Plushies → check window depth and base width specifically; a 20cm plushie needs a tall, wide, deep window.
• Photocards → flat window with an insert that fits standard 55×85mm cards; some bags include a sleeve.
• Mixed display → medium or large bag with a wide rectangular window handles everything. -
2
Pick the right size for your pin count
Count your pins and match to size:
• Under 15 pins → small crossbody (6–8 in window).
• 15–30 pins → medium crossbody or small backpack (8–10 in window).
• 30–50 pins → medium backpack or large shoulder bag (10–13 in window).
• 50+ pins → large backpack (13 in+ window).
If you’re just starting: buy one size up from your current collection — you will add more pins. A window that’s slightly too large is much better than one that’s too small. -
3
Choose your carry style
• Hands-free at conventions → ita backpack.
• Lighter, fashion-first → crossbody or shoulder bag.
• Daily carry with school or work items → backpack with a laptop sleeve.
• Secondary display bag (you have a main bag) → mini ita bag that clips onto a strap.
• Concert or festival → waist bag/fanny pack, compact and secure. -
4
Check whether an insert is included
This is a key buyer decision that many first-timers miss. Many ita bags do not include an insert. If not included, you must buy one separately — and it must be sized for the specific window. Check the listing explicitly. If the listing doesn’t mention it, assume it’s not included. Bags that do include an insert are a better deal for beginners. See the ita bag inserts page for sizing help.
-
5
Set your budget and shop
For a beginner bag: target the $35–$55 range for a medium crossbody or small backpack with insert included. This gives you quality PVC, metal hardware, and enough display space for a growing collection without overspending on your first bag. Once you know what you want, you can upgrade. See the full ita bag catalog →
Inserts: What They Are and How to Size Them
An ita bag insert is the backing panel that sits inside the display window. Pins push into the insert, not directly into the window or bag lining. The insert is removable — you can rearrange your layout without opening the bag permanently.
Why inserts matter
Without an insert, pins have no stable surface. The window PVC can’t be pinned into safely. The insert gives each pin a secure attachment point, keeps everything in position, and protects the window from scratches from pin backs. A good insert = a neat, stable display.
Insert Materials — Comparison
| Material | Feel | Holds Pins? | Weight | Best For | Cost |
|---|---|---|---|---|---|
| Foam | Soft, compressible | ✓ Easy to pin into | Very light | Standard pins, beginners | Lowest |
| Plastic Canvas | Rigid, grid-structured | ✓ Very stable for heavy items | Light | Keychains, heavy pins, structured displays | Low–Mid |
| Fabric-Covered Foam | Soft + polished surface | ✓ Easy to pin into | Light | Any display, color-matched looks | Mid |
| Cork | Medium firmness, natural texture | ✓ Good grip for pins | Light | Eco-conscious collectors, mixed-media displays | Mid |
How to size your insert
- Measure your bag’s window interior opening (the clear area) — width × height.
- Subtract 0.5 to 0.75 inches from each measurement. This gap lets the insert lay flat without buckling at corners.
- Example: 10×12 inch window → 9.25×11.25 inch insert.
- If your insert is slightly too large, trim it with scissors (foam) or wire cutters (plastic canvas).
- If too small, use adhesive velcro dots at the edges to hold it in place.
Insert included?
Many ita bags at $30–$60 now include a foam insert. This is worth paying for if you’re a beginner — it removes the guesswork of sizing. The listing should specify:
- Whether insert is included (yes / no)
- Insert material (foam / canvas / fabric)
- Insert dimensions (not the same as the window dimensions)
If none of this is listed, assume no insert. Shop inserts separately →
How to Set Up an Ita Bag
Setting up your first ita bag takes 20–30 minutes. The most important step is planning your layout before pushing any pins — rearranging once pinned wastes time and can damage pin backs.
-
1
Install the insert
Slide the insert inside the display window. It should fit with a small gap (0.25–0.5 inch) on all edges — not so tight it buckles, not so loose it shifts around. If buckling: trim the insert. If shifting: add velcro dots to the corners.
-
2
Plan your layout before pinning anything
Remove the insert and lay it flat. Place your pins, stands, and charms on it without pushing them in. Arrange until you’re happy. Take a photo. This saves you from re-pinning everything twice.
Layout tips: Place your largest or most important item slightly above center (optical center, not geometric center). Work outward from this focal piece. Balance visual weight left-to-right. Leave a little breathing room — a crowded display is harder to read than a composed one. -
3
Secure acrylic stands first
Acrylic stands need a different method than pins. The easiest way: press foam tape on the stand base, press it onto the insert surface. For heavier stands, push T-pins through the insert over the stand’s foot. Full walkthrough: how to put acrylic stands in an ita bag.
-
4
Push pins through the insert
Hold the insert steady and push each pin’s post straight into the foam. Apply firm, even pressure. The post should go in cleanly — if there’s heavy resistance, the foam density is too high; switch to a different foam type. Fasten the clutch back on the reverse side.
-
5
Attach keychains
Small keychains: hang from a pin post using a jump ring through the post hole. Heavier keychains: use a T-pin through the chain link pushed into the foam, or hang from the bag’s exterior D-rings. Full guide: how to put keychains in an ita bag.
-
6
Reinstall and check
Slide the loaded insert back into the window. Close and zip the window panel. Stand the bag upright and look at the display from the front. Check for anything that’s tilting, sagging, or partially hidden by the window frame. Adjust as needed before you head out.
Pro tip: The most common beginner mistake is overcrowding. Leave at least 10–15% of the insert visible — this makes each item more readable and protects pins from pressing against the window and scratching it.
Caring for Your Ita Bag
Ita bags are durable daily accessories when maintained correctly. The two main care areas are the clear window and the bag body. Treat them differently.
Cleaning the Window
- PVC window: Damp microfiber cloth only. No solvents, alcohol, or ammonia-based glass cleaner — these cloud the PVC permanently.
- Acrylic window: Dry microfiber cloth. Barely damp if needed. Never abrasive — acrylic scratches very easily.
- Fingerprints: breath + soft cloth works for both materials.
- Stubborn marks: a drop of distilled water on a cloth, gentle circular motion.
Cleaning the Bag Body
- PU leather exterior: Damp cloth + mild soap (dish soap or baby soap). Wipe dry immediately. Don’t soak or machine wash.
- Canvas exterior: Spot clean with gentle laundry detergent. Air dry fully before use — trapped moisture damages the insert.
- Metal hardware: Dry cloth only. If tarnished, a dry cloth with a small amount of metal polish, then buff off completely.
- Never submerge an ita bag in water regardless of material.
Storage & Longevity
- Sunlight: Store out of direct sunlight. UV yellows PVC windows over time and fades fabric. Even a few hours of direct sun daily adds up over months.
- Weight: Don’t stack heavy items on top of the bag — this distorts the window shape and stresses zipper seams.
- Pin backs: Loose pins in the main compartment will scratch the bag interior. Use a pouch for loose pins.
- Long storage: Remove the insert if storing unused for more than a few weeks. Pins left in foam for months can embed permanently.
Ita Bags by Fandom
The fandom you’re displaying shapes every choice — bag color, window shape, insert color, and layout style. Here are the most popular ita bag fandom aesthetics and what works best for each.
Anime (General)
Large rectangular window for maximum pin count. White or black insert for contrast with colorful pins. Arrange by series or use a color-theme approach across characters.
Anime Ita Bags →K-Pop / BTS
Purple and lavender for ARMY. Display photocards in a sleeve insert, pins arranged above. Purple bag + white insert is the most recognizable ARMY build.
BTS Ita Bag Ideas →Sanrio / Kawaii
Pastel bags — pink, lavender, mint. Heart or cat-shaped window for extra kawaii aesthetic. Mix Sanrio characters or dedicate to one (Kuromi, My Melody, Cinnamoroll).
Sanrio Ita Bags →Genshin Impact
Element-themed color scheme matching your main characters. Acrylic stands as focal pieces, elemental-themed pins framing them. Mondstadt vs Liyue vs Sumeru palettes all work.
Genshin Ita Bags →Pokémon
Red and yellow for classic builds. Type-specific palettes work beautifully (blue/teal for Water types, red/orange for Fire types). Include your starter for an instant recognizable focal pin.
Shop Pokémon-Style Bags →Demon Slayer
Deep green and black for Tanjiro builds, pink for Nezuko aesthetics. Character acrylic stands as focal pieces, Breathing Style-themed pins framing them.
Demon Slayer Ita Bags →Hatsune Miku
Teal and white. Rectangle window for maximum pin count. A Miku acrylic stand as centerpiece, musical note and food pins filling the space. Green or white insert.
Miku Ita Bags →Gaming (General)
Dark-colored bag (navy, black, dark purple) for most gaming aesthetics. Feature game logos as larger pins, character art as focal points, accessory/item pins filling gaps.
Browse Gaming-Style Bags →Horror / Gothic
Coffin-shaped ita bag in black or burgundy. Black insert. Character pins from horror anime (Junji Ito, Tokyo Ghoul), dark games, or original gothic aesthetics.
Browse Gothic Ita Bags →Ita Bag Display Ideas & Inspiration
The display inside your ita bag is a creative composition. These layout strategies and theme ideas will help you build a display that looks intentional, not random.
Layout Strategies
- Focal point + frame: Place your most important item (a large pin, acrylic stand, or plushie) at the optical center (slightly above midpoint). Arrange supporting items around it in concentric layers.
- Color gradient: Arrange pins from light to dark (or warm to cool) across the insert for a rainbow or sunset effect.
- Character hierarchy: Largest pins for main characters, medium for secondary, small pins for symbols/accessories at edges.
- Symmetry: Mirror-image left and right halves. Easier to achieve and always looks polished.
- Cluster by character: Group all pins of one character together, then cluster groups across the insert.
Theme & Color Ideas
- Monochrome: All pins in one color family (all pastels, all black-and-white, all red). Striking when you have enough pieces.
- Season / holiday: Swap inserts seasonally — spring pastels, Halloween blacks, winter blues. A removable insert makes this easy.
- Single character shrine: Every item in the display dedicated to one character in every format — pin, acrylic, plushie, photocard sleeve.
- Ship display: Two-character build where both characters’ items are balanced left and right or intermingled.
- Mixed fandom: Color-coordinated items from different fandoms that share an aesthetic palette.
Insert Color Tips
The insert color is visible through the window and affects the whole display:
- White or cream: Universal. Makes colorful pins pop. The safest choice.
- Black: Dramatic. Makes metallic and neon pins stand out. Good for gothic or gaming builds.
- Pastel-colored fabric: Adds softness for kawaii builds. Lavender insert for purple aesthetics, pink for romantic builds.
- Patterned fabric: Adds texture. Ensure it doesn’t compete with the pins — subtle patterns work best.
What Not to Do
- Overcrowding: Pins touching each other look messy and can scratch paint off adjacent pins. Leave breathing room.
- Random size mixing: A 5cm statement pin next to a 1cm mini pin looks unbalanced. Group similar sizes or use a deliberate size progression.
- Pushing heavy items to the top: Top-heavy displays sag over time. Put heavy acrylic stands and plushies at the center or bottom.
- Forgetting the back: Pin backs sticking out unevenly make the insert lump out and push against the window. Check the back of the insert after pinning.
Buying Guide: What to Check Before You Buy
Run through this checklist on any ita bag listing before you add to cart. These are the things that separate a bag you’ll use for years from one you’ll return in a week.
✓ Green Flags
- Window dimensions listed. Exact width × height of the clear area. If only “outer bag dimensions” are listed, the window size is unknown.
- Insert included and described. Material, dimensions, and whether it’s a standard foam insert or custom-fit.
- Clear product photos showing window clarity. Ideally photos with items already in the window so you can judge actual PVC quality.
- Metal zippers. YKK zippers are the gold standard. Metal zippers last longer than plastic on a frequently-opened window panel.
- Reinforced stitching at window corners. The four corners of the window frame are the highest-stress points. Double or triple stitching is a durability signal.
- Padded straps on backpacks. A bag carrying 50+ pins plus daily items gets heavy. Thin unpadded straps = shoulder pain within an hour.
✗ Red Flags
- No window dimensions listed. “Large window” with no measurements means you’re guessing. Skip it.
- Only one product photo (bag closed). You can’t judge PVC clarity or depth from a sealed bag photo.
- Very low price for a “large backpack.” Ita backpacks under $25 almost always use thin PVC that cracks within weeks of daily use.
- No insert included and no mention of insert size. You can’t buy the right insert without knowing the window dimensions.
- Plastic zippers on the display window. The window zipper opens daily. Plastic cracks or splits within months of regular use.
- “Window size: 11×9 inch” but outer bag is 10×8 inch. Listing errors are common. If window dimensions exceed outer bag dimensions, the listing is wrong.
Complete YourItBag Guide Index
Every guide in the YourItBag collection, organized by topic.
Setup & How-To
Buying Guides
By Style & Color
Frequently Asked Questions
What is an ita bag?
An ita bag is a bag with a clear display window designed to show off enamel pins, acrylic charms, plushies, photocards, and other fandom merchandise. The name comes from Japanese: itai (痛) means painful — a playful reference to how painfully obvious your fandom devotion is.
How much does an ita bag cost?
Mini bags and budget crossbodies start at $15–$30. A reliable beginner bag is $35–$55. Medium backpacks with quality construction run $55–$90. Premium large backpacks with padded straps and thick PVC cost $90–$130+. See the size & price guide above for a full breakdown.
How many pins fit in an ita bag?
Mini crossbody (6×8 in window): 10–18 pins. Medium crossbody (8×10 in): 18–30 pins. Large backpack (11×14 in): 35–55+ pins. Actual count depends on pin size — a display of large 3cm pins holds fewer than the same window filled with 1cm pins.
Do ita bags come with inserts?
Some do, many don’t. Always check the listing explicitly — it should state “insert included: yes/no,” the insert material, and dimensions. If the listing doesn’t mention it, assume it’s not included. Bags that include an insert are the better deal for beginners. Shop inserts →
What is the best ita bag for beginners?
A small-to-medium crossbody, $35–$55, with an 8×10 inch rectangular window and a foam insert included. Avoid very cheap bags under $20 (PVC cracks quickly) and very large backpacks before you’ve built your collection. See: Best ita bags for beginners →
What is an ita bag insert and what size do I need?
An insert is the backing board inside the window that pins attach to. Measure your window’s interior opening (width × height), then subtract 0.5–0.75 inches from each measurement. A 10×12 inch window needs a 9.25×11.25 inch insert. Full sizing guide →
Are ita bags only for anime fans?
No. While ita bags originated in anime/manga culture, they’re used across all fandoms: K-pop, gaming, kawaii fashion, western animation, sports, original art, and non-fandom pin collecting. The bag is a display tool — the theme is entirely yours.
Can I use an ita bag at a convention?
Yes — conventions are the #1 use case. An ita backpack is best for conventions: it carries essentials in the main compartment while displaying your collection on the front. Crossbodies work for lighter convention loads or as a secondary display bag.
What is a kawaii ita bag?
A kawaii ita bag is styled around kawaii aesthetics — pastel colors, Sanrio or cute-character themes, heart or cat-shaped windows, and plushie displays. Pink, lavender, and mint are the most popular kawaii bag colors. Heart-window bags are the most common kawaii style.
How do I clean an ita bag?
Wipe the window with a slightly damp microfiber cloth — no solvents or abrasive cleaners. Clean the bag body with damp cloth and mild soap, then dry immediately. Never machine wash. Store out of direct sunlight to prevent PVC yellowing. See the full care guide above.
Starter Picks from the YourItBag Catalog
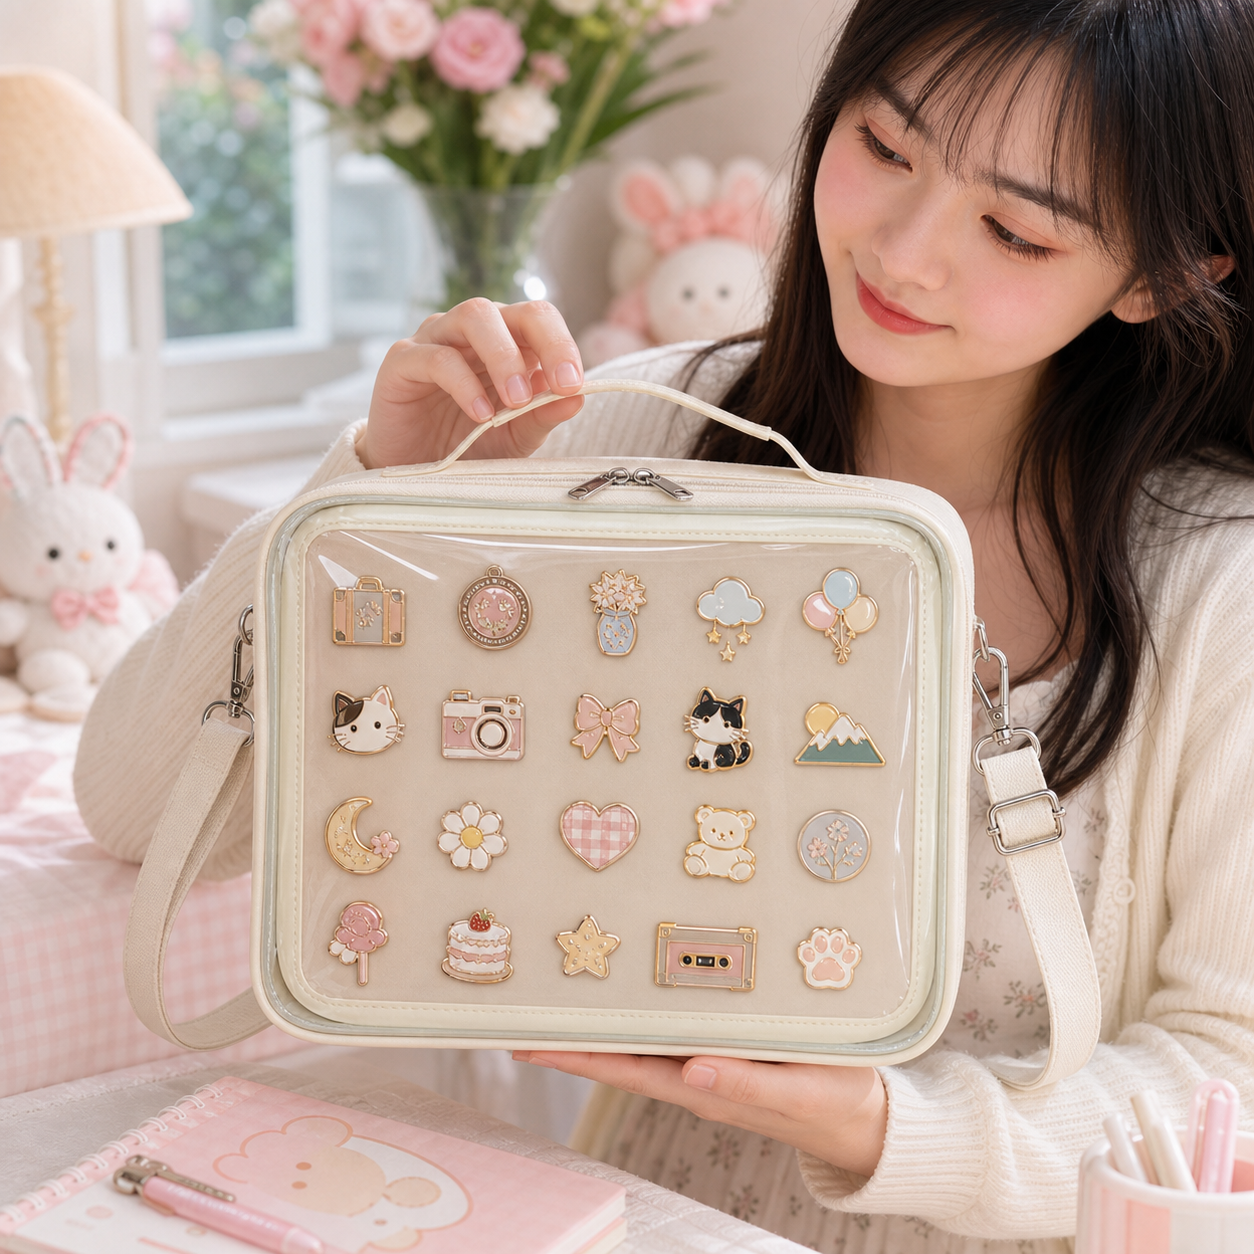
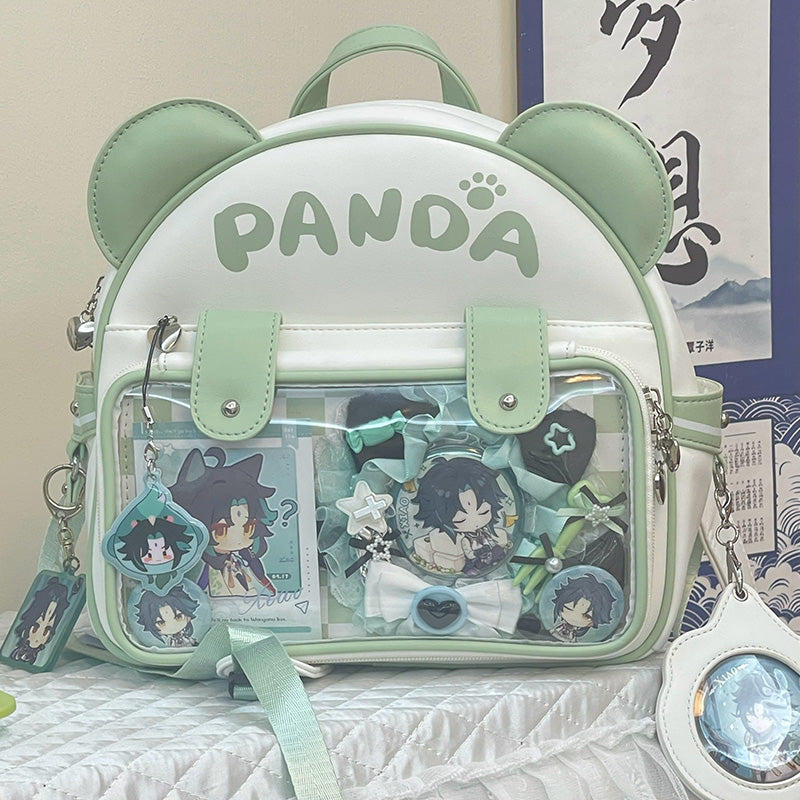
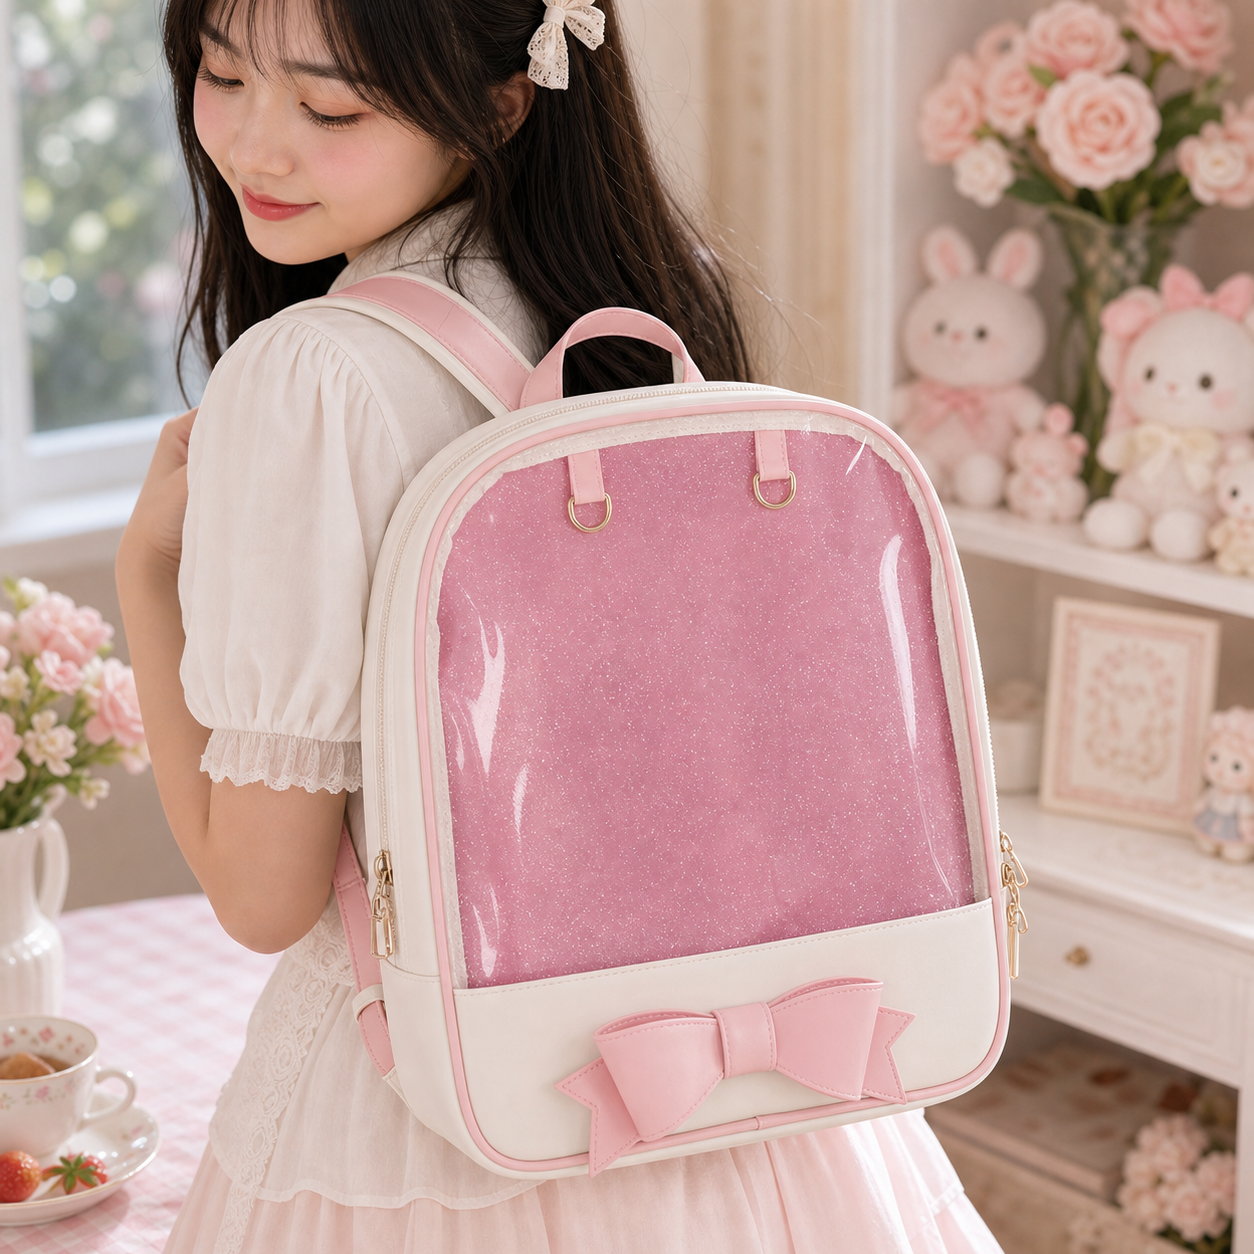
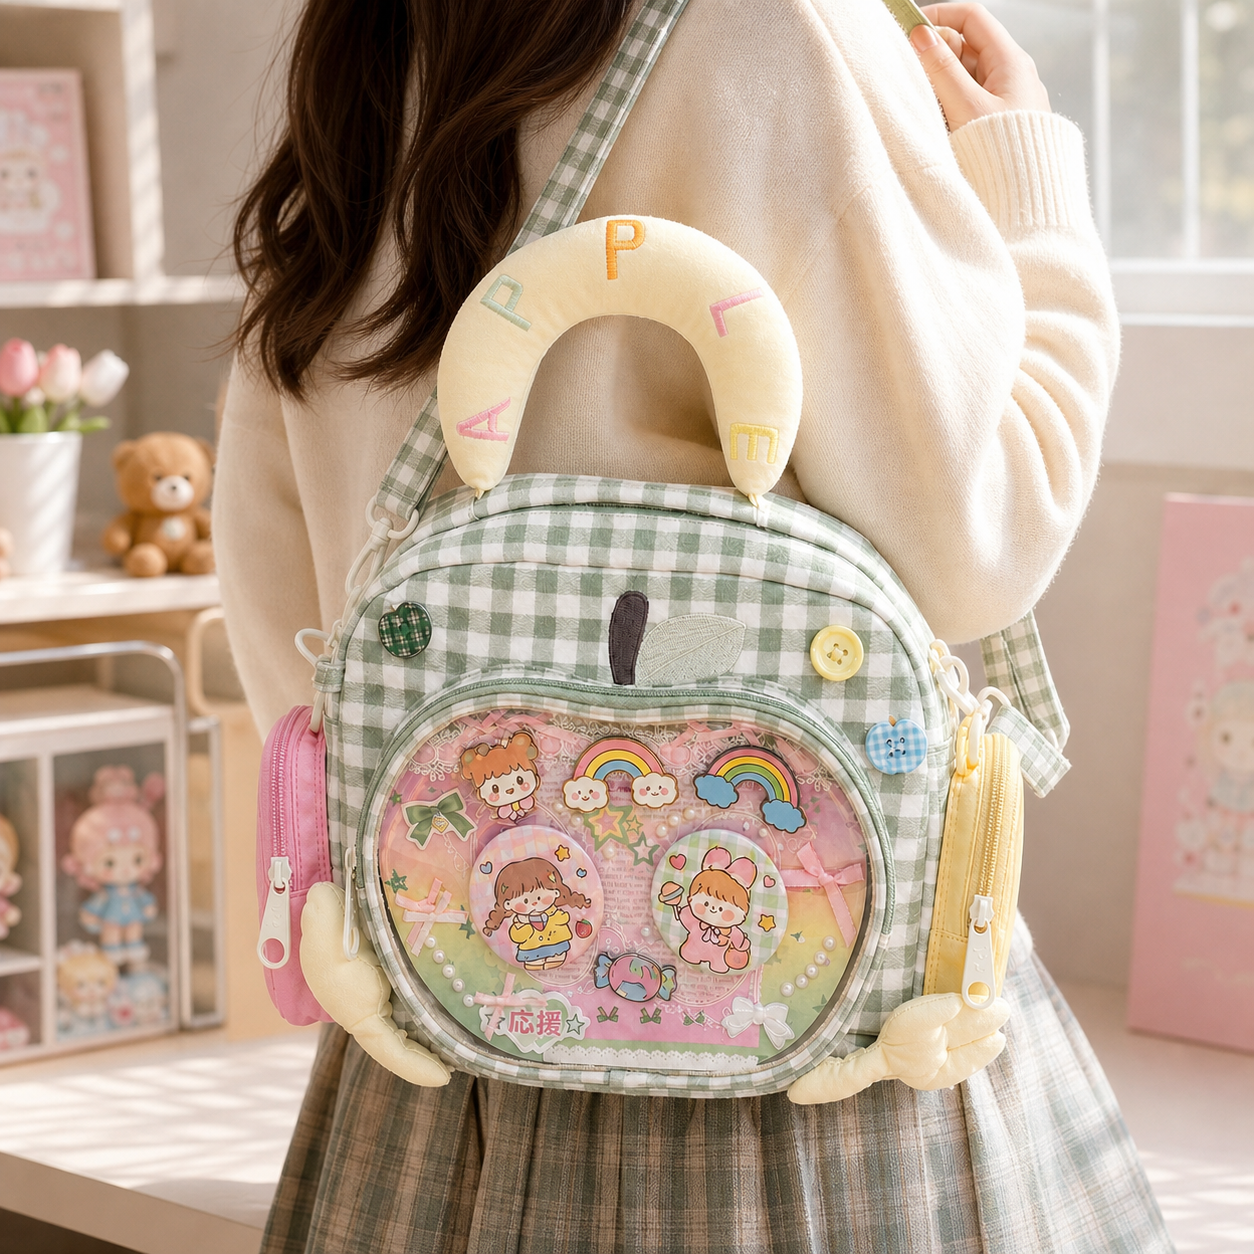
Four bags that cover different budgets, styles, and use cases — all with inserts included or available as a set.
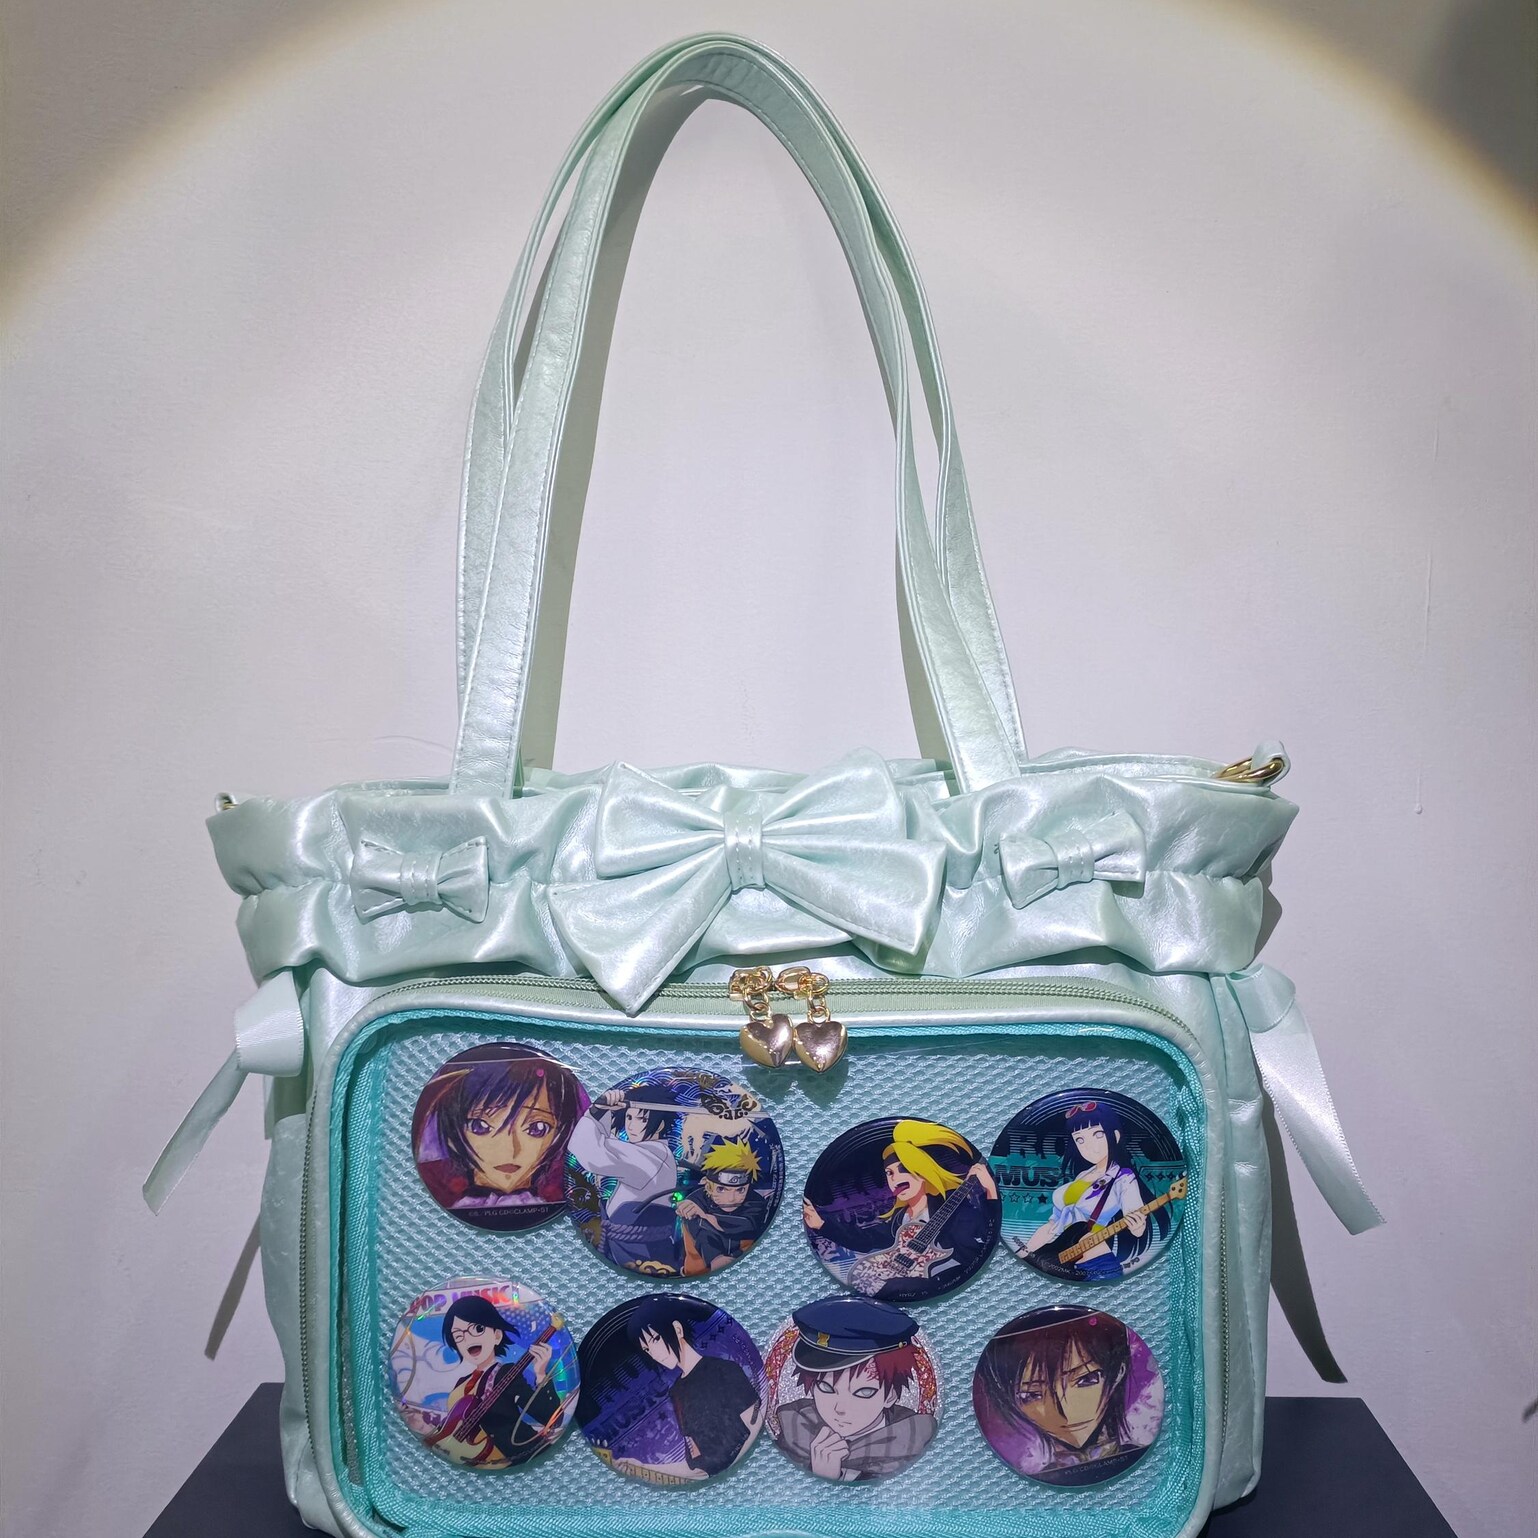
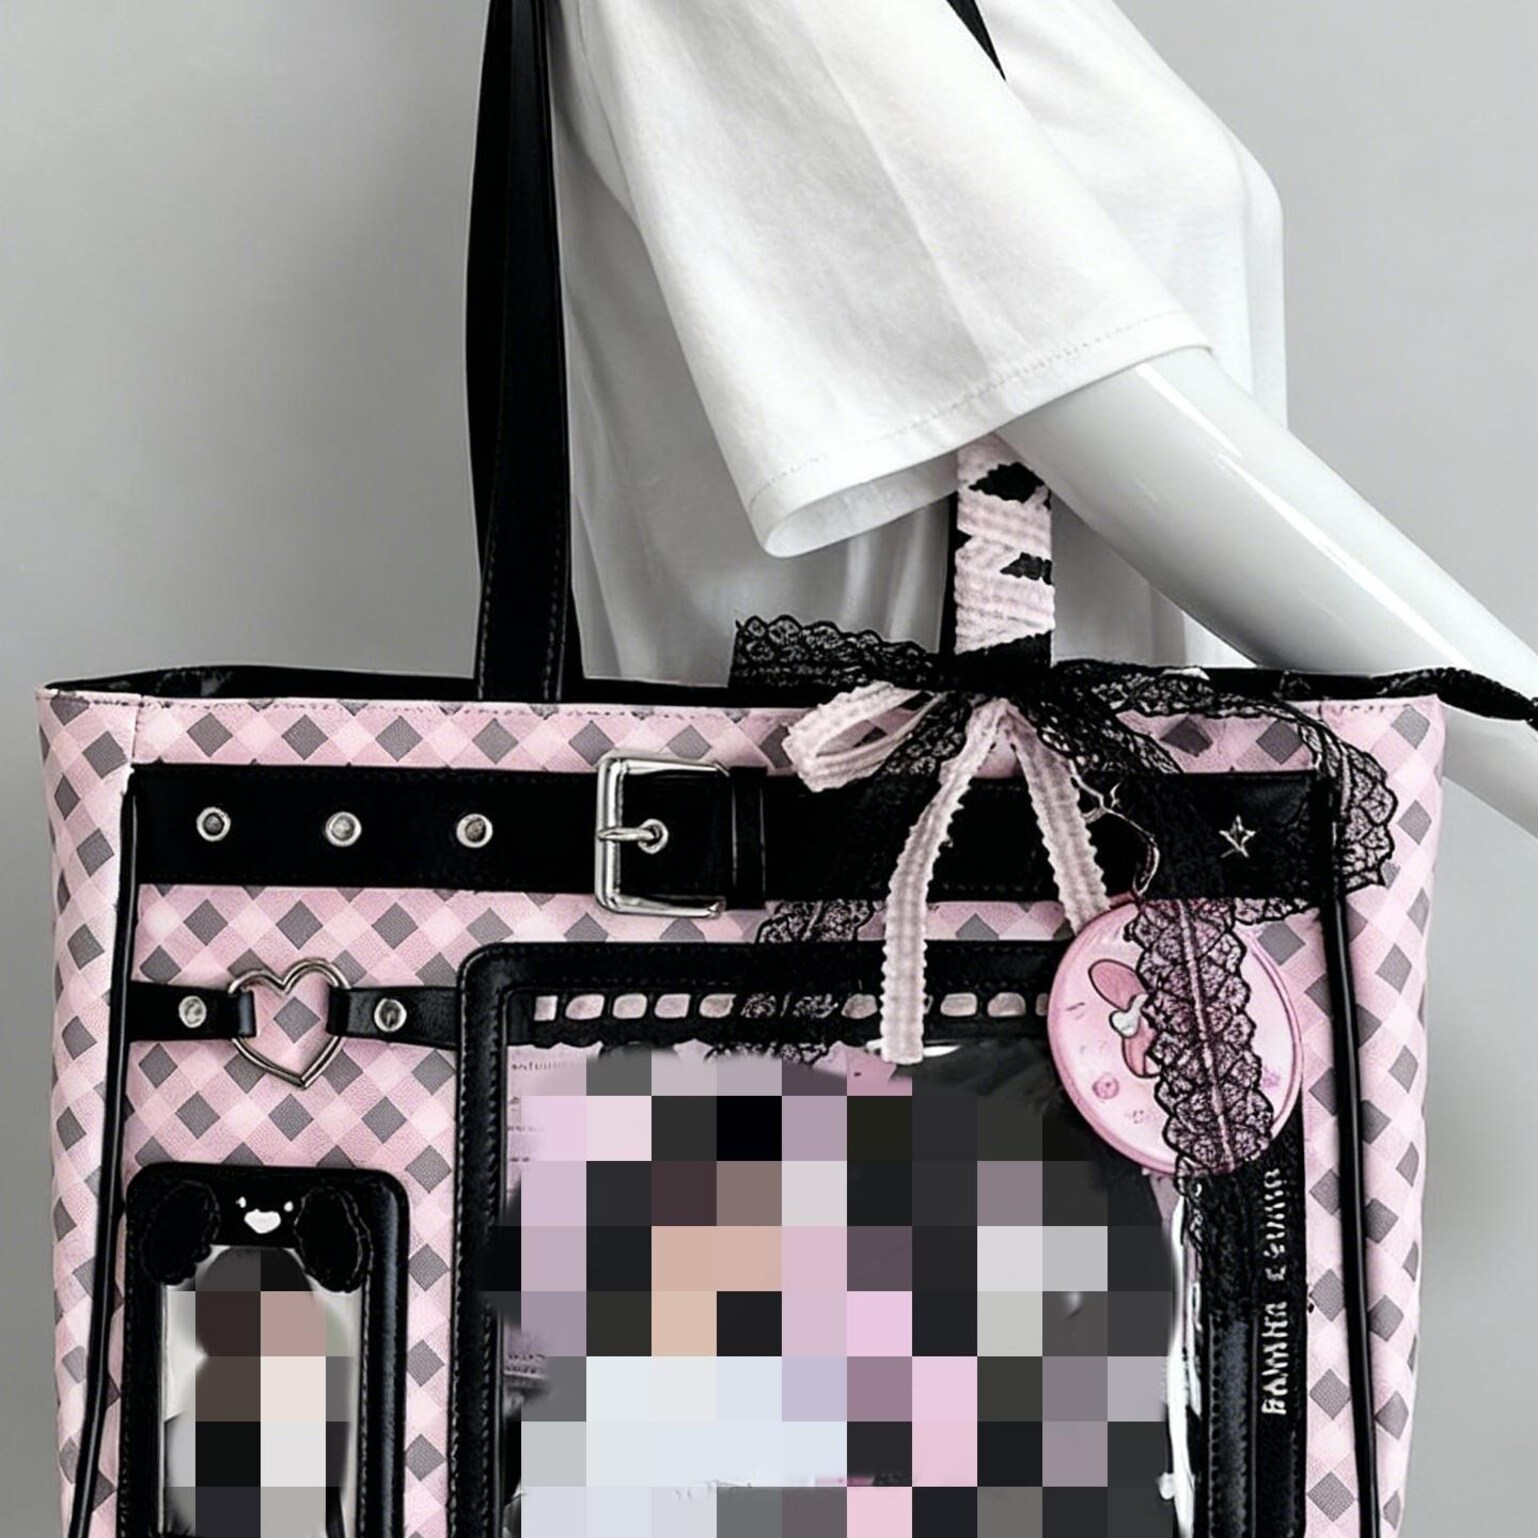
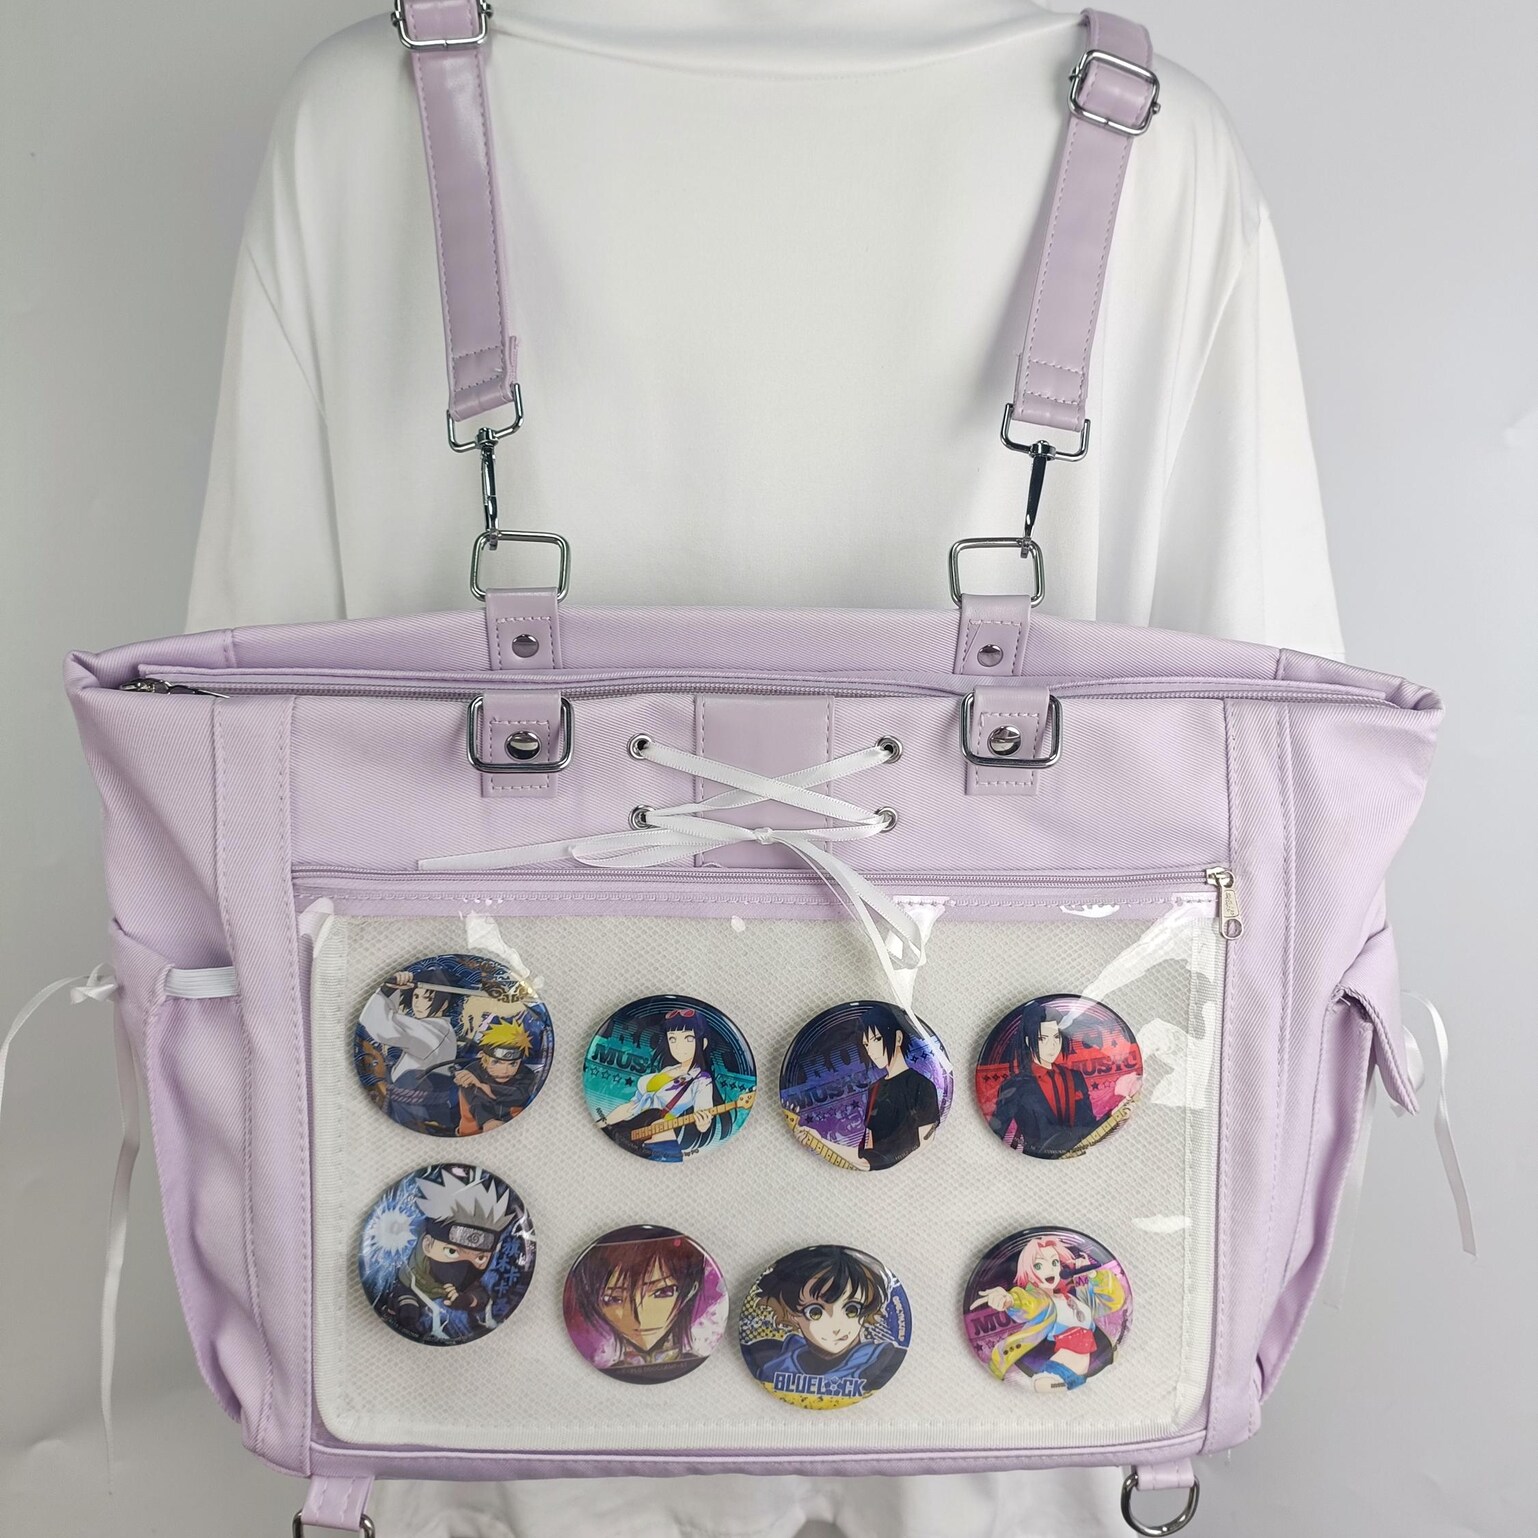
Shop Popular Ita Bags
Clear window styles, mini crossbodies, convention backpacks, and starter kits — the most popular picks from YourItBag.
Continue Exploring
Deep dives into the topics this guide covers at a high level.
Ita Bags — Full Shop (539 bags)
Ita Bag Inserts — Shop by Window Size
What Is an Ita Bag? Full Beginner Guide
Ita Bag Insert Size Guide
How to Fill an Ita Bag — Step by Step
Best Ita Bags for Beginners
Ready to Find Your Ita Bag?
Browse 539 clear-window ita bags — backpacks, crossbodies, shoulder bags, minis, and more. Every style, every budget. Inserts available separately or bundled with select bags.