
The easiest custom ita bag is a ready-made clear-window bag customized with inserts, pins, rosettes, chains, and charms. Commissioning or manufacturing a bag gives more control, but it costs more, takes longer, and requires precise specs. This guide focuses on display fit, carry comfort, and the next buying choice.
What is custom Ita Bag?
A custom Ita Bag is a clear-window fandom display bag or accessory used by collectors to show pins, photocards, badges, and plushies. The display function — window size, insert access, and carry format — determines whether the build stays readable and practical in real use.
For YourItBag readers, the practical test is simple: the display should protect the merch, make the focal item easy to read, and still work for the way the bag will be carried.
The Three Ways to Get a Custom Ita Bag
| Route | Best for | Risk |
|---|---|---|
| Customize a ready-made bag | Most collectors and first custom builds | Low |
| Commission an artist or maker | Specific shape, embroidery, or character colorway | Medium |
| Manufacture from scratch | Small brands, group orders, or shops | High |
If your goal is one personal bag, start with a ready-made base. It is faster, cheaper, and easier to repair or replace.
Customize a Ready-Made Ita Bag
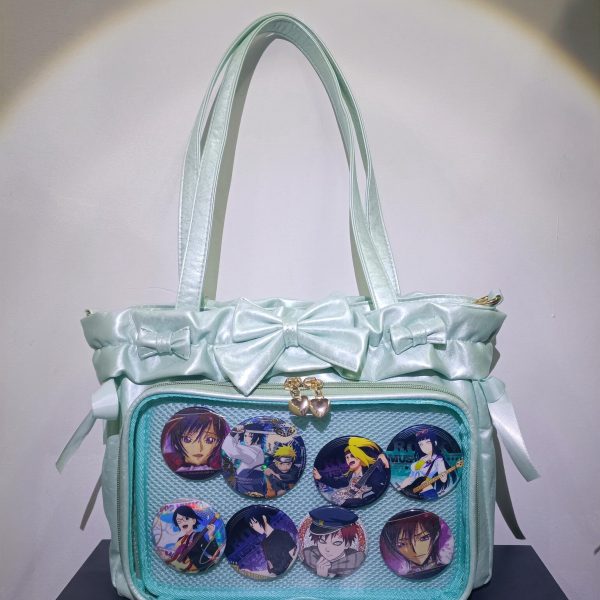
This is the best route for most buyers. Choose a bag with the right color, window size, and strap style, then make the display custom with your insert layout and accessories.
- Use a blank insert for the pin layout.
- Add rosettes around key pins instead of covering the whole window.
- Use removable chains and charms on the outside.
- Keep the base bag neutral if your merch changes often.
Start with ita bag starter kits, accessories, and the setup guide.
Commission Checklist
- Window size: give exact width, height, and depth.
- Insert access: specify zipper, flap, or removable insert pocket.
- Material: ask for fabric samples or clear photos.
- Strap length: provide your preferred minimum and maximum strap length.
- Timeline: custom work can take weeks or months.
- Rights: do not ask makers to reproduce copyrighted logos or official art without permission.
Custom Ita Bag Manufacturers: What to Know
Manufacturer intent is different from personal customization. Factories usually require minimum order quantities, technical drawings, material specs, and sample rounds. If you only need one bag, a maker commission or ready-made base is more realistic.
For small brands, prepare a tech pack with dimensions, window material, insert construction, strap hardware, lining, color codes, and packaging notes before contacting manufacturers.
If You Want to Sew One From Scratch
Use the dedicated ita bag pattern guide. Sewing an ita bag is more complex than a regular tote because the clear window, insert sleeve, and zipper access all have to line up cleanly.
Recommended Products
These recommendations are organised by display function first — window size, insert access, and carry format decide whether pins, cards, or plushies stay readable in real use.
Choose one of these options if you know the merch type going in and need a bag format that supports that display without crowding the layout.
Skip any pick where the product page does not confirm the measurements, insert type, material, or closure you need — unverified product details are not a substitute for checking before checkout.
For this topic, start with bags that match the display need first: window size, carry format, insert access, and the type of merch you plan to show. These current YourItBag picks are relevant to customizable base bags.
Need more options? Browse all ita bags or check the size guide before ordering.
How to Decide
Choose the setup based on the merch you need to display and the way you plan to carry the bag. Check visible window size, insert access, carry comfort, closure, and depth before choosing by color, fandom, or shape alone.
Those checks decide whether the display stays readable, protected, and comfortable in real use instead of only looking good in listing photos. Do not buy by aesthetic alone. A cute theme cannot fix a shallow window, weak strap, awkward insert, or crowded layout.
Common Mistakes
- Buying by color, fandom, or shape before checking visible window size and insert access.
- Ignoring depth, strap comfort, or closure even though those details control real daily use.
- Overfilling the display until faces, logos, and focal pieces stop reading clearly.
Quick Comparison
| Option | Best for | Pros | Cons | When to avoid | Recommended product/category |
|---|---|---|---|---|---|
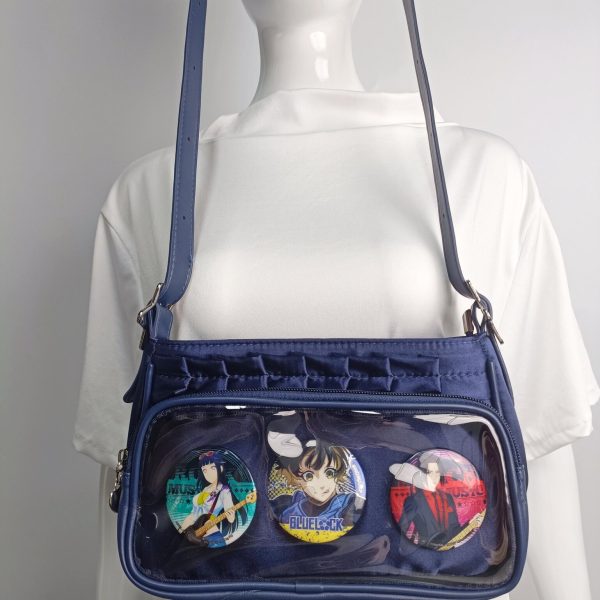
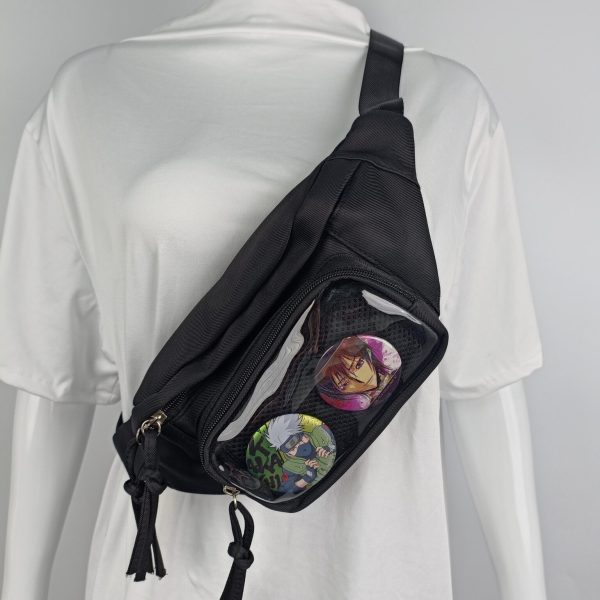
| Small focused display | One character, one color story, daily carry | Readable, lighter, easier to maintain | Less room for large plushies or many badges | Avoid when you already know the merch set is bulky | Mini ita bags |
| Balanced everyday build | Pins, cards, a few charms, practical carry | Best mix of display space and comfort | Can look crowded if the insert plan is weak | Avoid when you need a very formal bag or a giant plushie window | All ita bags |
| Large or plushie-heavy build | Convention setups, thick merch, deeper layouts | More depth, easier spacing, stronger focal point | Heavier to carry and harder to keep tidy | Avoid when you only need a light everyday display | Size guide |
Frequently Asked Questions
How do I choose custom ita bag?
Choose custom ita bag by matching the display window, insert access, depth, and carry format to the merch you already own. This matters because a bag that looks right in photos can still fail if pins crowd the window, plushies press against PVC, or the strap is uncomfortable during daily use.
What should I avoid when buying custom ita bag?
Avoid buying custom ita bag by color, fandom, or novelty shape alone. Check measurements, closure, material, insert support, and return details first because those practical signals decide whether the display stays readable, protected, and usable after checkout without extra fixes.
Does YourItBag recommend products for custom ita bag?
Yes, YourItBag recommends product directions only when the bag category matches a clear display job such as pins, photocards, plushies, or daily carry. Always open the product page before buying because current measurements, variants, price, and availability can change before checkout.
Plan the Custom Build Before You Spend
A useful custom brief begins with the collection, not the decoration. Photograph the merch together, measure the largest item, and decide whether the bag must also carry a phone, wallet, water bottle, or convention supplies. Those choices determine the window, gusset depth, and strap before color or embroidery.
- Write down the visible window size you need.
- Decide which items must stay removable.
- Choose a base color that works with more than one insert.
- Set a budget for the bag separately from pins and accessories.
Related Ita Bag Guides
Continue with the guide that matches the next decision in your build, whether that is choosing the bag, planning the insert, or refining the display.