Bag Type
Window Size (approx) | Pin Capacity (25mm pins)

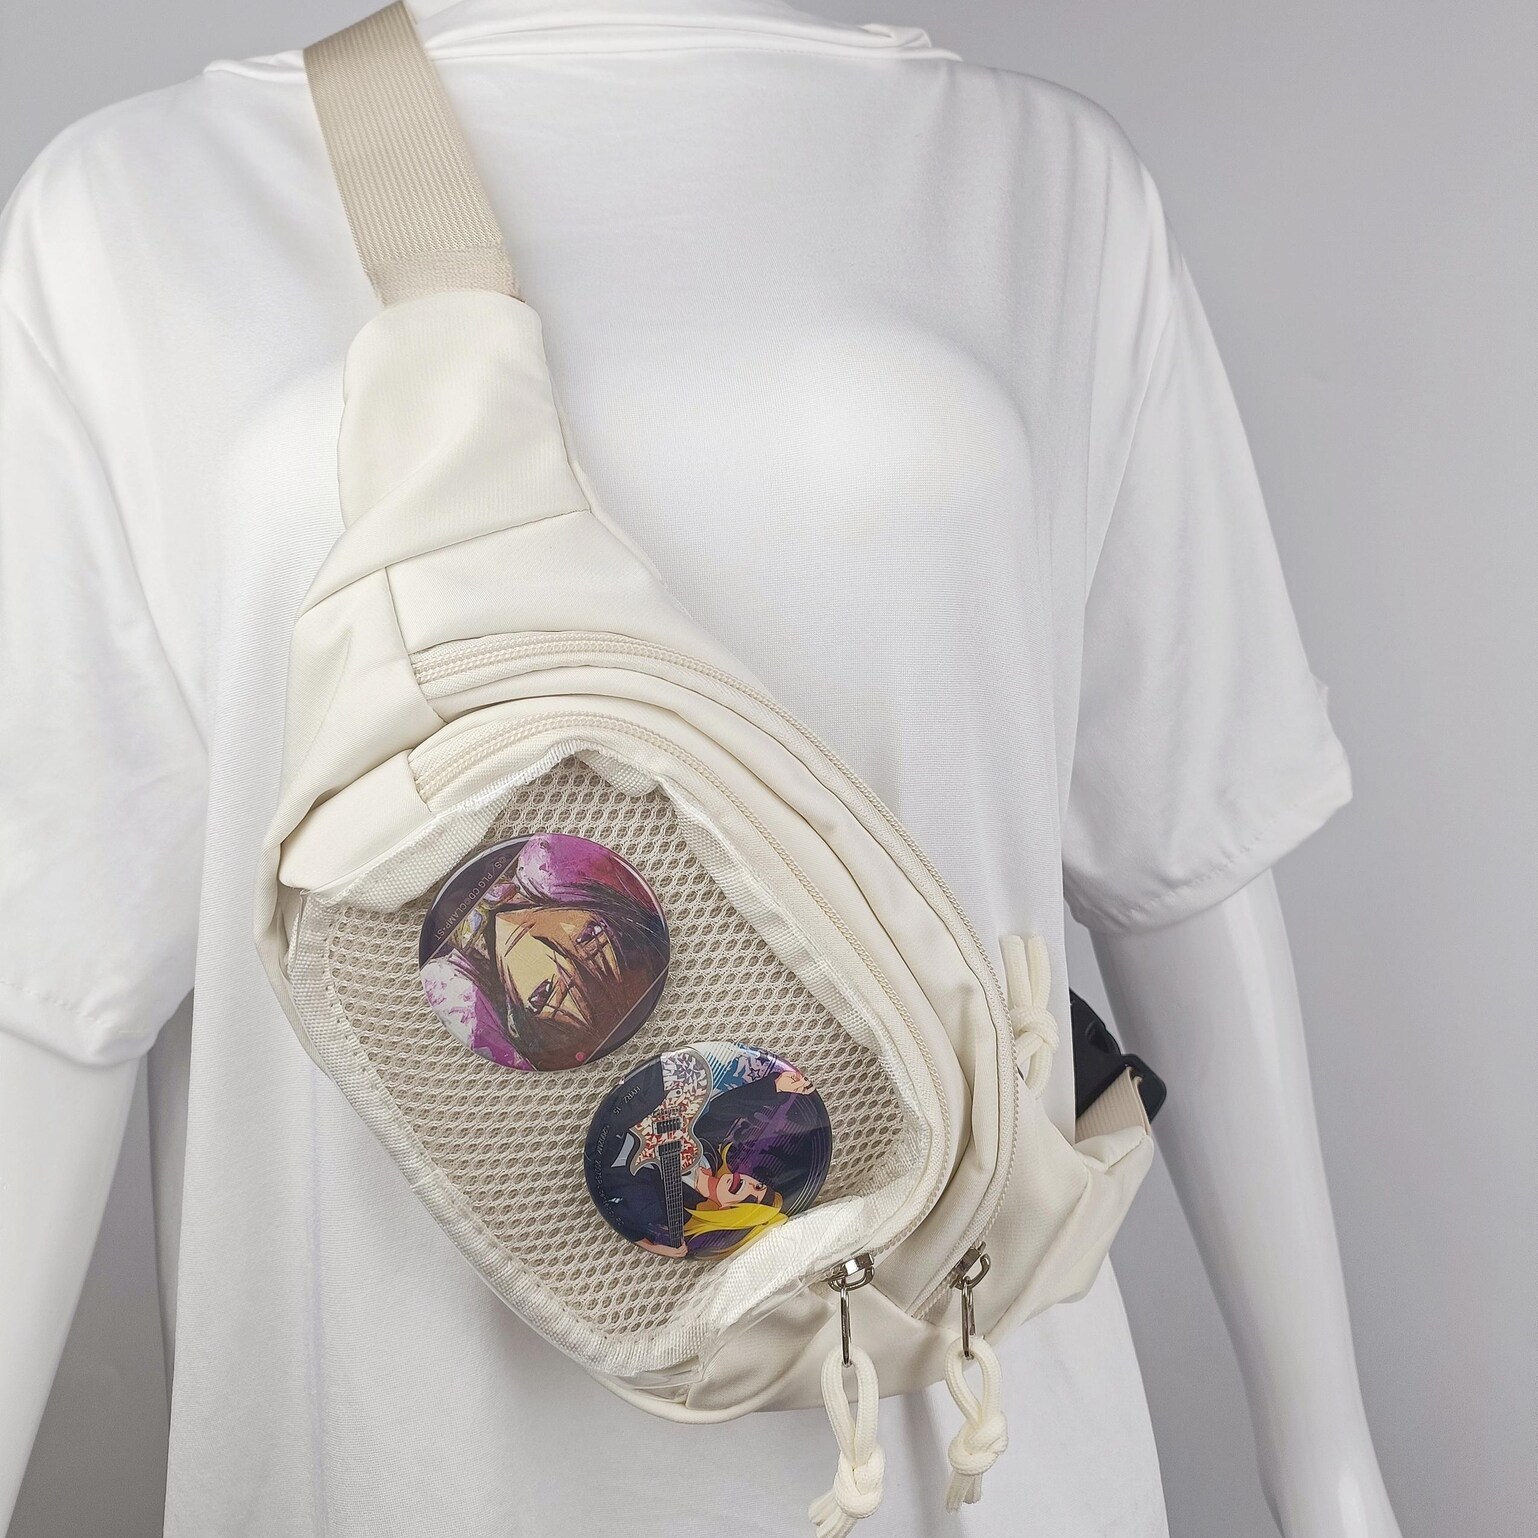
Pins are the original ita bag merch. The entire format was built around displaying enamel pins, button badges, and acrylic charms through a clear window.
If your collection is pin-heavy, choosing the right bag makes the difference between a display that looks intentional and one that looks random. This guide covers what to look for in an ita bag for pins — window size, insert type, pin capacity — and how to build a layout that actually works.
Pins are the original ita bag merch. The entire format was built around displaying enamel pins, button badges, and acrylic charms through a clear window. If your collection is pin-heavy, choosing the right bag makes the difference between a display that looks intentional and one that looks random. This guide covers what to look for in an ita bag for pins — window size, insert type, pin capacity — and how to build a layout that actually works.
Window Size (approx) | Pin Capacity (25mm pins)
15–18cm wide | 10–18 pins
20–25cm wide | 20–35 pins
22–28cm wide | 25–40 pins
28–35cm wide | 35–55 pins
2× panels | 60–100+ pins
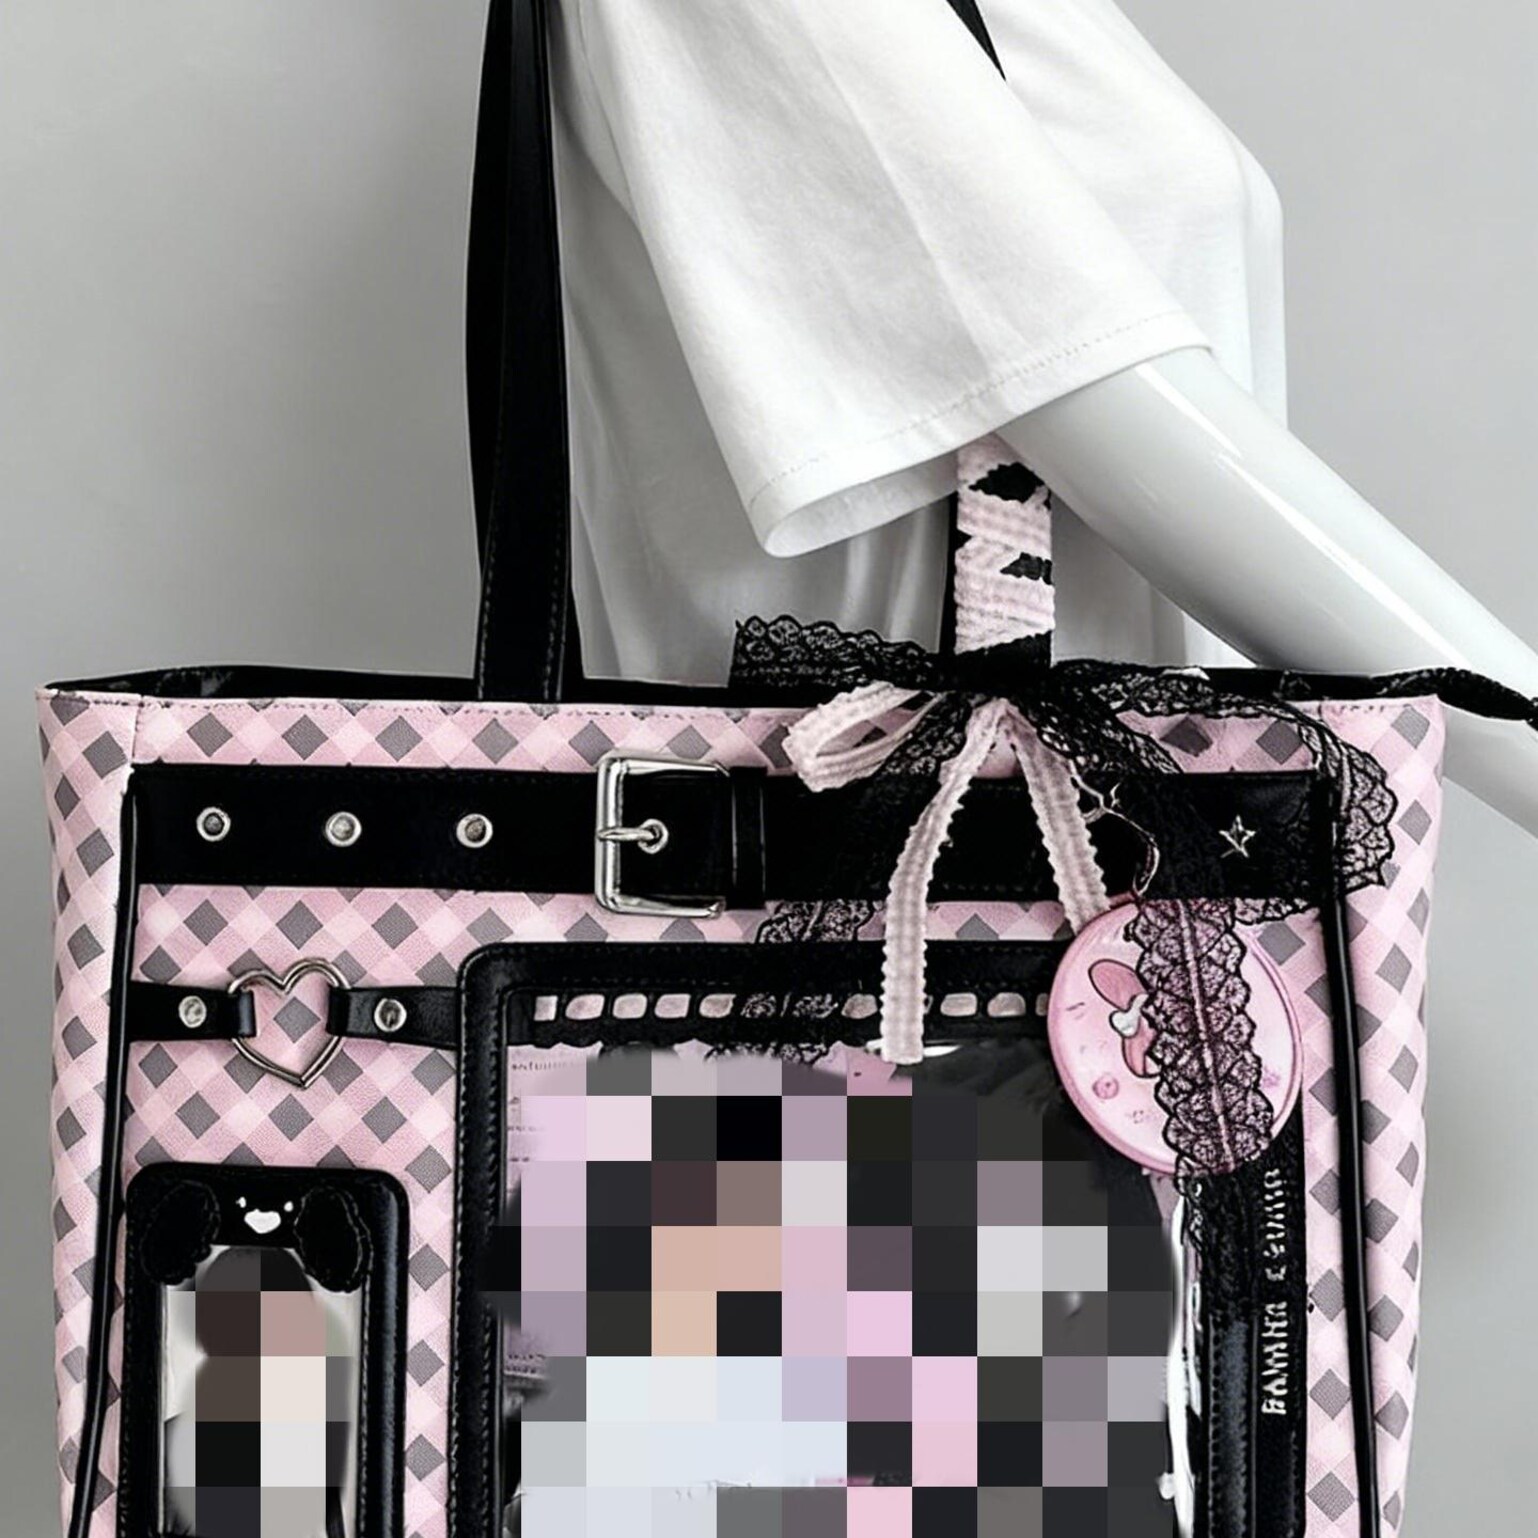
Not all windows display pins equally. Three main types: PVC soft window Most common. Flexible, lighter, lower cost. Works well for standard enamel pins. Tends to bow slightly over time when heavily loaded — use a rigid insert behind it to prevent this. Hard acrylic window Rigid, distortion-free, stays flat under heavy pin loads. Heavier. Best for large collections where pin density is high. Most premium ita bags use this. Double-layer window Two clear panels with a small gap — holds insert flat against the outer layer. Great for photocards alongside pins. Less common. For pins specifically: A rigid insert behind any window type solves most bowing issues. Check whether the bag includes an insert or if you need to source one separately.
The insert is the board behind the window that pins attach to. Getting this wrong is the most common beginner mistake. Foam board insert Standard choice. Pins push in easily, hold firm, pull out cleanly. Works with standard enamel pin posts and butterfly clutches. Most bags that include an insert ship with foam. Plastic canvas insert Rigid grid mesh. Pins attach using the clutch through the holes. More stable than foam for heavier pins. Good for large acrylic charms alongside pins. Fabric-covered foam Foam wrapped in felt or fabric. Softer look, hides the board edge, better for photocards + pins mixed layout. Pins hold slightly less firmly — fine for lighter display use. What to check before buying:
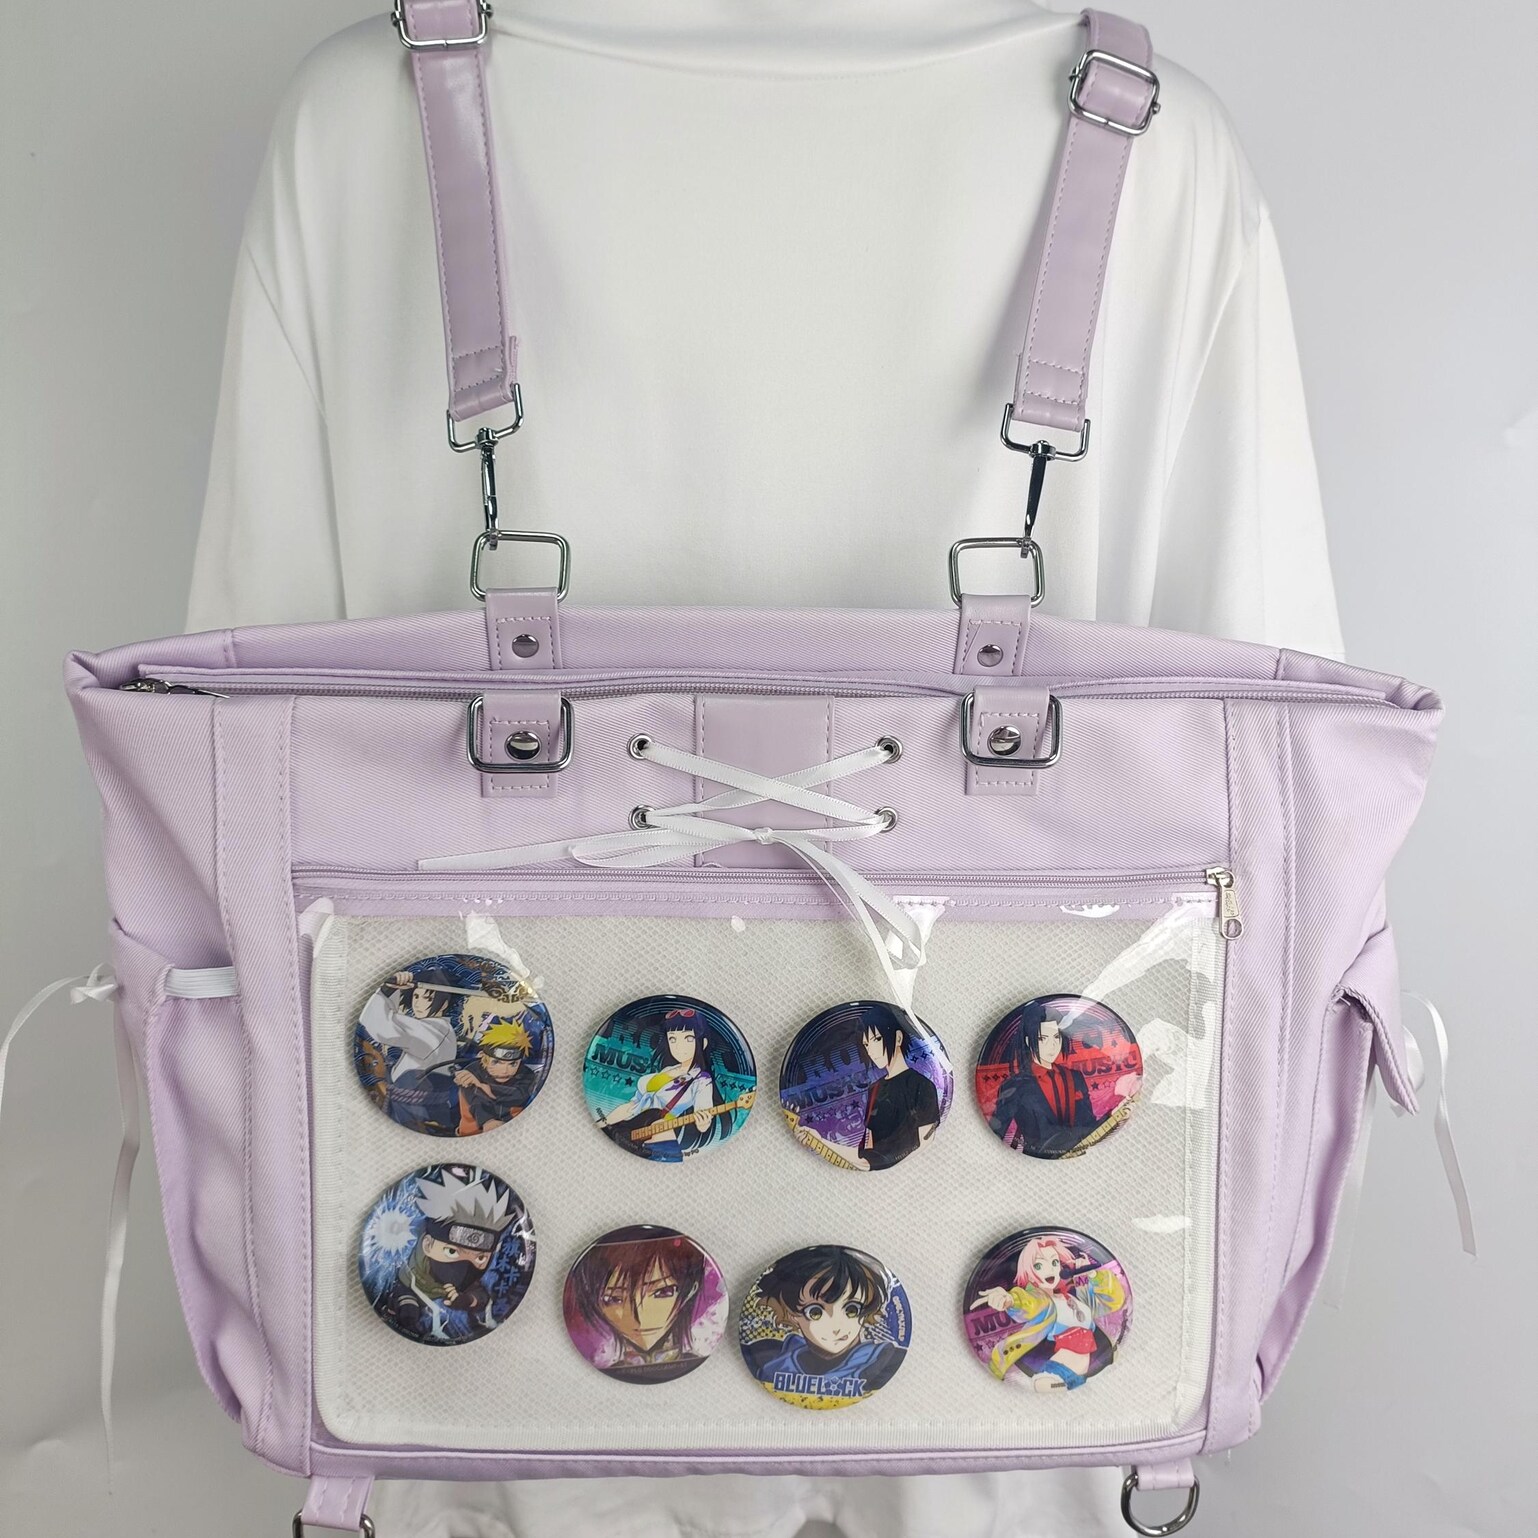
A full window of pins looks great. A randomly placed half-window looks like you ran out of pins mid-way. Either commit to full coverage or design around negative space. Three layouts that work: 1. Focal point pyramid Place the largest, most eye-catching pin at center-top. Build outward and downward with medium pins, then fill edges with small pins or charms. Works for mixed-size collections. 2. Grid fill Equal spacing, uniform pin sizes, color-coordinated rows. Clean, minimal, easy to execute. Works best when you have 20+ pins of similar size. 3. Fandom cluster Group pins by character or series in zones. One corner for Demon Slayer, one for Genshin, center for the keypiece. Tells a story at a glance. Avoid: putting all large pins at the top and small pins scattered below — creates visual imbalance that reads as unfinished.
Look for these features:
Any ita bag with a clear window works for pins. What changes is capacity and stability — a bag with a larger window and rigid insert holds more pins more securely than a small soft-window bag.
Foam inserts develop small holes where pins are inserted and removed repeatedly. This is normal. Replace the foam insert every 6–12 months if you change layouts frequently. Plastic canvas inserts last indefinitely.
Two causes: clutch is loose (replace the butterfly clutch), or insert is too soft (switch to firmer foam or plastic canvas). Also check that the insert sits flat against the window — if there's a gap, pins have room to tilt.
Yes, but it requires planning. Plushies need depth in the window — standard pin boards won't hold them. Use a bag with a deeper window pocket (3–5cm depth) and anchor the plushie at the back while pinning around it.
A mini to standard crossbody (window ~20cm wide) is ideal for 10–25 pins. It fills the window without looking sparse, and the carry weight stays manageable. Scale up when your collection grows past 30 pins. “`
Pulled from the live April 15 catalog export used for this content audit.

Every audited page now ends with a live merch path and a guide path so the content can support both ranking intent and shopping intent.