Buying Guide

Ita Bag Buying Guide

A good ita bag purchase answers three things before checkout: what merch you want to show, how you will carry the bag, and how much setup work you want. This guide walks through each decision layer using real products and real prices.

Use this to narrow your choice, then enter the most relevant archive to compare live products.

Start with the Display Goal

The display goal is the single most useful filter you can apply before you look at any specific product. It answers the question: what merch do you actually want to show, and how do you want it arranged?

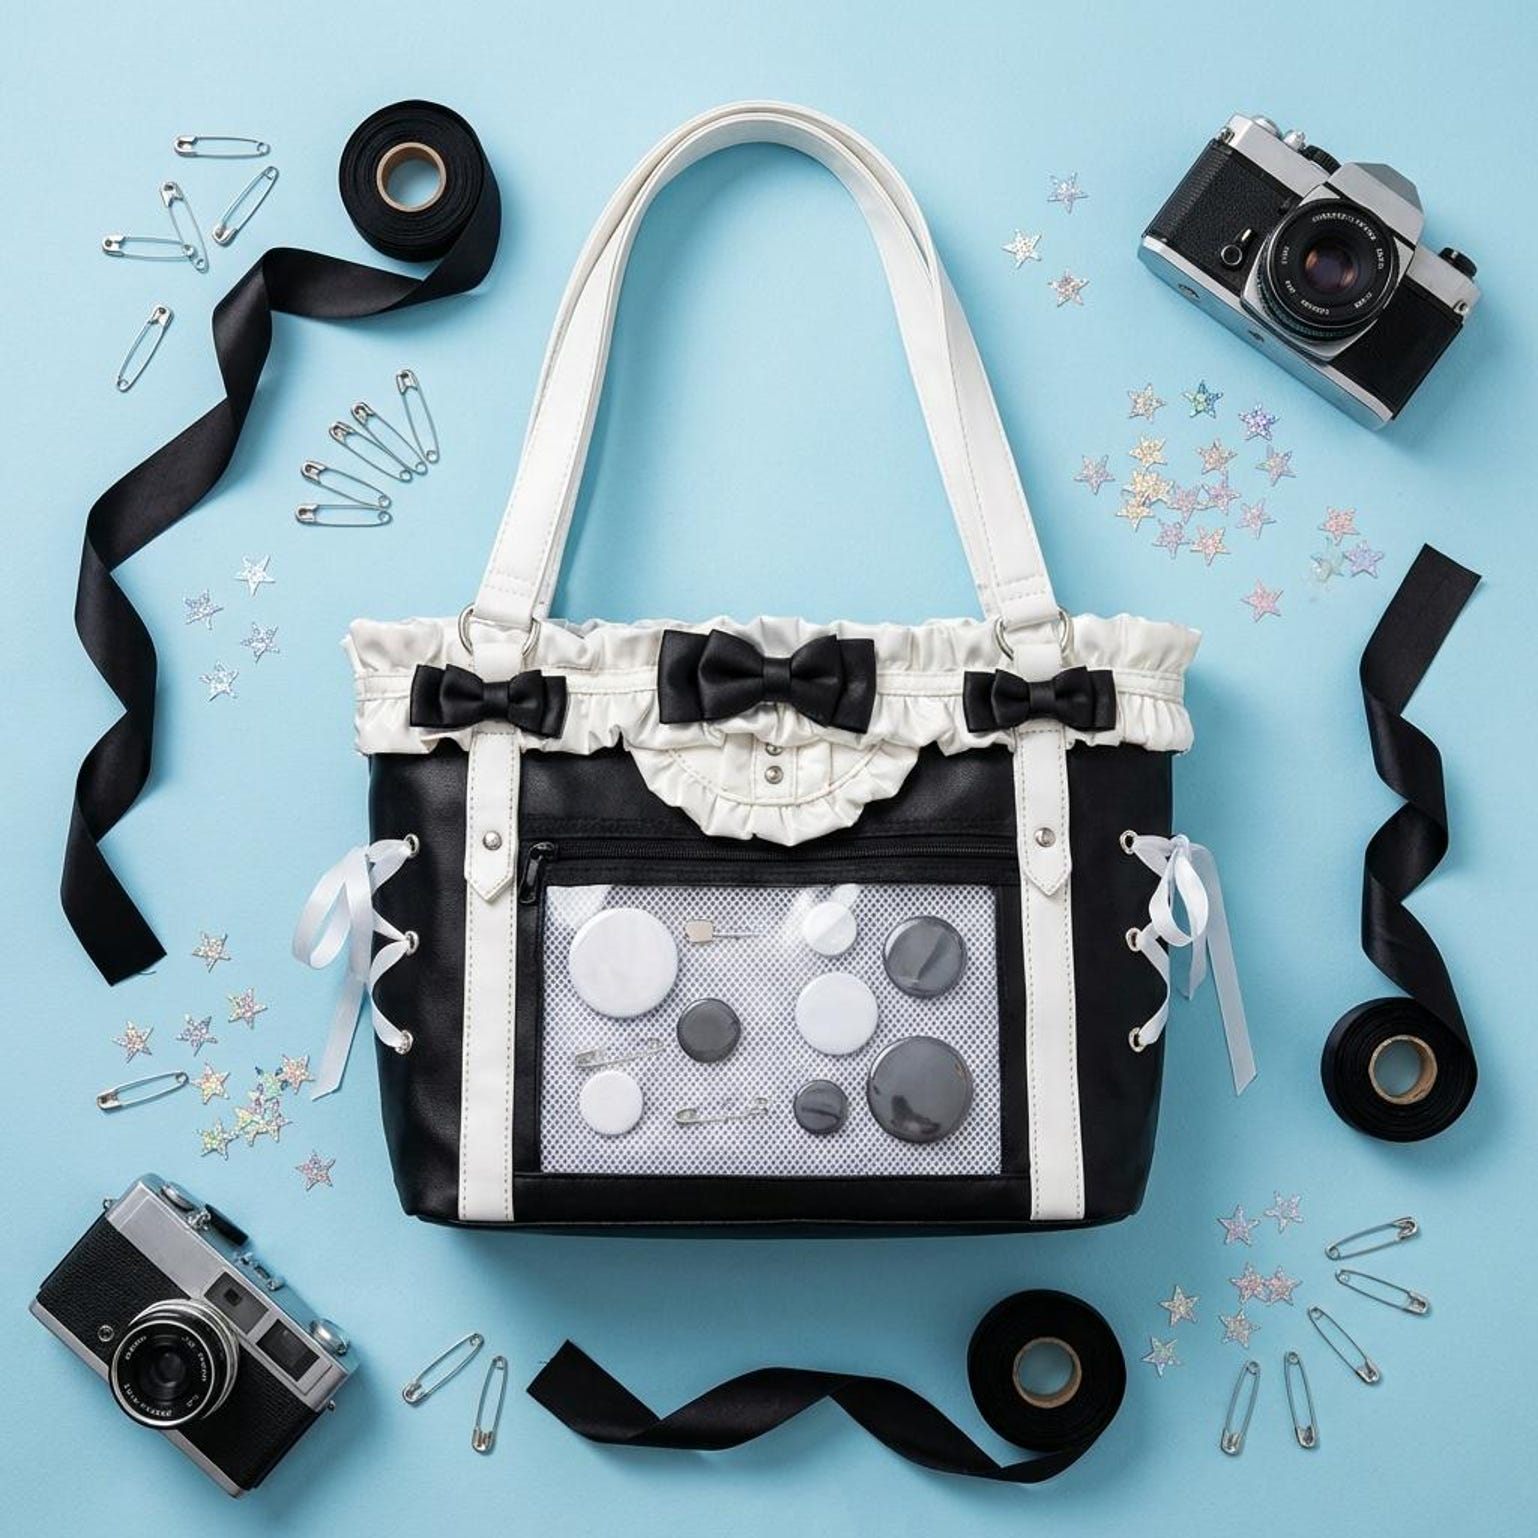
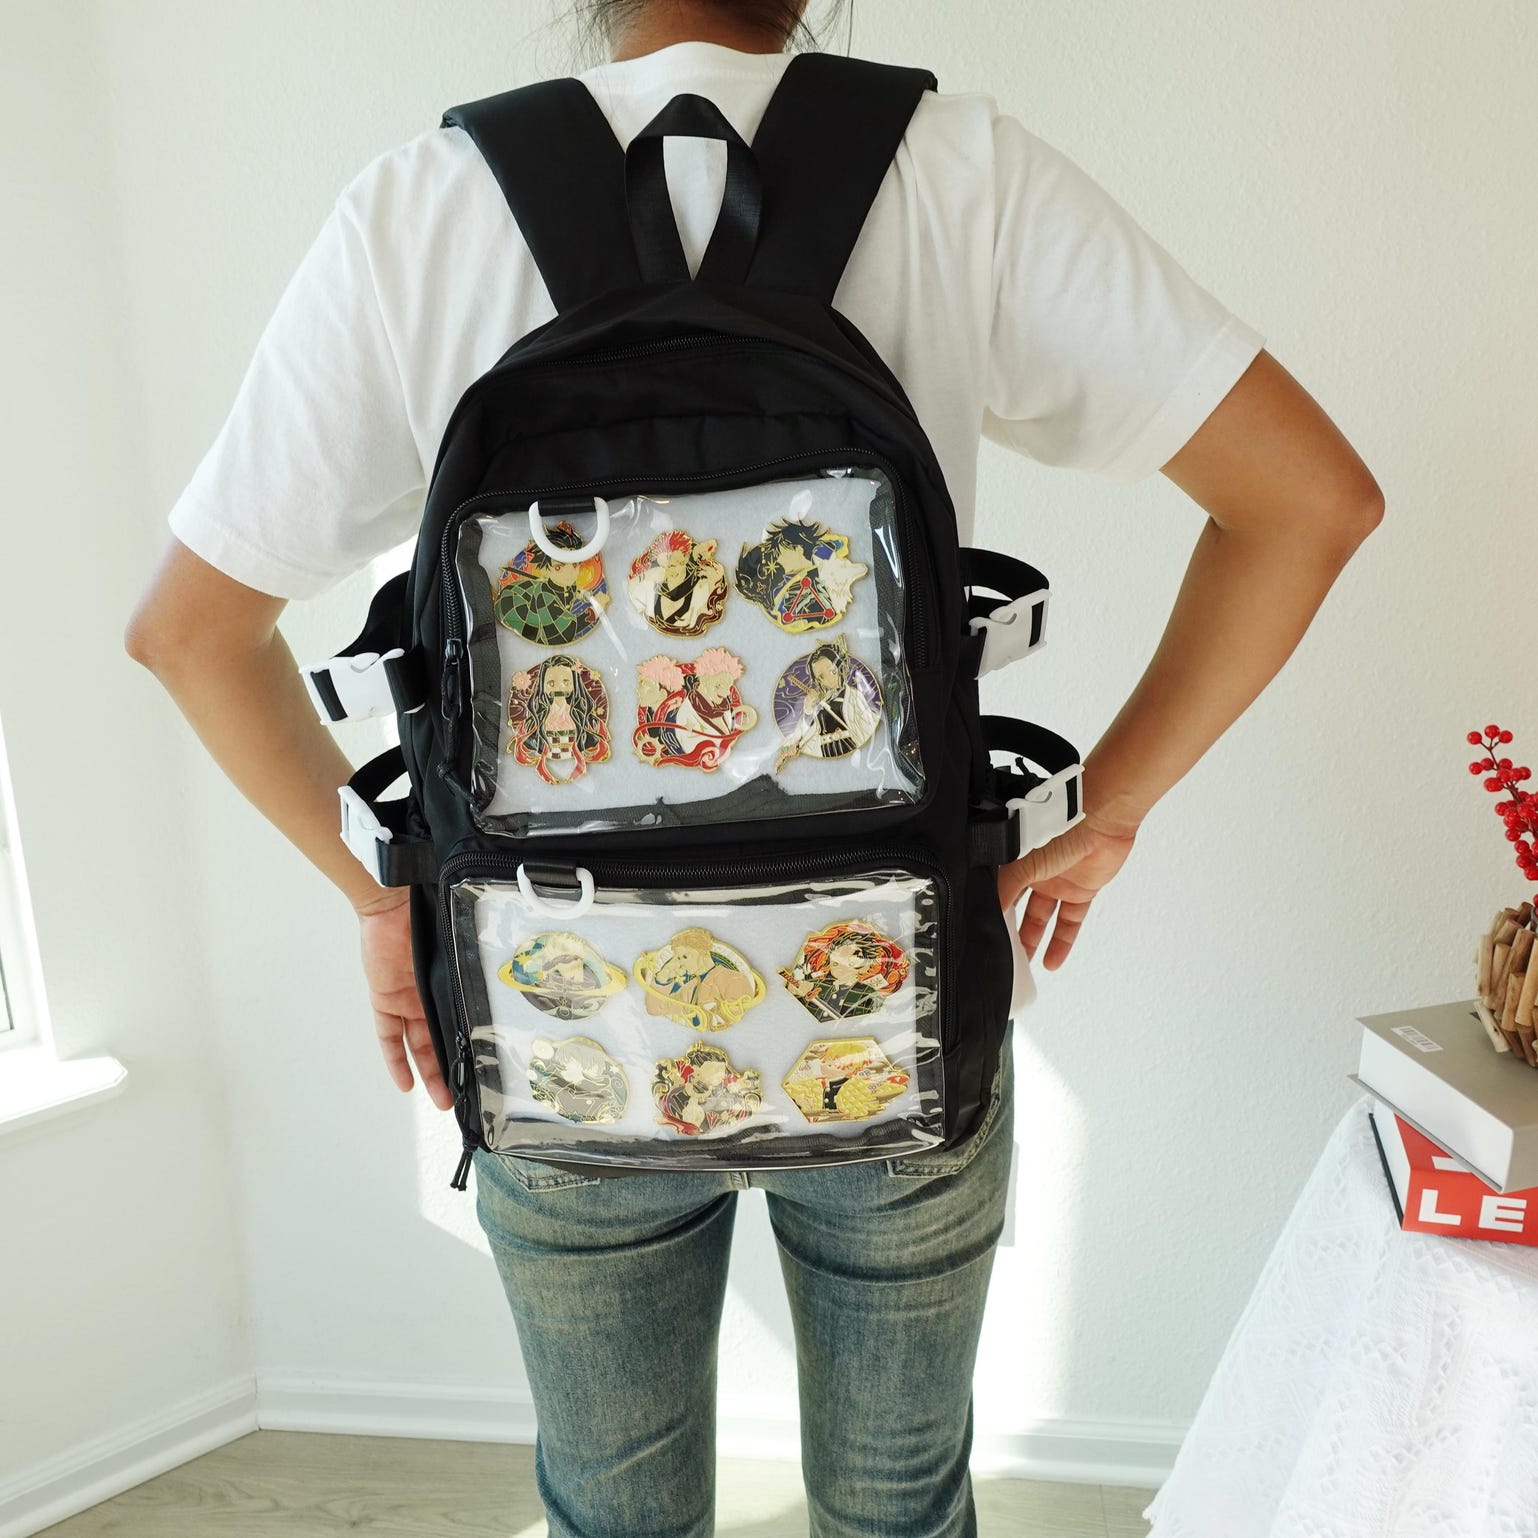
If the setup is mostly pins or badges, flatter messenger, crossbody, and convertible shapes are usually the easiest first buy. Flat merch does not require depth — it needs a clear, wide window and a solid insert to pin into. The window size relative to your collection is the main variable.

If the setup is built around plushies or dolls, depth matters more than a slim profile. A plushie that is 12–15cm tall needs a window with corresponding height and a bag with enough interior depth to allow the plushie to sit naturally rather than being squashed flat against the window panel.

If the setup is photocard-focused — common in K-pop fandoms — almost any bag format works, but the window clarity matters most. Photocards are flat and slim, so they show up well in any window size. Choose a bag where the PVC window is thick and scratch-resistant enough to remain clear after extended use.

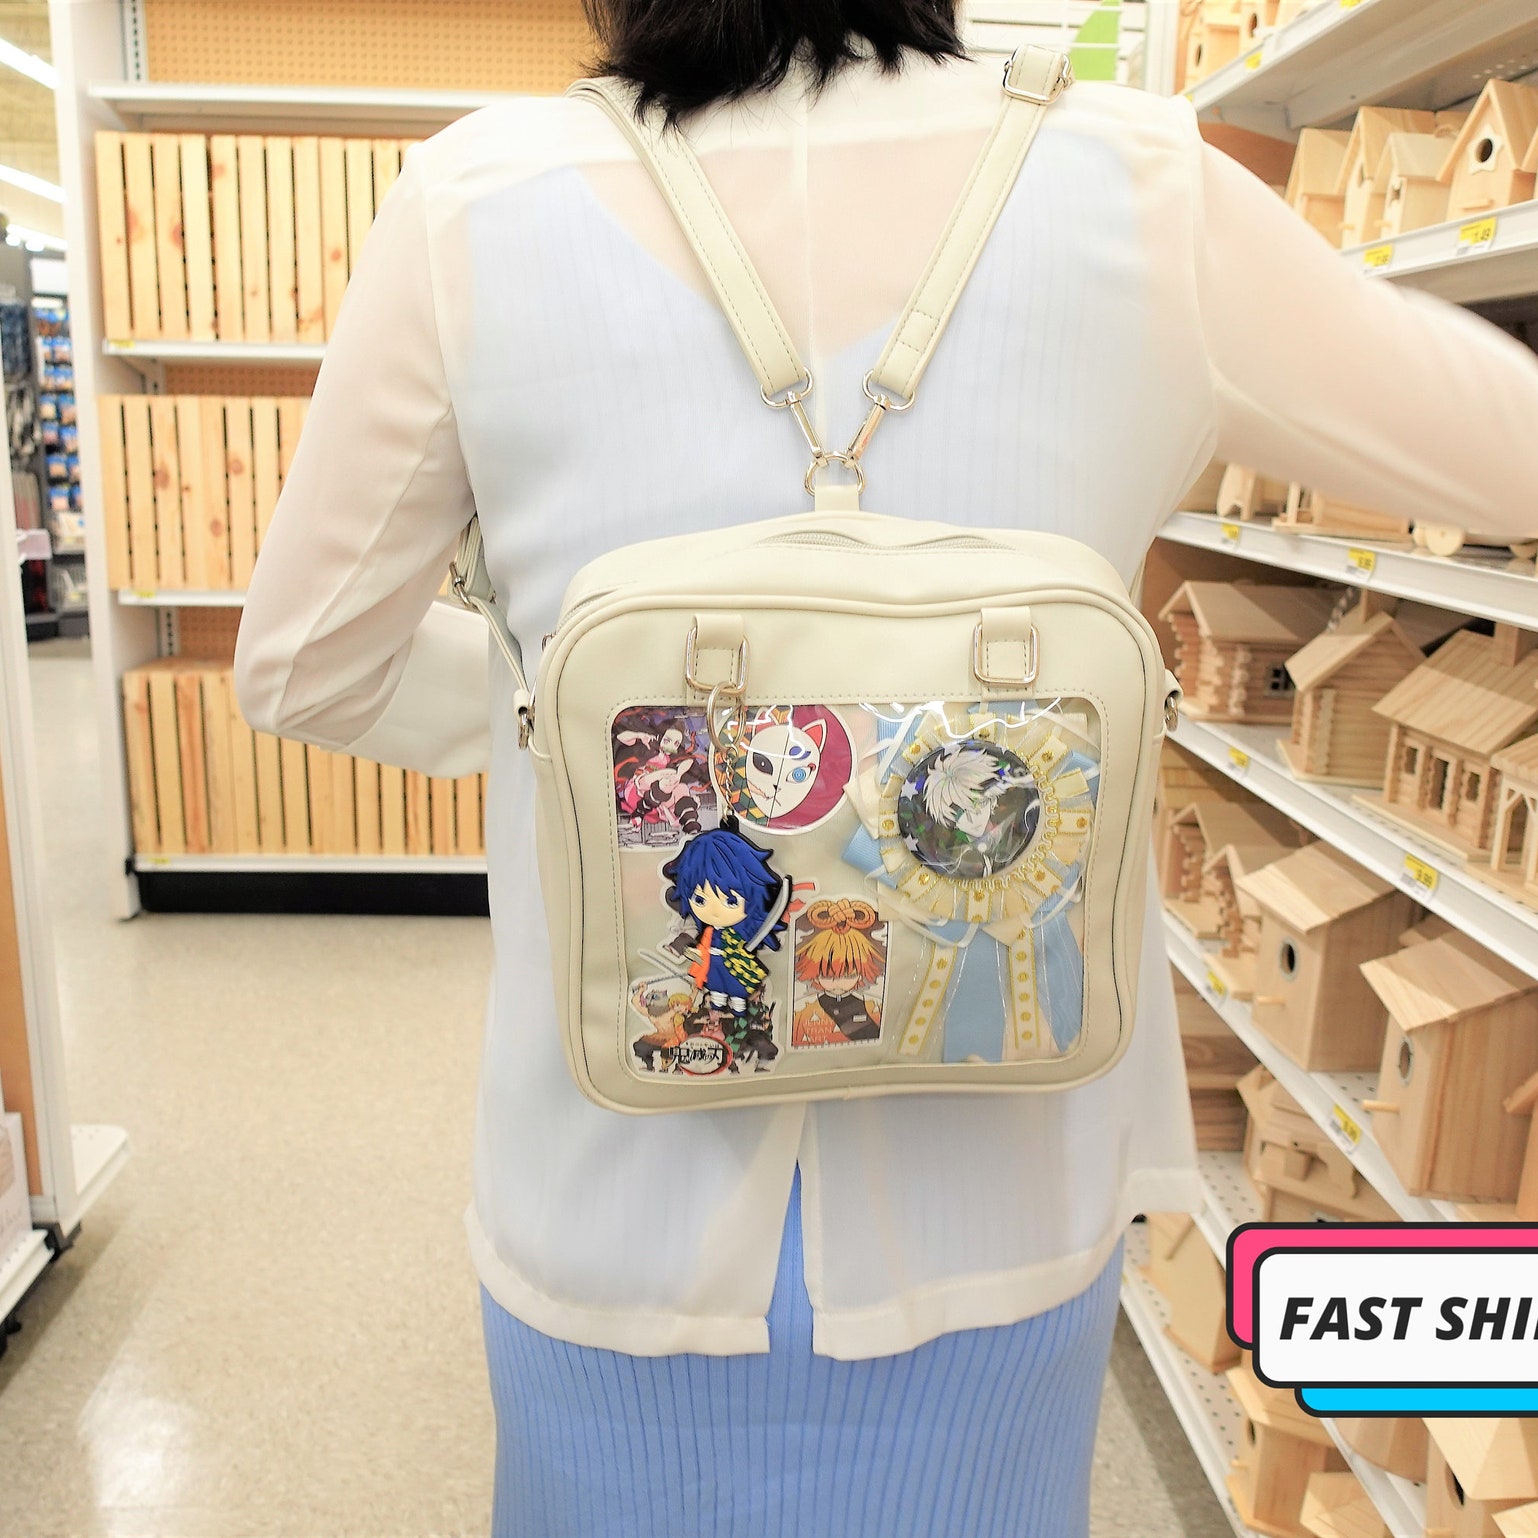
If the setup mixes merch types — pins plus a few stands, or photocards alongside button badges — look for a bag with a window large enough to accommodate some depth variation and an insert sturdy enough to hold everything without bowing under the weight of multiple item types.

Color should refine the shortlist, not create it. The bag that fits your merch is more useful than the bag that only matches the aesthetic mood.

Buy by Use Case and Carry Style

After display goal, carry style is the second major filter. The same pin collection displayed in a messenger bag and a backpack requires meaningfully different decisions. Carry style also determines how long you can comfortably use the bag before it becomes a burden.

Buyer situationBest directionWhy
First bag, mostly pinsMessenger or crossbodyLower cost, easier to set up, less commitment before you know what format you prefer.
Need one bag for multiple settingsConvertibleThe extra carry options — backpack, shoulder, crossbody — reduce purchase regret when your situation changes.
School, commuting, or conventions all dayBackpackMore capacity and better weight distribution over extended wear. Padded straps make a real difference at 4+ hours.
Plushie or doll displayLarge convertible or plushie-friendly backpackThese shapes handle depth better; look for bags specifically described as plushie-format or with large windows.
K-pop or photocard displayMedium crossbody or shoulder bagPhotocards are flat and slim; window clarity matters more than window depth for this use case.
Casual daily carry with a small collectionMini ita bag or ita messengerSmaller format is easier to style for non-event contexts and lower investment for testing the category.

Understanding Materials and Build Quality

The two most important material decisions in an ita bag are the window panel material and the main bag fabric. Both affect how the bag looks over time and how well it holds up to daily use.

Window panel materials: The clear window is almost always PVC (polyvinyl chloride) or acetate. Thicker PVC holds its shape better and resists clouding and yellowing over time. Thin PVC is more flexible but tends to show pin mark impressions, cloud faster, and sometimes crinkle at the edges. If the listing does not specify thickness, look for product photos that show the window at close range — a crystal-clear, slightly rigid-looking window is generally better quality than a soft, bendy-looking one.

Main fabric options:

  • PU leather (faux leather) — the most common material for ita bags in the mid-to-upper price range. Durable, easy to wipe clean, and gives a polished look. Can crack over time if bent repeatedly at the same point, but holds up well with normal bag use.
  • Canvas — lighter and more casual looking. Less structured than PU leather. Good for a softer aesthetic. Absorbs stains more readily, so avoid light canvas in situations where the bag might get wet.
  • Nylon — the most practical material for daily and convention use. Lightweight, water-resistant, and very durable. Less of the kawaii aesthetic, but excellent function.

Hardware and zipper quality are worth checking on listings that are borderline on price. Cheap zipper pulls break faster than the bag itself. Metal hardware holds up better than plastic. Most dedicated ita bag stores use reasonable hardware for their price tier, but general marketplace listings at the very low end often cut corners here.

How Price Tiers Change the Decision

Entry bags are useful when you want to test the category without overspending. Mid-range convertibles often give the best balance between practicality, display quality, and value. Larger plush-ready formats earn their price when the display itself is the point of the purchase.

Price rangeWhat you typically getBest for
$20–$35Functional window, basic insert, limited pocket optionsFirst bag, testing the format, beginner collections
$35–$55Better window clarity, included insert, more carry optionsMost buyers — solid balance of quality and cost
$55–$80Padded straps, multiple inserts, better materials, larger windowsDaily carry, convention use, collectors with larger collections
$80+Handmade options, specialty shapes, premium materials, extra featuresCollectors who want a specific format or maximum quality

The $35–$55 range covers most needs well. Bags in this range typically include an insert, have a window large enough for a meaningful display, and use materials that hold up over a year or more of regular use. Going below $30 is fine for testing the category, but do not expect the window quality or insert to be long-lasting.

Price should be treated as a secondary filter after display goal and carry style. A cheaper bag that fights the merch type often creates more regret than spending slightly more for the right format.

What to Check on Every Product Page

Most bad ita bag purchases come from skipping the small details that define fit. These are the things worth checking before you commit:

  • Window dimensions, not just bag dimensions. A bag can be 12 inches wide while the display window is only 7 inches wide. Those 5 inches are the difference between a bag that feels spacious and one that feels cramped. Look for window height and width specifically.
  • Whether the insert is included. Check the description, not just the title. Many bags at the lower price tier do not include an insert. If no insert is listed, factor the cost of buying one separately into your decision.
  • Number of inserts. Some bags — particularly convertibles — include two inserts. This is useful if you want to swap between themes without re-pinning everything.
  • Category tags and attributes. Tags like “ita bag backpacks,” “clear window ita bags,” or “ita bags for pins” reveal the intended use case and category. Attribute options (color, size variants) sometimes change what is included — read each variant description if there are multiple options.
  • Carry options and strap details. For backpacks and convertibles, check whether the shoulder straps are padded. For crossbody bags, check whether the strap length is adjustable and what the range is.
  • Return and exchange policy. Especially important for first purchases where you are not certain about sizing.

How to Read Ita Bag Specs

Product listings use a mix of terms that are not always explained. Here is how to interpret the most common ones:

  • “Clear window” or “PVC window” — the transparent panel on the front of the bag. Check the dimensions separately; “clear window” alone tells you nothing about size.
  • “Insert included” or “comes with insert” — means the padded backing board for pins is in the box. If it says “insert-compatible” or “insert-ready,” the bag has the pocket for one but does not include it.
  • “Double window” or “dual window” — two separate clear panels, often on the front and one side. More display area; check each window’s dimensions independently.
  • “Convertible” or “3-way” — the bag can be carried in multiple configurations (backpack, shoulder, crossbody). Useful for versatility; not a statement about display size.
  • Dimensions listed as H × W × D — height, width, depth. All three matter for an ita bag. Depth affects how much you can fit in the main compartment and whether 3D merch has room in the window area.
  • Measurements in centimeters — common for bags sourced from Japanese brands. 1 inch = 2.54 cm. A 20 cm window height is approximately 7.9 inches.

Common Ita Bag Buying Mistakes

Most buying regret in this category falls into a few predictable patterns. Knowing them ahead of time makes them easy to avoid:

  • Buying based on aesthetics before checking window size. A beautiful bag with a small window will disappoint if you have a 40-pin collection you want to display. Window size determines display capacity — check it first.
  • Assuming “ita bag” in the title means the format is correct. Some marketplace listings use the term loosely. If there is no visible clear window in the product photos, or if the window looks very small relative to the bag, check the specs carefully.
  • Not accounting for insert cost. If a bag does not include an insert, a compatible one will add $10–$18 to the total cost. Factor this in when comparing bags at different price points.
  • Buying a large backpack as a first bag. Large backpacks are excellent but have more setup complexity and require a more developed collection to fill the window meaningfully. Start smaller and upgrade once you know what you want.
  • Skipping the return policy check. Particularly for first purchases where you are not certain about fit, knowing you can exchange or return the bag removes significant risk from the decision.

Current live options across four buying levels

These products show how the store currently scales from budget-friendly entry bags into larger plush-ready formats.

Black Kawaii Ita Messenger Bag with Clear Window for Pin Display

Black Kawaii Ita Messenger Bag with Clear Window for Pin Display

Clear Window Ita BagsIta Bags For Pins

Combines everyday carry with a clear display area for pins, badges, charms, or character merch.

  • Works for visible display of pins, badges, charms, photocards, or small merch when the listing notes a clear…
  • Next step: Choose the color or style that fits your display setup, then match it with the pins, badges…

$54.65

In stock
View product
Convertible Ita Bag with Clear Window for Pin Display

Convertible Ita Bag with Clear Window for Pin Display

Clear Window Ita BagsConvertible Ita Bags

Combines everyday carry with a clear display area for pins, badges, charms, or character merch.

  • This option includes two inserts
  • Designed with an insert and an interior pocket, this ita bag offers three carrying styles – backpack, shoulder…

$33.33

In stock
View product
Kawaii Ita Backpack for Pin Display

Kawaii Ita Backpack for Pin Display

Ita Bag BackpacksIta Bags For Pins

Combines everyday carry with a clear display area for pins, badges, charms, or character merch.

  • Designed to hold 2 inserts at the same time
  • Works for visible display of pins, badges, charms, photocards, or small merch when the listing notes a clear…

$39.99

In stock
View product
Large Convertible Ita Bag with Clear Window and Included Insert for Plushies and Pins

Large Convertible Ita Bag with Clear Window and Included Insert for Plushies and Pins

Clear Window Ita BagsConvertible Ita Bags

Designed to display plushies, dolls, pins, and badges while keeping everyday essentials organized.

  • Dimensions of the side window: Height: 20 cm, Width: 9 cm.
  • Handmade. The transparent window on the side can hold dolls.

$94.44

In stock
View product

FAQ

What ita bag is best for beginners?

A messenger, crossbody, or moderate-size convertible bag is usually the easiest first buy. These formats are lower cost, simpler to set up, and easier to carry for extended periods. Move to a backpack or larger format once you know you need extra space or heavier carry capacity.

Should I buy a backpack first?

Only if you already know you need extra capacity, all-day convention carry, or laptop storage. Backpacks have a larger window that requires a more developed collection to fill meaningfully. A smaller format is a lower-risk first purchase.

Do more expensive ita bags always have better displays?

No. Price often reflects size, materials, or included extras rather than a better display setup. A $40 messenger bag can have a better window for pin display than an $80 bag optimized for plushies. Match the bag to the use case, not the price tag.

What window size do I need for my pins?

For a collection of 20–30 standard enamel pins, a window around 20cm × 25cm (approximately 8″ × 10″) is a comfortable fit. For smaller collections of 10–15 pins, a 15cm × 20cm window works well. For large collections of 40+ pins, look for backpack-format windows that are 25cm × 30cm or larger.

Is an insert always included with an ita bag?

Not always. Mid-range and above bags typically include one insert; budget-tier bags often do not. Check the listing description specifically — “insert included” will be stated if it is. If no insert is listed, budget an additional $10–$18 for a compatible separate insert.

Can I use an ita bag for both pins and photocards?

Yes. Many collectors mix pin and photocard displays. A standard flat insert handles both well — sleeve photocards before pinning them to keep them clean, or use small card holders attached to the insert. The main requirement is a window with enough clarity to read the photocard details through the glass.

How do I know if an ita bag will fit my collection?

Check the window dimensions on the listing and estimate your collection’s footprint. A standard enamel pin takes roughly 3cm × 3cm of insert space. An acrylic stand (15cm tall) needs a window at least 20cm tall plus enough depth to lean slightly. Compare these numbers against the listed window dimensions before purchasing.

Use the guide, then enter the archive

Once you know the right carry type, display goal, and size range, drop into the matching product category and browse the full live product list there. Every listing includes window dimensions and insert details.

How to Choose an Ita Bag — 4 Key Questions

Answer these 4 questions in order. Each one eliminates most of the wrong options before you spend money.

1. What merch are you displaying?
  • Enamel pins (25–40mm) → any foam insert, 15mm+ depth
  • Can badges (55–58mm) → badge covers, foam insert
  • Acrylic standees (7–15cm) → 40–60mm window depth
  • Small plushies (10–15cm) → 60mm+ depth, 30cm+ wide window
  • K-pop photocards → flat window, 15mm depth, 25cm+ wide
2. How will you carry it?
  • Daily school/work → crossbody or convertible, 22–26cm window
  • Anime conventions → ita backpack, 28–35cm+ window
  • Casual outings → standard or mini crossbody
  • Fashion-first use → shaped bag (heart, star, coffin)
  • Not sure → standard crossbody, 22–26cm (the safe default)
3. What window size do you need?
  • 12–18cm: mini bag, 8–18 pins, gift or single-character
  • 20–24cm: daily carry, 18–30 pins
  • 24–28cm: serious collector daily bag, 28–40 pins
  • 28–34cm: large collection, small convention bag
  • 34–42cm: full convention backpack, 55–80+ pins
4. What is your budget?
  • Under $25: entry-level mini, 12–18cm window, basic insert
  • $25–$45: standard crossbody, 20–24cm, sweet spot for first bags
  • $45–$70: larger window, better materials, 2 inserts
  • $70–$100: full-size backpack, serious collector
  • $100+: premium large backpack, convention-main bag

Full step-by-step choosing guide with pre-buy checklist →

Before You Buy — What to Check in the Listing

Window dimensions (W x H cm)

Not total bag size. Always find the window dimensions specifically. If only total size is listed, the window is probably smaller than photos suggest.

Insert: included or not?

Always buy with an insert included. Without one, pins tilt and press unevenly against the PVC. Check whether it’s foam, canvas, or velvet — foam is the best for most pins.

Window depth

15mm is fine for flat enamel pins. 40–60mm needed for acrylic standees. 60–80mm needed for plushies. This spec is often missing from listings — check reviews for depth mentions.

Buying Guide FAQ

What’s the most important thing to check when buying an ita bag?

The display window dimensions — specifically width, height, and depth. Photos can make windows look larger or smaller than they actually are. Always confirm W x H cm and depth before buying. After that, confirm whether an insert is included.

Should I buy a cheap first bag or invest in a good one?

A mid-range first bag ($35–$50) makes more sense than a budget one ($15–$20) because it will have a proper insert and usable hardware. Don’t spend over $70 on your first bag — you don’t yet know your exact preference for window depth, insert material, or carry format. See: starter kits for bundles that include everything you need.

Is it better to buy a bag with an insert or without?

Always with an insert. Without an insert, pins tilt and fall inside the window, and items press against the PVC unevenly. A bag without an included insert means you’ll need to purchase one separately — confirm insert material and size match your window dimensions.

What if I collect multiple merch types?

Size your bag to your largest item. A plushie bag with a 60mm deep pocket also holds flat pins perfectly — but a flat-window pin bag won’t accommodate plushies. Start with the format that fits your biggest collection item, then fill with smaller pieces around it.

Full guide with merch-type tables and pre-buy checklist →